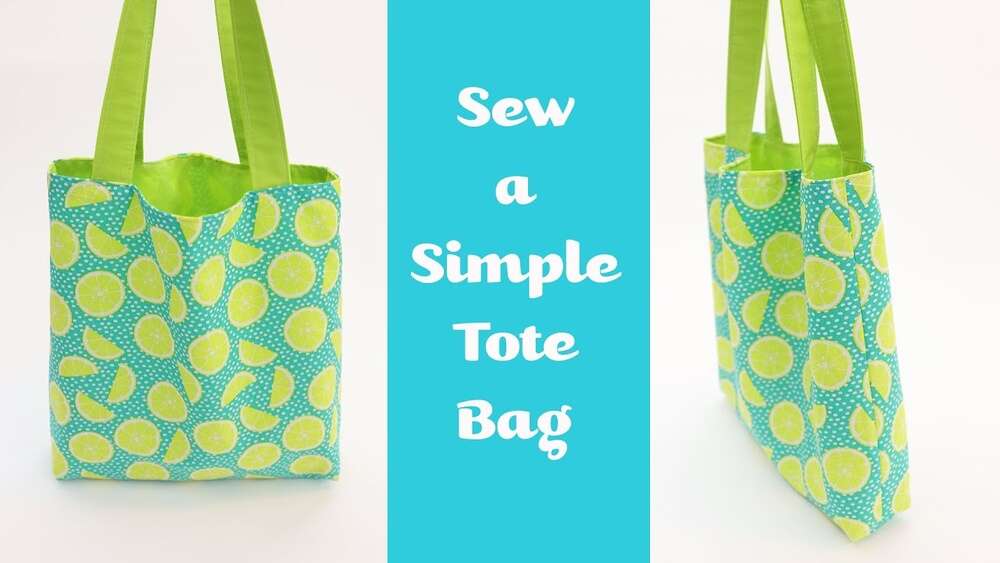
How To Sew A Tote Bag
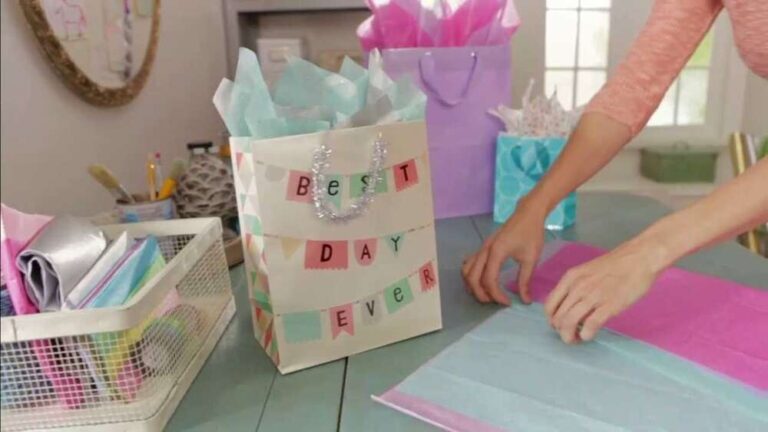
If you want to learn sewing but don’t know where to start, making a tote bag is an excellent first project. Tote bags are useful, stylish, and simple to sew—even if you’re new to the sewing machine. You can use them for shopping, books, or as a gift. I remember the first tote bag I made: the stitches weren’t perfect, but I felt proud every time I carried it to the grocery store. This guide will show you, step-by-step, how to sew a tote bag that looks great and lasts a long time, using clear language and tips from my own sewing experience.
Why Sew Your Own Tote Bag?
Sewing your own tote bag is rewarding for many reasons. First, you can choose your own fabric and style. You can make a bag that matches your taste or needs. Store-bought bags can be expensive, and their quality is sometimes poor.
When you sew your own, you can pick sturdy materials that last longer.
Making a tote bag also helps you learn basic sewing skills. You’ll practice cutting, measuring, and stitching straight lines. These are skills you will use in almost every sewing project. Plus, you can personalize your bag with pockets, decorations, or a fun lining.
Did you know that a reusable tote bag can replace over 700 single-use plastic bags per year? That’s good for your wallet and the planet.
What You Need To Sew A Tote Bag
Before you start, gather all the tools and materials. Having everything ready will make the process smooth and enjoyable.
| Item | Purpose | Tips |
|---|---|---|
| Fabric (main & lining) | Bag body & inside | Cotton canvas or denim works best |
| Thread | Sewing seams | Choose polyester or cotton, matching color |
| Sewing Machine | Stitching | Test on scrap fabric first |
| Scissors or Rotary Cutter | Cutting fabric | Sharp blades make clean cuts |
| Measuring Tape or Ruler | Measuring pieces | Double-check measurements |
| Pins or Clips | Hold fabric together | Clips are easier on thick fabrics |
| Iron | Press seams | Pressing gives a neat finish |
| Chalk or Fabric Marker | Marking fabric | Lines wash out easily |
For a basic tote bag, you need about half a yard (0. 5 meter) each of main and lining fabric. You will also need two strips for the handles, about 22 inches (56 cm) long and 3 inches (8 cm) wide each.
Choosing The Right Fabric
Picking the right fabric is key. The bag must be strong enough to carry weight, but not too stiff to sew or fold.
- Cotton canvas: This is my top choice. It’s thick, strong, and easy to sew.
- Denim: Durable and gives a casual look.
- Home décor fabric: Often used for curtains or upholstery, these are sturdy and come in many patterns.
- Quilting cotton: Fine for a light bag, but use interfacing to add strength.
Lining fabric can be lighter, but avoid anything very slippery. I once made the mistake of using a silky lining—it kept sliding and made sewing frustrating. Stick with cotton or poly-cotton for the lining.
You can also reuse old jeans, tablecloths, or bedsheets. Upcycling is eco-friendly and adds character to your bag.
Cutting Your Pieces
Accurate cutting is important for a neat finish. Lay your fabric flat on a table. Use a ruler and fabric chalk to mark your pieces.
For a simple tote bag, cut:
- 2 rectangles for the outer bag: 16 inches wide x 16 inches high (40.5 cm x 40.5 cm)
- 2 rectangles for the lining: 16 inches wide x 16 inches high (40.5 cm x 40.5 cm)
- 2 strips for the handles: 3 inches wide x 22 inches long (8 cm x 56 cm)
If you want a deeper bag, make the rectangles taller. If you want a smaller tote, reduce the measurements. Remember to cut straight lines and double-check sizes before cutting. A rotary cutter and quilting ruler can help if you have them.
Preparing The Handles
Handles are the part you hold most, so make them strong. Fold each fabric strip in half lengthwise, wrong sides together, and press with an iron. Open, then fold each long edge to the center crease. Press again. Fold in half along the first crease, enclosing raw edges inside, and press flat.
Sew down both long edges, about 1/8 inch (3 mm) from each side. This creates neat, sturdy handles.
If you want even stronger handles, you can add interfacing inside before folding. This is helpful if you plan to carry heavy items.
Assembling The Bag Body
Lay both outer rectangles right sides together. Pin or clip around the sides and bottom (leave the top open). Do the same with the two lining pieces.
Sew around the sides and bottom of both sets, using a 1/2 inch (1. 3 cm) seam allowance. Leave the tops open.
To make a flat bottom for your tote bag (called “boxing the corners”), pinch each bottom corner so the side and bottom seam line up, forming a triangle. Measure about 2 inches (5 cm) from the point, draw a line, and sew across.
Cut off the triangle, leaving a 1/4 inch (6 mm) seam allowance.
Repeat for all four corners (outer and lining pieces).
This step makes your tote bag roomier. Many beginners skip boxing the corners, but it makes a big difference in how much your bag holds.
Attaching The Handles
Turn the outer bag right side out. Measure 3 inches (8 cm) from each side seam at the top edge. Pin one end of a handle inside the bag at this point, with the raw edge of the handle even with the raw edge of the bag.
Repeat for the other end of the handle on the same side.
Do the same for the second handle on the opposite side.
Check that the handles are not twisted. Pin them securely. I always try the bag on my shoulder at this stage, just to be sure the handles feel comfortable and even.
Sewing The Lining And Outer Bag Together
Turn the lining inside out. Place the outer bag (right side out) inside the lining, so the right sides are facing each other. The handles will be sandwiched between the layers. Match up the side seams and pin or clip all around the top edge.
Sew around the top edge with a 1/2 inch (1. 3 cm) seam allowance, leaving a 4 inch (10 cm) gap on one side for turning the bag right side out.
Pull the bag through the gap so it’s right side out. Push the lining inside the outer bag. Press the top edge flat with an iron, folding the seam allowance at the gap to the inside.
Topstitch around the entire top edge, about 1/8 inch (3 mm) from the edge. This closes the turning gap and gives a professional finish.
Credit: melaniekham.com
Adding Pockets (optional)
Pockets make your tote bag more useful. You can add a simple pocket to the lining or the outside.
Cut a rectangle of fabric, about 7 x 8 inches (18 x 20 cm). Fold the top edge down 1/2 inch (1. 3 cm) and stitch. Fold the other edges under by 1/4 inch (6 mm) and press.
Pin the pocket where you want it (usually centered, 2-3 inches down from the top edge of the lining or outside). Sew around the sides and bottom, leaving the top open.
You can also add more than one pocket, or make a zippered pocket if you feel confident.
Decorating Your Tote Bag
One of the best things about sewing your own bag is making it unique. Try these ideas:
- Appliqué shapes: Sew on fabric flowers, animals, or other designs.
- Iron-on patches: Easy and fun, especially for kids’ bags.
- Embroidery: Add your initials or a simple design.
- Fabric paint: Draw or stencil patterns on the bag.
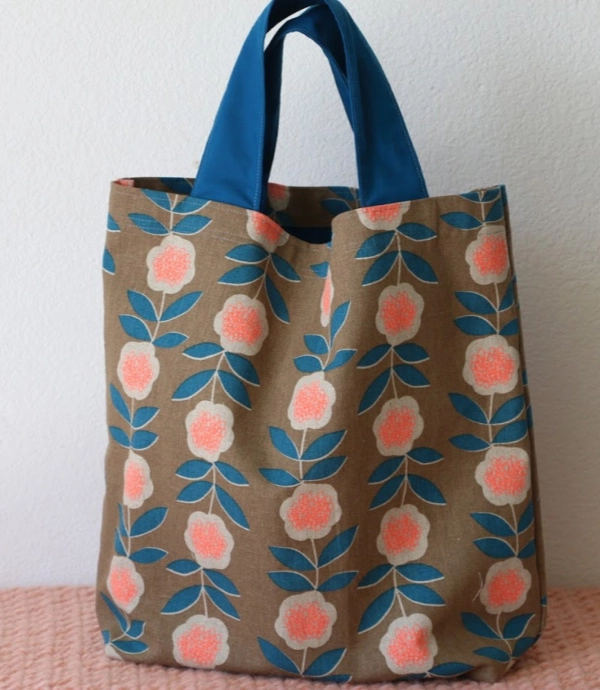
- Contrast fabric: Use a different fabric for handles or a pocket.
I once used leftover fabric from my curtains for a tote bag and added a bright red pocket. People always asked where I bought it! Small touches make your bag stand out.
Credit: www.hgtv.com
Comparing Tote Bag Styles
There are many ways to change up your tote bag. Here’s a quick comparison of common styles:
| Style | Main Feature | Skill Level | Best Use |
|---|---|---|---|
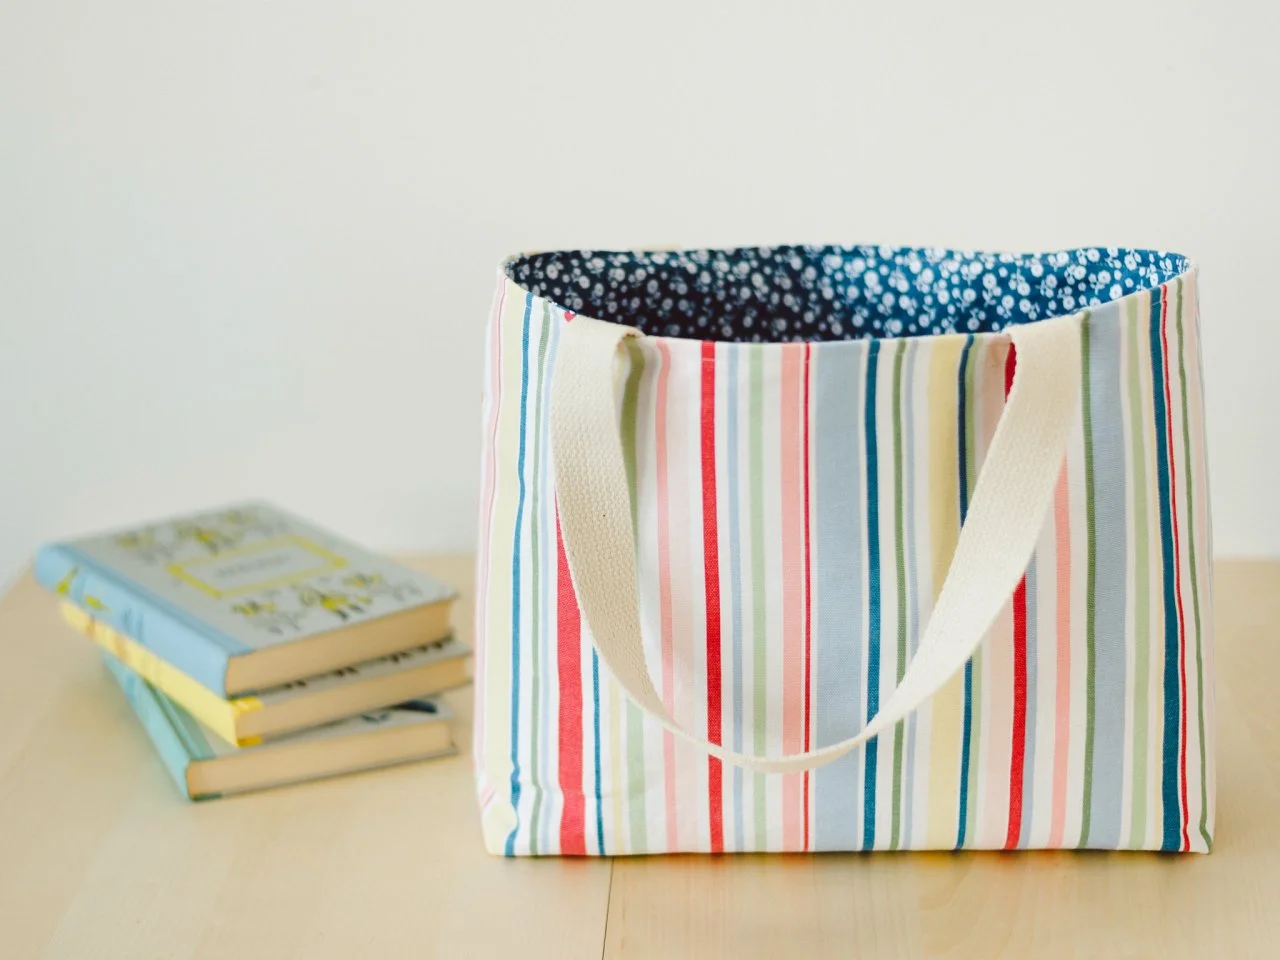
| Basic Square Tote | Simple shape, easy handles | Beginner | Shopping, books |
| Boxed Corner Tote | Flat bottom for more space | Beginner/Intermediate | Groceries, heavier items |
| Reversible Tote | Two bags in one | Intermediate | Style change, gifts |
| Tote with Zipper | Secured top | Intermediate/Advanced | Travel, work |
| Tote with Pockets | Extra organization | Beginner/Intermediate | Everyday use |
If you’re just starting, the basic or boxed corner tote is best. As your skills grow, try adding a zipper or making it reversible.
Common Mistakes And How To Avoid Them
Sewing a tote bag is simple, but a few mistakes can cause problems. Here are the main ones to watch for:
- Cutting uneven pieces: Use a ruler and measure twice before cutting. Uneven pieces make the bag look crooked.
- Handles not evenly spaced: Measure from the side seams to place handles. Uneven handles feel awkward to carry.
- Skipping pressing: Ironing each step makes your bag neat and easier to sew.
- Sewing with the wrong sides together: Always check which side of the fabric you want to show.
- Not securing the handles: Stitch over the handles a few times for strength.
- Forgetting to leave a gap for turning: Leave a section open at the top edge when sewing the bag and lining together.
One thing I learned the hard way: Don’t use cheap thread. It breaks under stress. Invest in good quality thread—it makes a big difference in the strength of your bag.
Caring For Your Finished Tote Bag
To keep your tote bag looking good, wash it in cold water and air dry. If you used cotton, it may shrink a little the first time. Press with an iron to keep it crisp. Avoid overloading with heavy items if you used light fabric.
If the bag gets a small tear, hand-stitch it right away. Small repairs keep your bag useful for years.
Upgrades For Advanced Sewers
Once you have made a few simple tote bags, you can try more advanced features:
- Adding a zipper: A zipper keeps your items safe. Use a zipper foot on your sewing machine.
- Magnetic snaps: Easy to install and keep the bag closed.
- Reinforced base: Add a layer of heavy interfacing or a plastic canvas in the bottom for extra support.
- Adjustable handles: Use D-rings or sliders to make handles longer or shorter.
- Decorative trim: Sew on lace, ribbon, or piping for a special look.
These extras take a bit more time but make your tote bag even more useful and professional.
How Long Does It Take To Sew A Tote Bag?
A basic tote bag takes about 1-2 hours from start to finish, even if you are a beginner. If you add pockets or decorations, it might take longer. With practice, you can make one in less than an hour.
When I first started, I spent half a day on my first bag. Now, I can sew a simple tote in under 45 minutes. Don’t rush—enjoy the process and you’ll get faster as you go.
Cost Comparison: Homemade Vs. Store-bought
Making your own tote bag is not just fun—it can save you money. Let’s compare costs:
| Item | Homemade (USD) | Store-Bought (USD) |
|---|---|---|
| Fabric (0.5 yd main + 0.5 yd lining) | $6 | – |
| Thread | $1 | – |
| Handles (homemade) | $0 | – |
| Store-Bought Tote | – | $10–$30 |
| Total | $7 | $10–$30 |
You might already have some materials at home, which reduces costs even more. Plus, you get a custom bag made exactly the way you like.
Credit: www.youtube.com
Eco-friendly Tips
Sewing tote bags helps reduce waste and plastic use. You can do even more by:
- Using recycled or thrifted fabric (old curtains, tablecloths, jeans).
- Repairing bags instead of throwing them away.
- Making bags as gifts to encourage friends to use fewer plastic bags.
According to the Environmental Protection Agency, Americans use over 100 billion plastic bags a year. If more people switched to reusable bags, we could cut a lot of waste.
Troubleshooting: When Things Go Wrong
Even with care, you might run into problems. Here’s how to fix common issues:
- Fabric bunches or puckers: Try adjusting your sewing machine’s tension or using a walking foot.
- Thread keeps breaking: Rethread the machine, check the needle, and use good quality thread.
- Machine skips stitches: Change to a fresh, sharp needle, especially if you are sewing through thick layers.
- Seams look wavy: Press with an iron and use plenty of pins or clips to hold layers together.
If you get stuck, there are many helpful sewing videos online and forums where you can ask questions. The sewing community is friendly and always willing to help beginners.
Sharing Your Finished Tote Bag
Don’t be shy—share your finished tote bag with friends or online. You might inspire someone else to start sewing. I love seeing how creative people get with fabric choices and decorations. You can even start a small side business or donate bags to charity.
If you want to see more ideas, the Seamwork Magazine community is a great place for inspiration and support.
Frequently Asked Questions
How Do I Choose The Best Fabric For A Tote Bag?
Pick a medium to heavy-weight fabric, like cotton canvas or denim. These are strong and last longer. Avoid thin or stretchy materials for your first bag.
Can I Sew A Tote Bag By Hand?
Yes, you can. Use strong thread and small, even stitches. It will take longer, but the bag will still be sturdy. Double-stitch the handles for extra strength.
How Do I Make The Handles More Comfortable?
Add a layer of fusible interfacing inside the handles. You can also use webbing or sew a tube and insert a soft cord for padding.
What Size Should I Make My Tote Bag?
A standard size is 16 x 16 inches, but you can make it bigger or smaller to fit your needs. Measure what you want to carry and adjust the pattern.
How Do I Add A Zipper To My Tote Bag?
Sew the zipper to the top edge before joining the outer bag and lining. Use a zipper foot and go slowly. There are many simple video tutorials online to guide you.
Sewing a tote bag is a rewarding project that teaches basic sewing skills and gives you a practical, eco-friendly item to use every day. Start simple, learn from your mistakes, and enjoy making a bag that’s all your own. Happy sewing!

Zayden Halbrook is a travel enthusiast and gear researcher passionate about making every journey smoother and more enjoyable. With a keen eye for practical travel essentials and real-world tips, he helps readers choose the right gear and travel smarter. When he’s not testing travel kits or exploring new destinations, Zayden shares simple, reliable advice to make every trip stress-free.