Making your own backpack is an adventure that gives you more than just a bag. You get a custom design, a better fit, and a chance to learn valuable sewing skills. I’ve made a few backpacks myself—some were successes, some taught me hard lessons about strong seams and zipper placement! If you want a backpack that matches your needs and style, this guide will walk you through every step.
You don’t need to be an expert seamstress, just willing to learn and try. I’ll show you how to choose materials, plan your design, cut and sew fabric, add straps and pockets, and finish with real durability. You’ll also get pro tips, easy-to-follow steps, and my honest advice.
Let’s get started on making a backpack you’ll be proud to use every day.
Why Make Your Own Backpack?
A backpack is a daily companion. It carries books, laptops, snacks, and sometimes a little bit of hope for a good day. Many people just buy one from a store. But making your own has special benefits:
- Custom fit: You can adjust the size for your back and your needs.
- Personal style: Choose colors, patterns, and features you like.
- Quality control: Pick stronger fabric and zippers for long-lasting use.
- Learning experience: Improve your sewing and planning skills.
- Satisfaction: There’s pride in using something you made yourself.
My first homemade backpack was a gift for my brother. He wanted lots of small pockets. The process was not easy, but watching him use it every day made all the effort worth it.
Planning Your Backpack
Before sewing, you need a plan. Good planning saves time and avoids mistakes.
Decide What Type Of Backpack You Want
Think about how you will use the backpack:
- School or work: Needs space for books, a laptop, and lunch.
- Travel: Needs more space, strong straps, and maybe a shoe compartment.
- Hiking: Needs water bottle holders, tough fabric, and chest straps.
- Everyday use: Needs to be light and comfortable.
Sketch Your Design
Draw your backpack on paper. Mark:
- Main compartments
- Pocket positions
- Strap locations
- Zipper or flap openings
This sketch will guide your measurements and cutting.
Gather Measurements
Measure:
- Backpack height (usually 16-20 inches)
- Backpack width (about 12-14 inches)
- Backpack depth (about 5-7 inches)
Adjust these numbers for a child’s backpack or extra-large travel bag.
Make A Materials List
You’ll need:
- Main fabric: Strong material like canvas, nylon, or denim
- Lining fabric: Lighter fabric for inside
- Straps: Webbing or make your own padded straps
- Zippers: One long for the main opening, shorter for pockets
- Thread: Heavy-duty polyester or nylon
- Buckles: For adjustable straps and closures
- Padding: Foam for straps and back panel
- Reinforcement: Extra fabric for stress points
If you want a waterproof backpack, pick a coated fabric or buy waterproof spray.
Choosing The Right Materials
Material choice is key for strength, comfort, and style. Here’s a comparison of common backpack materials:
| Material | Strength | Water Resistance | Weight | Best For |
|---|---|---|---|---|
| Canvas | High | Low (unless treated) | Medium | School, casual use |
| Nylon | Very High | High | Light | Hiking, travel |
| Denim | Medium | Low | Heavy | Style, fashion |
| Polyester | High | Medium | Light | School, daypacks |
Tip: If you’re not sure, start with canvas. It’s forgiving for beginners and easy to sew.
Tools And Supplies You’ll Need
Having the right tools makes your sewing easier and neater. Here’s a checklist:
- Sewing machine (with heavy-duty needle)
- Scissors (fabric and small for threads)
- Pins or sewing clips
- Measuring tape or ruler
- Fabric chalk or washable marker
- Seam ripper (for fixing mistakes)
- Iron and ironing board
- Cutting mat and rotary cutter (optional, but helpful)
- Lighter (to seal webbing ends)
- Pattern paper (for making templates)
I once tried to sew thick nylon without a strong needle. The regular needle broke three times! Using the right tools prevents frustration.

Credit: www.youtube.com
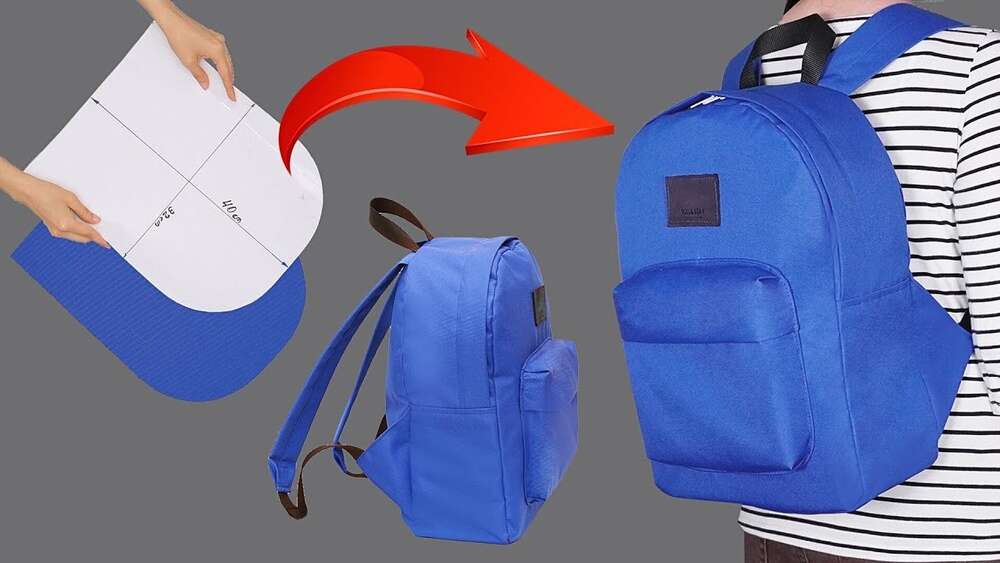
Making A Simple Backpack Pattern
If you’re new, start with a basic shape. Most backpacks are made from rectangles and circles.
- Main body: 2 rectangles (front and back)
- Sides: 2 long rectangles (for the sides and bottom)
- Top flap: 1 rectangle (if not using a zipper)
- Straps: 2 long strips
- Pockets: As many as you want
Add ½ inch (1. 3 cm) to every side for seam allowance.
You can also find free backpack patterns online if you want a more complex design.
Cutting Your Fabric
Lay your fabric flat. Place the pattern pieces on top and trace with chalk. Double-check measurements before cutting. Remember to cut:
- Outer fabric pieces
- Lining pieces
- Reinforcement pieces for high-stress areas (like strap attachments)
Cut slowly and carefully. Neat cutting means easier sewing.
Sewing The Main Body
Let’s start putting your backpack together.
- Sew the front and back pieces to the side strips. Pin right sides together and sew along the edges. Use a ½ inch seam allowance.
- Repeat for the lining. Sew the lining fabric the same way, but leave an opening at the bottom for turning later.
- Reinforce stress points. Sew extra fabric where straps will be attached. You can use a box stitch or “X” pattern for strength.
- Press the seams. Use an iron to flatten seams. This keeps the shape neat.
Pro tip: Use double stitching for the main seams. This adds strength and prevents splitting.
Adding Pockets
Pockets are a key reason to make your own backpack. You can add any number, inside or outside.
Types Of Pockets
- Patch pockets: Simple rectangle sewn on three sides.
- Zipper pockets: Add a zipper to one side before sewing to the bag.
- Elastic pockets: Add elastic at the top for water bottles.
How to add a zipper pocket:
- Cut a rectangle of fabric, 2 inches larger than your zipper.
- Place the zipper right side down on the fabric. Sew along one side.
- Fold back and topstitch for a clean look.
- Sew the pocket edges to the main body.
Pockets are easiest to sew before you assemble the full backpack. Plan their positions in your sketch.
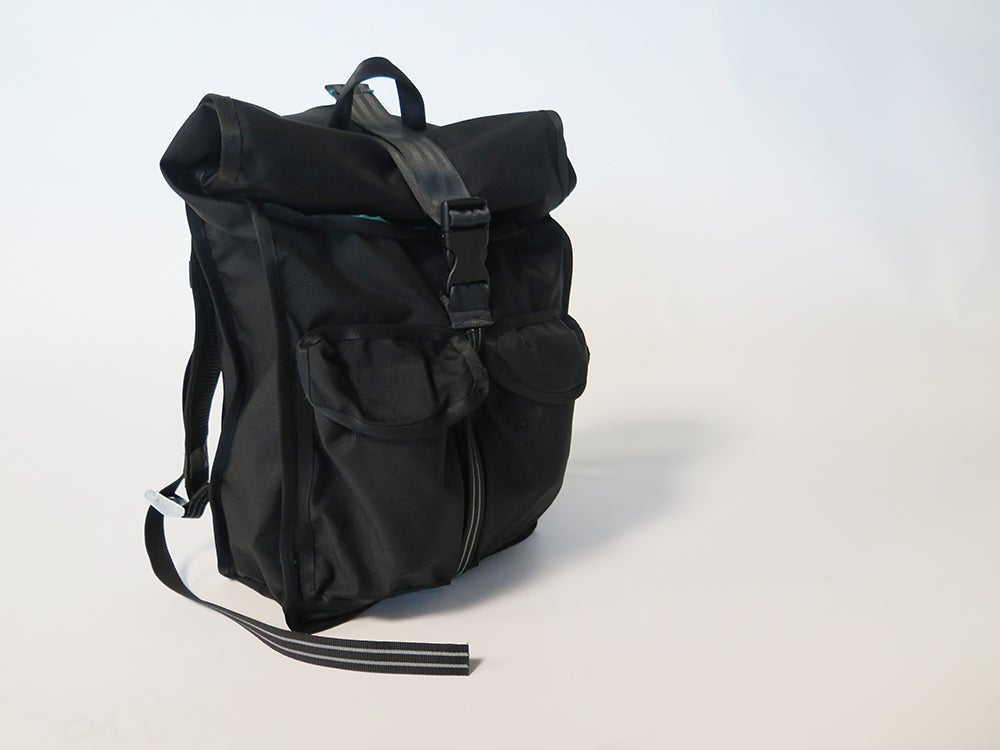
Credit: www.instructables.com
Attaching The Straps
Straps carry all the weight, so they must be strong and comfortable.
Making Your Own Straps
- Cut two strips of fabric, about 2.5 inches wide and 20-22 inches long.
- Add foam padding inside (optional but more comfortable).
- Fold in half, right sides together, and sew the long edge.
- Turn right side out.
- Topstitch for a finished look.
Or, use pre-made webbing, which is very strong.
Attaching Straps To The Backpack
- Sew the top ends to the upper back panel, about 2 inches from each side.
- Sew the bottom ends to the lower back panel.
- Use a reinforced box stitch for each end.
- For adjustable straps, add a buckle or slider.
Non-obvious insight: Test strap placement before final sewing. Pin them in place and try the bag on. Adjust for comfort and balance.
Adding The Closure
How your backpack closes matters for both style and function.
Common Closure Types
- Zipper: Most secure, keeps items inside.
- Flap with buckle or snap: Classic look, easy to sew.
- Drawstring: Fast and casual, good for gym bags.
Attaching A Zipper
- Place the zipper face down on the edge of the fabric.
- Sew along the edge.
- Fold fabric back and topstitch.
- Repeat for the other side.
Zippers can be tricky for beginners. Go slow and use lots of pins to keep fabric straight.
Sewing The Backpack Together
Now it’s time to finish your bag.
- Put the main fabric and lining together, right sides facing.
- Sew around the edges, leaving a gap at the bottom.
- Turn the bag right side out through the gap.
- Sew the gap closed (by hand or machine).
- Push the lining inside the bag.
- Topstitch around the top edge for a neat finish.
Check all seams for missed spots or holes. Fix them now for a longer-lasting backpack.
Adding Final Touches
Little details can make your backpack special.
- Sew on a brand label or name tag.
- Add reflective tape for night safety.
- Attach a key clip inside a pocket.
- Sew decorative patches or embroidery.
My favorite backpack had a small inside pocket just for bus passes. It saved me time every morning.
Testing For Strength And Fit
Before loading up your bag, test it.
- Fill the backpack with books or towels.
- Hold by the straps and shake gently.
- Try on your back. Adjust the straps.
- Check all seams for stretching or popping.
If you find a weak spot, reinforce it with more stitching.
Expert tip: Use bar tacks (a short, wide zigzag stitch) at strap ends for extra security.
Common Mistakes And How To Avoid Them
Even experienced makers hit problems. Here are mistakes I’ve made (and seen others make):
- Using weak thread: Always pick heavy-duty thread. Regular thread breaks under weight.
- Not reinforcing straps: Weak strap attachments are the #1 failure point.
- Forgetting seam allowance: If you don’t add extra for seams, your backpack will be too small.
- Cutting fabric too quickly: Double-check measurements before cutting.
- Sewing zippers backwards: Test zipper placement with pins before sewing.
Learning from these mistakes will save you time and frustration.
Credit: www.chicaandjo.com
Care And Maintenance
A homemade backpack lasts longer with care.
- Wash by hand or on a gentle cycle.
- Air dry to prevent shrinking.
- Re-seal fabric with waterproof spray once a year if needed.
- Check seams and straps monthly. Repair any damage right away.
I’ve used a self-made backpack for over two years by following these simple care rules.
Advanced Features To Try (optional)
If you want to make a truly unique backpack, try adding:
- Laptop sleeve: Add a padded pocket inside.
- Hidden pocket: Sew a small pocket inside the lining for valuables.
- Chest and waist straps: For heavy loads or hiking.
- Removable pouches: Attach with Velcro or snaps.
- Compression straps: Use webbing and buckles to shrink the bag when not full.
These features add complexity, but also real value.
Comparing Store-bought Vs Homemade Backpacks
Here’s a quick comparison to help you understand the differences:
| Feature | Store-Bought | Homemade |
|---|---|---|
| Design | Limited options | Fully custom |
| Strength | Variable | As strong as you make it |
| Fit | Standard sizes | Tailored to you |
| Price | Often higher for quality | Usually lower, but more time |
| Skill Needed | None | Basic to advanced sewing |
Building your own backpack can save money, but it also gives you something unique.
Backpack Patterns And Resources
If you want more ideas, many online resources offer free and paid patterns. One great place to start is Instructables. Their guides have photos and community tips. You can also find video tutorials on YouTube, which really help if you get stuck.
Frequently Asked Questions
What Is The Best Fabric For A Homemade Backpack?
The best fabric is nylon for strength and water resistance. Canvas is also great for beginners because it’s easy to sew. For style, denim or patterned polyester work well.
How Long Does It Take To Make A Backpack?
For a basic backpack, plan 6-10 hours spread over a few days. Advanced designs with more pockets or features can take longer. It’s best to work slowly for neat results.
Can I Make A Backpack Without A Sewing Machine?
Yes, but it’s much harder. Hand-sewing is possible, but heavy fabrics are tough to stitch by hand. Use a strong needle and thimble, and expect to spend more time.
How Do I Make Padded Straps?
Cut fabric strips and foam to the same size. Place foam inside, fold fabric, and sew along the edge. Topstitch for extra strength. Padding makes the backpack much more comfortable.
What Mistakes Should Beginners Avoid?
Don’t skip seam allowance—add extra fabric for seams. Always use strong thread. Reinforce strap attachments. And test zipper direction before sewing to avoid backward zippers.
Making your own backpack is a practical and creative project. You’ll learn new skills, avoid cheap materials, and enjoy a bag that’s made just for you. From my experience, nothing beats the feeling of packing up for a trip with a backpack you created by hand.
Good luck—and happy sewing!

Zayden Halbrook is a travel enthusiast and gear researcher passionate about making every journey smoother and more enjoyable. With a keen eye for practical travel essentials and real-world tips, he helps readers choose the right gear and travel smarter. When he’s not testing travel kits or exploring new destinations, Zayden shares simple, reliable advice to make every trip stress-free.