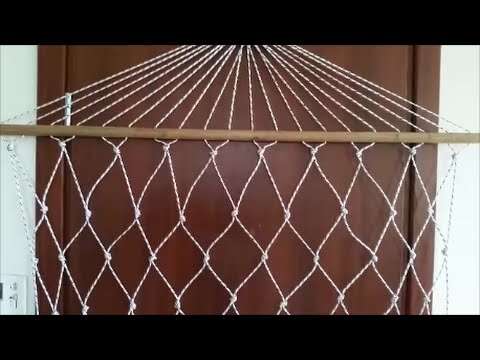
Set up a hammock with stand by assembling the base, attaching the hammock, checking the height, and testing it slowly.
Learning how to set up a hammock with stand is simple when you follow the right order. The key is stable placement, even tension, and a careful safety check before you relax. This guide combines practical setup steps, common mistakes, comfort tips, and safety advice from real-world hammock use.
What You Need Before Setting Up a Hammock With Stand
Most hammock stands include the parts needed for assembly. Still, checking every piece before you start can save time and prevent a rushed setup.
You will usually need:
• A hammock stand with all frame parts
• The hammock and its hanging hardware
• Bolts, nuts, washers, and locking pins
• An adjustable wrench or the tool listed in the manual
• A soft tape measure
• A level surface
• A second person for larger or heavier stands
Read the product manual first. Stand designs vary. Some use curved steel bars, while others use wood beams or modular sections. The manual will show the correct bolt position and the weight rating.
Before learning how to set up a hammock with stand, inspect the hammock fabric, chains, carabiners, and suspension loops. Do not use parts that are torn, bent, cracked, or badly rusted.
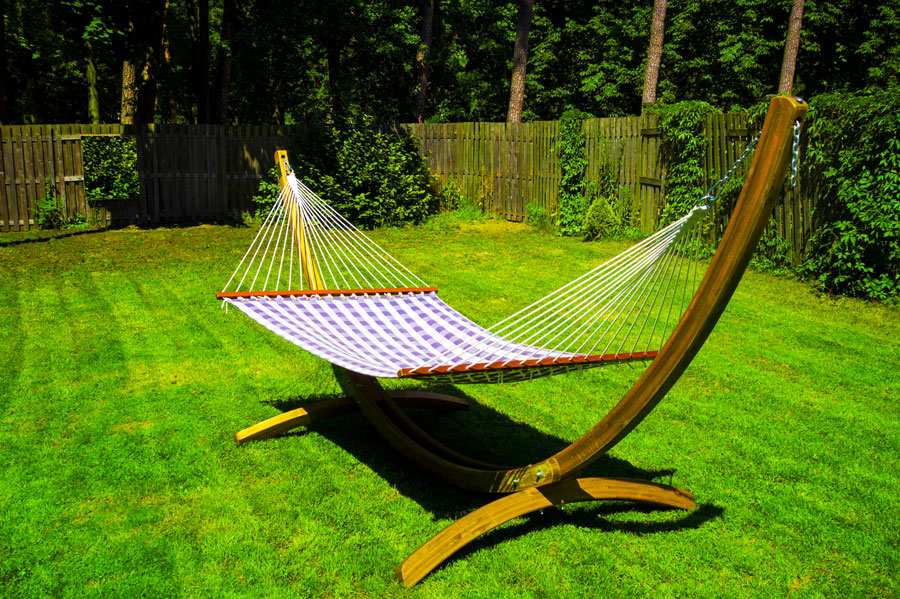
How to Set Up a Hammock With Stand Step by Step
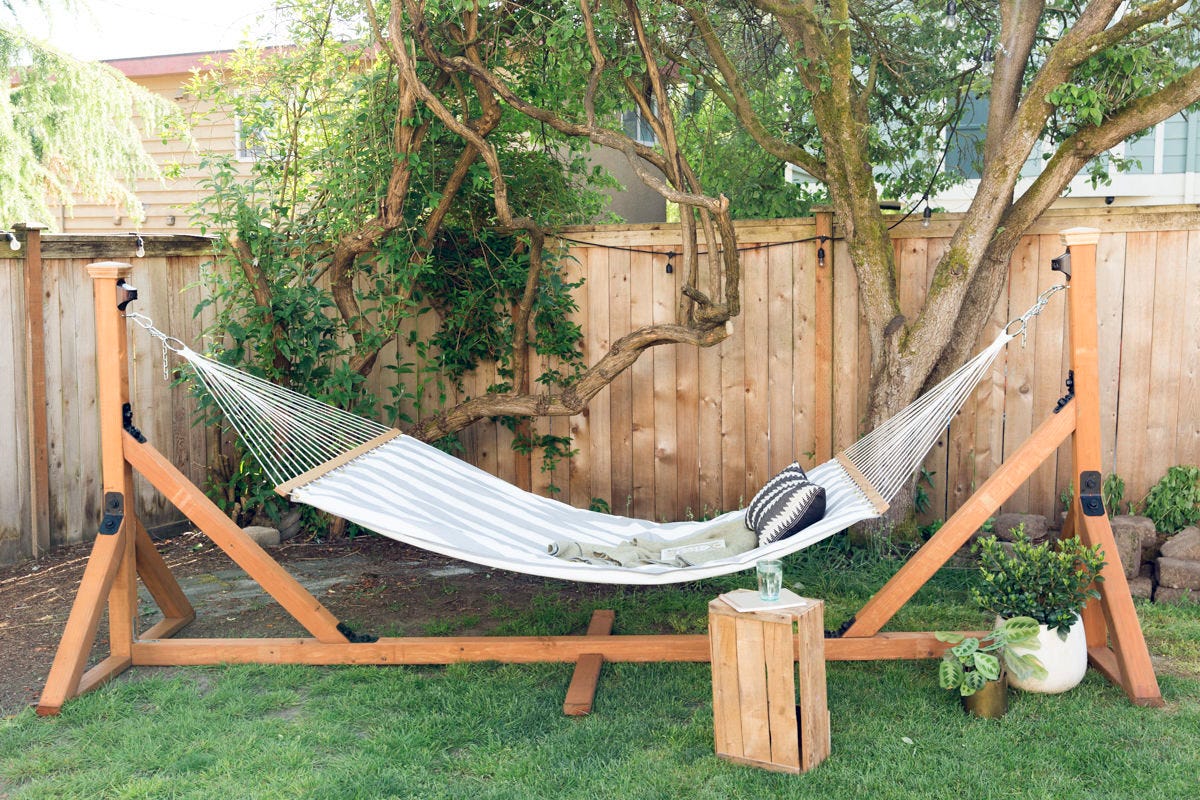
The best way to set up a hammock with stand is to work from the frame up. Assemble the base first, then attach the hammock, and test the load in small stages.
1. Choose a safe location
Pick a flat area with firm ground. Grass, a patio, or a level deck can work well. Avoid soft mud, loose sand, steep slopes, and ground with hidden holes.
Leave open space around the stand. A hammock can swing several inches as you enter or move. Keep it away from walls, fences, grills, sharp garden tools, pools, and low branches.
Place the stand where you want it before tightening every bolt. Moving a fully assembled stand can be awkward, especially with a steel frame.
2. Lay out and identify the frame parts
Place all frame pieces on the ground. Group the parts by type and compare them with the instruction diagram.
Most stands have:
• Two end supports
• One or more center beams
• Base feet or stabilizer bars
• Hooks, eye bolts, or hanging arms
• Fasteners and locking pins
Do not force parts together. If a hole does not line up, a section may be facing the wrong way. Forcing a bolt can damage the threads and weaken the connection.
3. Assemble the stand loosely
Connect the main frame sections with the supplied bolts or pins. Tighten each connection by hand first, but leave a little movement in the frame.
This small amount of movement helps the holes align as the stand takes shape. Once the entire frame is assembled, check that it sits evenly on the ground.
For wooden stands, place washers under the nuts when provided. Washers spread the pressure and help protect the wood. For metal stands, make sure each locking pin passes fully through its hole.
4. Tighten every connection
Now tighten the bolts with the correct tool. Do not add random hardware from a toolbox unless the manufacturer permits it.
Tighten connections evenly rather than fully tightening one side before the other. Uneven pressure can twist the frame. Check that the feet remain flat after tightening.
If the stand has adjustable height or length holes, use matching positions on both sides. Uneven settings can place extra stress on the frame and make the hammock hang crooked.
5. Attach the hammock
Find the hanging ends of the hammock. These may be fabric loops, ropes, chains, or metal hooks.
Attach each end to the stand’s hanging points. Make sure the connector is fully seated. If the hammock uses carabiners, close and lock them as directed. If it uses chains, place both sides at the same height to start.
The hammock should hang in a gentle curve. This curve is often called a sag. A deep, relaxed curve is safer and more comfortable than a tight, flat hammock.
6. Set the starting height
When learning how to set up a hammock with stand, start with the hammock seat about 18 to 24 inches above the ground when empty. The hammock will sit lower when you enter it.
The exact height depends on the hammock length, fabric stretch, and stand design. A taller user or a stretchy hammock may need a slightly higher starting point.
Use the “30-degree” rule as a general guide. The suspension line should form an angle of about 30 degrees above the ground when the hammock is loaded. This is not a replacement for the manufacturer’s instructions, but it offers a useful starting point.
7. Test the hammock carefully
Stand beside the hammock and press down on the center with one hand. Watch for frame movement, sliding feet, loose bolts, or unusual sounds.
Next, sit down slowly. Keep one hand on the stand or ground for balance. If everything feels stable, lower yourself into the hammock while keeping your weight centered.
Test the hammock for a few minutes before taking a nap. A slow test can reveal a loose connection that a quick glance may miss.
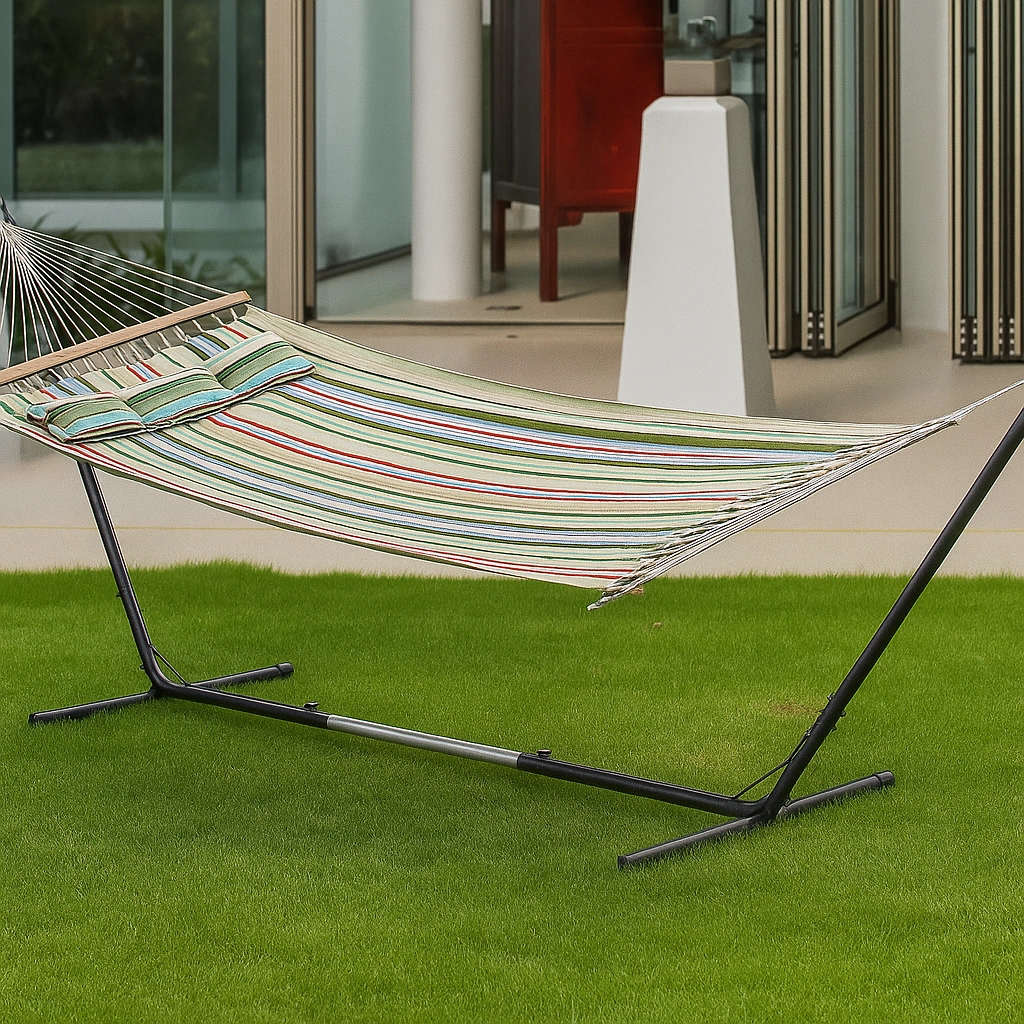
How to Position a Hammock With Stand for Comfort
Correct positioning affects both comfort and safety. A hammock that is too tight can feel unstable, while one that is too low may touch the ground when you sit.
When setting up a hammock with stand, aim for a relaxed curve rather than a straight line. Your body should rest diagonally across the hammock, not directly along its center line. This position spreads your weight and gives your back better support.
Try these adjustments:
• Raise both ends equally if the hammock sits too low
• Lower both ends equally if the hammock feels too tight
• Use the next chain link or adjustment hole on both sides
• Recenter the fabric after each change
• Keep the stand feet fully flat on the ground
A common mistake is hanging the hammock like a tight clothesline. That can increase stress on the stand and suspension points. It can also make the hammock feel tippy.
In my own testing, the most comfortable setup came from a deeper sag and a slight diagonal position. The hammock looked less “tight,” but it felt much more stable once I settled in.
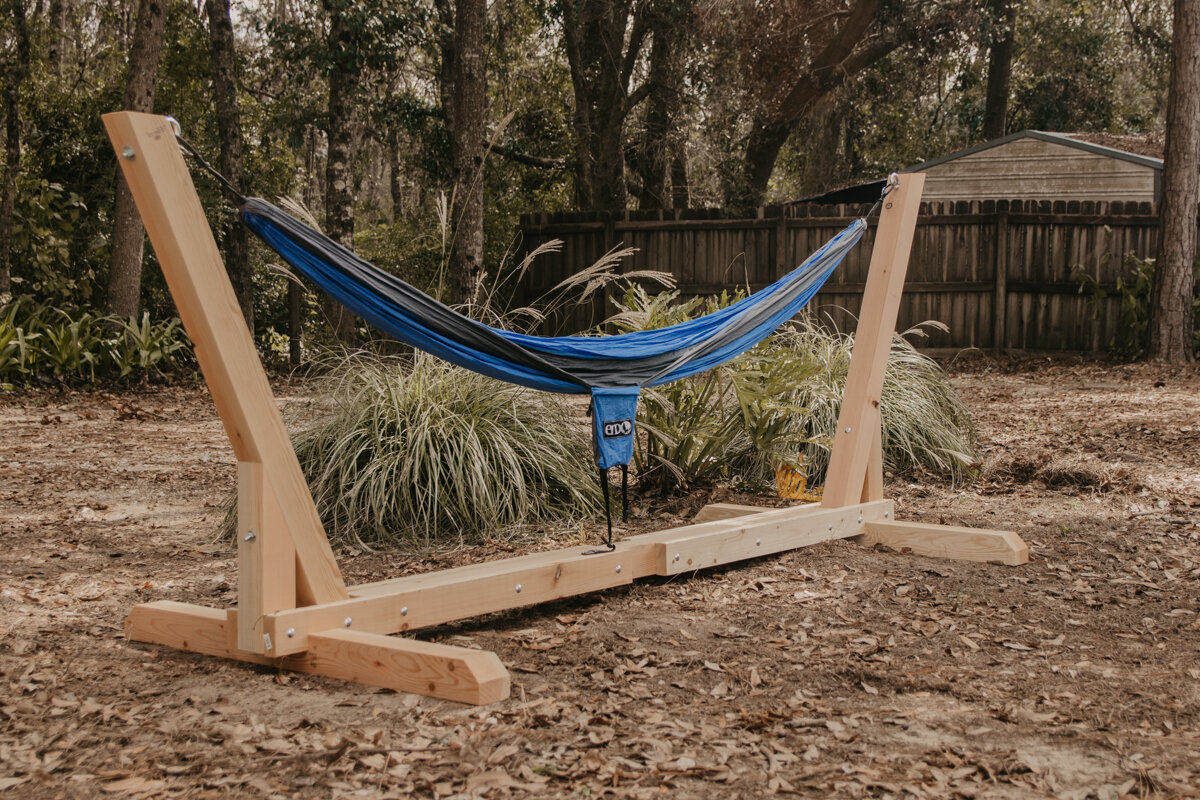
Hammock Stand Safety Tips
A hammock stand is only as safe as its weakest connection. Follow the weight limit printed by the manufacturer, and include the weight of blankets, pets, and any other items in the hammock.
Keep these safety rules in mind:
• Inspect the stand before every use
• Stop using the hammock if fabric shows tears or severe fading
• Replace stretched, frayed, or damaged ropes
• Keep children from swinging or jumping in the hammock
• Never exceed the listed weight capacity
• Do not attach the hammock to an unsuitable object
• Keep the stand away from fire, heaters, and sharp edges
• Do not leave a hammock outside in severe wind or storms
• Supervise children and pets around the stand
According to general product safety guidance, falls and tip overs are the main concerns with suspended recreational products. That is why slow entry, stable ground, and regular inspection matter more than appearance.
Do not modify the stand by drilling new holes, welding parts, or extending the frame. These changes can affect the load path and cancel the manufacturer’s safety design.
If you use a hammock on a deck, check the deck surface and keep the stand away from weak or damaged boards. On soil, press each foot down firmly and recheck the stand after the first use.
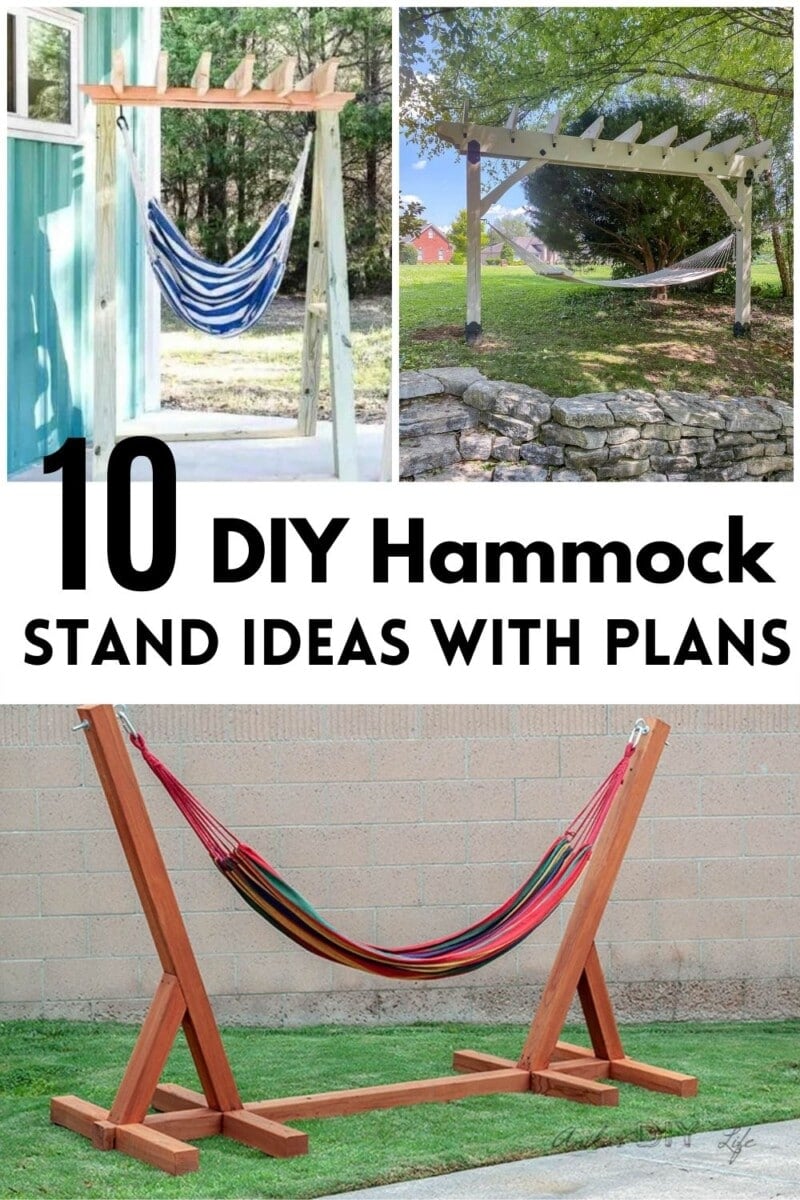
Common Mistakes When Setting Up a Hammock With Stand
Many setup problems come from small errors. Fortunately, most are easy to fix.
Hanging the hammock too high
A high hammock may look attractive, but it can create a difficult and unsafe exit. Start lower. You can raise it later if the fabric touches the ground.
Tightening only one side
One side should never be higher or tighter than the other. Uneven tension makes the hammock twist and can place more force on one stand support.
Skipping the test sit
A stand may appear stable while empty. Always press down, sit slowly, and inspect the frame before fully reclining.
Using the wrong hook or loop
Some hammocks have several loops for adjustment. Attach both ends to matching loops. Do not connect to decorative loops that are not designed to hold weight.
Ignoring the surface
A stand on a slope may shift when loaded. Move it to level ground instead of trying to correct the slope with rocks or loose blocks.
Leaving bolts slightly loose
Vibration and normal movement can loosen hardware over time. Check the fasteners after the first few uses and at regular intervals.
I once noticed a stand shifting slightly during a test sit because one foot rested on soft soil. The frame was assembled correctly, but the surface was not. Moving it only a few feet onto firmer ground solved the problem.
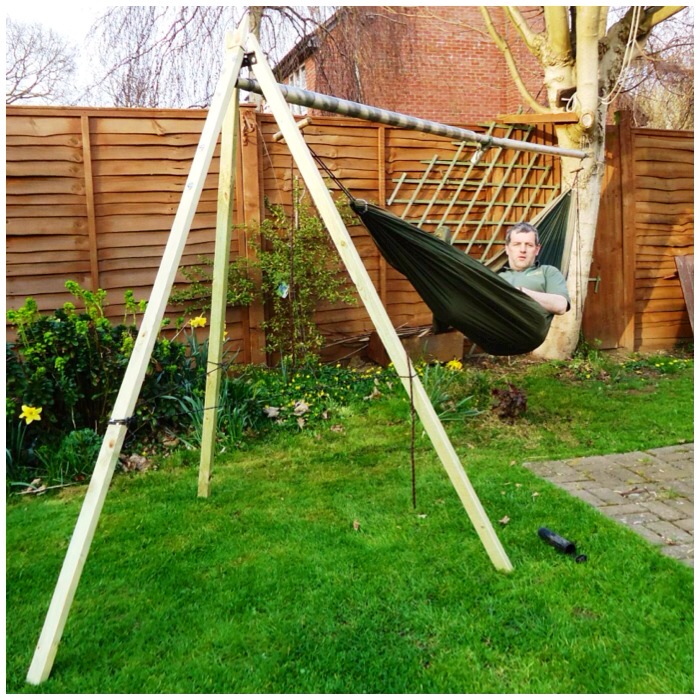
How to Maintain a Hammock and Stand
Good maintenance extends the life of both the hammock and its frame. Store the fabric indoors when possible, especially during rain, snow, or long periods of strong sun.
Sunlight can weaken some fabrics over time. Moisture can cause mildew, rust, or wood damage. Allow the hammock to dry fully before storage.
Use this simple maintenance routine:
• Wipe metal parts with a dry or slightly damp cloth
• Check for rust at joints and fasteners
• Tighten loose hardware
• Look for cracks in wooden beams
• Wash the hammock according to its care label
• Dry the fabric completely before folding it
• Store the hammock in a dry, ventilated place
Do not use harsh cleaners on fabric unless the care instructions allow them. Strong chemicals may weaken fibers or change the fabric’s color.
For wooden stands, inspect the finish each season. Small areas of peeling or cracking may need repair before moisture reaches the wood.
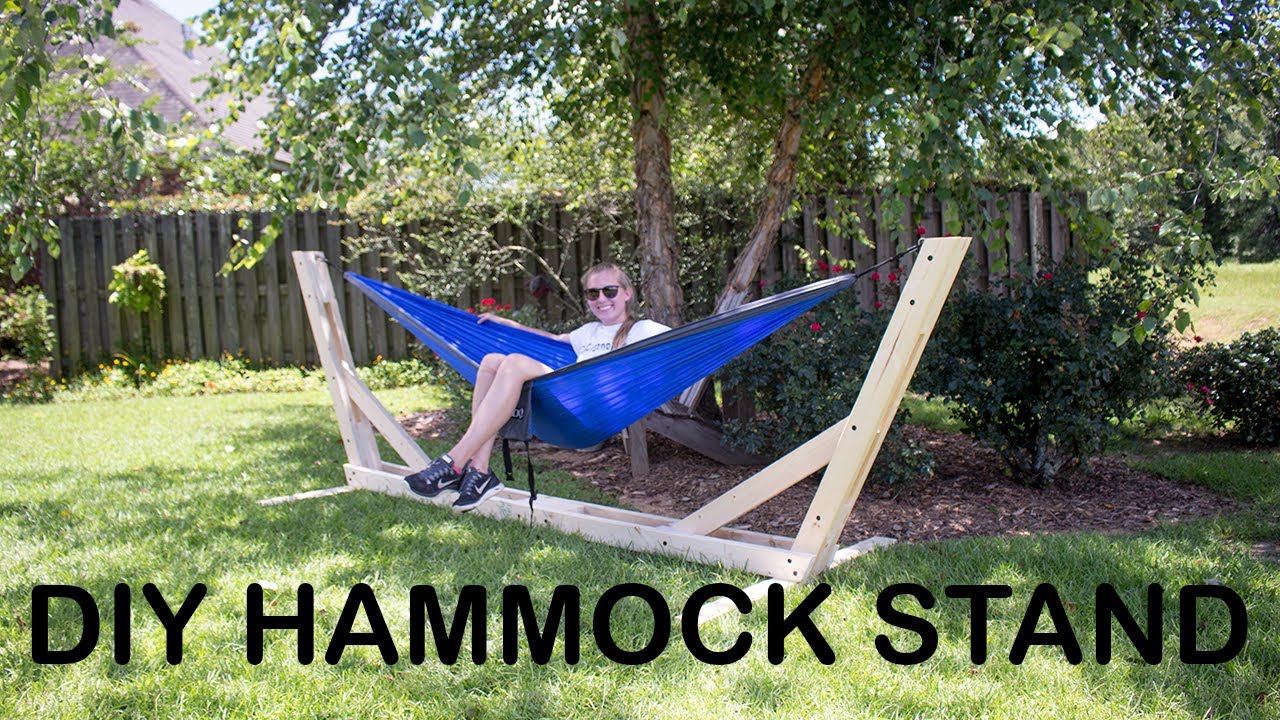
Indoor and Outdoor Hammock Stand Setup
Most people use a hammock stand outdoors, but some compact stands work indoors. The setup process is similar, yet the surroundings change the safety checks.
For outdoor use, focus on level soil, weather, drainage, and sunlight. Avoid areas where rainwater collects. A heavy stand can slowly sink into wet ground.
For indoor use, protect the floor with rubber pads if the manufacturer allows them. Check that the ceiling, furniture, walls, and lighting fixtures are clear of the hammock’s movement.
Never suspend a hammock from drywall, curtain rods, or weak furniture. A freestanding indoor stand is safer because it transfers the load to the floor rather than an unverified structure.
A portable stand is useful for travel or shared spaces. However, portable models may have smaller bases and less resistance to movement. Use them only on firm, level surfaces and follow their specific weight limits.
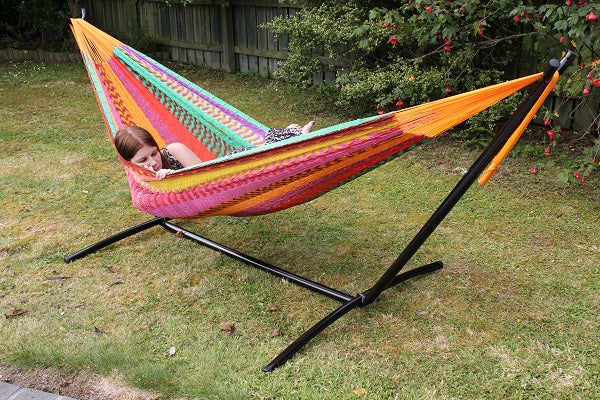
Benefits and Limits of Using a Hammock Stand
A hammock stand offers convenience. You do not need two mature trees with the right distance, height, and strength. You can also move the hammock when the sun or weather changes.
Main benefits include:
• Flexible placement
• No tree damage
• Simple installation
• Easy height adjustment
• Use on patios, lawns, and decks
There are also limits. A stand takes up floor space and may be heavy to move. Lightweight models can shift more easily, while large wooden stands may need two people to relocate.
A stand cannot fix a damaged hammock. It also cannot make an uneven surface safe. The frame, suspension system, hammock fabric, and ground must all work together.
The best choice depends on your space, body weight, hammock style, storage needs, and local weather. A sturdy stand with a clear weight rating is usually a better investment than a very light model with unclear specifications.
Frequently Asked Questions About How to Set Up a Hammock With Stand
How high should a hammock be on a stand?
Start with the empty hammock seat about 18 to 24 inches above the ground. Adjust both ends equally after a slow test sit, since the hammock will drop under your weight.
Can one person set up a hammock stand?
Many compact stands can be assembled by one person, but a second person makes the process easier and safer. Extra help is especially useful for large wooden stands or heavy steel frames.
Why does my hammock touch the ground?
The hammock may be too low, too long for the stand, or attached to loose adjustment points. Raise both ends evenly, check the stand’s recommended hammock length, and confirm that the frame is fully assembled.
How do I stop a hammock stand from tipping?
Use firm, level ground and keep all feet flat. Do not swing hard, exceed the weight rating, or place the stand on loose soil, steep ground, or uneven blocks.
Can I leave a hammock on its stand outside?
You can, but long exposure to rain, snow, wind, and sunlight may shorten its life. Remove and dry the hammock during harsh weather, and inspect the stand before using it again.
How often should I check the hammock stand?
Check it before each use, especially after moving it or after strong weather. Tighten loose hardware and replace any damaged fabric, rope, carabiner, pin, or frame part.
Conclusion
Setting up a hammock with stand is easy when you use a level surface, assemble the frame correctly, attach both ends evenly, and test the load slowly. A gentle sag usually gives better comfort than a tight line, while regular inspections help prevent avoidable problems.
Take a few extra minutes to check the bolts, fabric, suspension points, and ground. Then make small height changes until the hammock feels stable and relaxed. Set up your hammock with stand today, follow the safety steps above, and share your favorite comfort or setup tip with other hammock users.

Zayden Halbrook is a travel enthusiast and gear researcher passionate about making every journey smoother and more enjoyable. With a keen eye for practical travel essentials and real-world tips, he helps readers choose the right gear and travel smarter. When he’s not testing travel kits or exploring new destinations, Zayden shares simple, reliable advice to make every trip stress-free.