
Introduction
A broken backpack zipper does not always mean you need a new bag. In many cases, you can replace the zipper slider, repair the zipper teeth, or sew in a new zipper with basic tools. This guide explains how to replace a backpack zipper on school bags, work packs, hiking packs, and travel bags used across the United States.
The best repair depends on the damage. A loose slider may take only a few minutes to fix. A missing tooth may require a new zipper. A badly torn zipper tape usually calls for a full zipper replacement.

Decide What Needs to Be Replaced
First, inspect the zipper from end to end. Do not remove the old zipper until you know which part has failed.
A backpack zipper has four main parts:
- Slider: The part you pull.
- Pull tab: The small handle attached to the slider.
- Teeth or coils: The parts that join the two sides.
- Zipper tape: The fabric strips sewn to the backpack.
Use this quick guide:
| Problem | Best repair |
|---|---|
| The slider comes off one side | Reattach or replace the slider |
| The zipper opens behind the slider | Replace the slider |
| The pull tab breaks | Replace the pull tab or slider |
| One tooth bends or falls out | Replace the zipper if the tooth affects the closing area |
| The zipper tape tears | Sew in a new zipper |
| The slider is stuck | Clean and lubricate it before replacing parts |
| The zipper works but the end stop is missing | Add a new stop or sew a secure bar tack |
A zipper slider is the most common part to fail. If the teeth and fabric tape remain intact, replacing only the slider is usually easier than replacing the entire zipper.
When a full zipper replacement is needed
Replace the full zipper when:
- Several teeth are missing.
- The teeth no longer line up.
- The fabric tape has pulled away from the backpack.
- The zipper is badly bent or crushed.
- The zipper separates even after a new slider is installed.
- The zipper runs through a curved seam that has lost its shape.
A full replacement takes more sewing skill. If the backpack has thick padding, waterproof fabric, or a curved opening, a professional tailor or luggage repair shop may produce a stronger result.

Tools and Materials You Need
Gather the tools before you begin. The exact supplies depend on whether you are replacing the slider or the entire zipper.
For a slider replacement, you may need:
- A matching zipper slider
- Small pliers
- Seam ripper
- Tweezers
- Needle and strong polyester thread
- Small scissors
- Replacement zipper stops, if needed
For a full zipper replacement, also gather:
- A new zipper of the same length
- A zipper with the same tooth or coil style
- Sewing machine or hand-sewing needle
- Heavy-duty polyester thread
- Clips or pins
- Fabric marking pen
- Ruler or measuring tape
- Thimble, if sewing by hand
Use clips instead of pins when possible. Pins can leave holes in waterproof fabric and can shift thick layers.
Choose the correct zipper
the replacement zipper must match more than its length. Check these details:
- Length: Measure the old zipper from the top stop to the bottom stop.
- Type: Identify whether it uses metal teeth, molded plastic teeth, or nylon coil.
- Width: A larger slider will not work correctly on a small zipper.
- Opening style: Check whether the zipper is closed-end, open-end, or two-way.
- Shape: Match the curve and placement of the original zipper.
- Color: Choose a close color match if appearance matters.
Do not measure only the fabric opening. A zipper is often longer than the visible opening because the ends extend past the seam.
If you cannot find the size printed on the back of the slider, take the old slider to a fabric store, luggage repair shop, or sewing shop. Matching the slider by sight alone can lead to a poor fit.
How to Replace a Backpack Zipper Slider
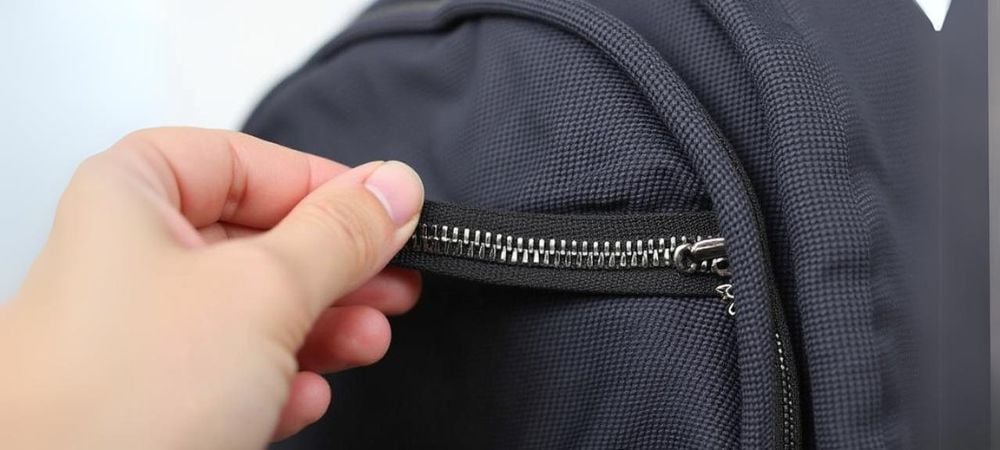
Replacing the slider is the simplest backpack zipper repair. Use this method when the zipper teeth and tape are still in good condition.
1. Move the slider to an accessible position
Open the zipper as far as possible. If the slider is stuck, do not yank it. Pulling hard can bend the teeth or tear the tape.
Work the slider back and forth with short, gentle movements. Remove any thread, lint, or fabric caught in the teeth.
2. Remove the old zipper stop
Most zippers have a small metal or molded stop at the end. Use pliers to lift or squeeze the stop until it comes free.
If the stop is sewn into the backpack seam, use a seam ripper to remove only the stitches holding the zipper end. Avoid cutting the backpack fabric.
Keep the old stop if it is not damaged. You may be able to reuse it.
3. Slide off the old slider
Pull the old slider off the zipper tape. If it will not come off, check for a bent tooth or trapped fabric. Do not force the slider over a damaged section.
Place the old slider beside the replacement. The new slider should have the same shape and fit the zipper tape without excessive force.
4. Install the replacement slider
Hold both sides of the zipper tape evenly. Feed the teeth or coils into the slider at the same time.
Keep the tape flat. If one side enters higher than the other, the slider may twist or fail to join the teeth.
Pull the slider slowly across a short section. Stop if the teeth do not line up.
5. Test the zipper
Close and open the zipper several times. The slider should move with steady pressure. The teeth should meet behind the slider without opening.
If the zipper still separates, the new slider may be the wrong size. The zipper teeth may also be worn or damaged.
6. Replace the zipper stop
Install a new stop with pliers, or sew several tight stitches across the end of the zipper. A sewn stop should cross both sides of the zipper and prevent the slider from coming off.
For extra strength, make a small bar tack with several passes of thread. Keep the stitches clear of the slider's path.
How to Replace the Entire Backpack Zipper
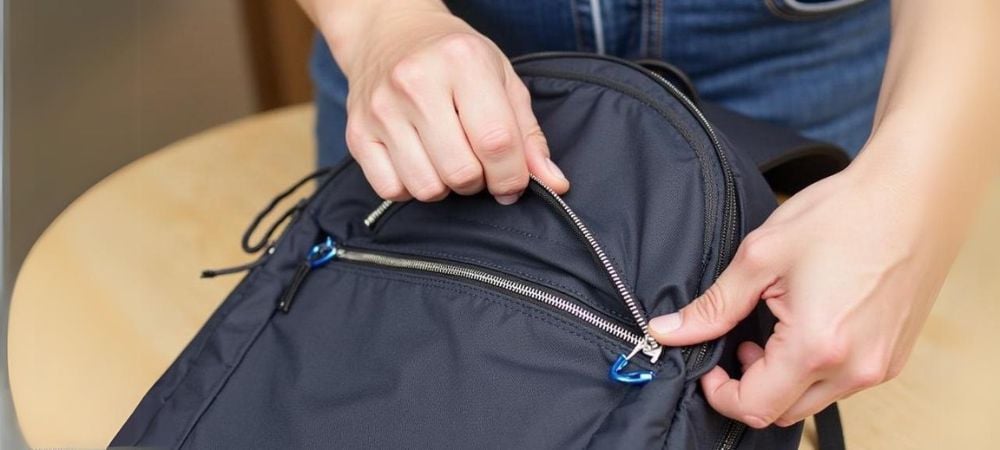
A full zipper replacement takes longer because you must remove the old zipper and sew the new one into the backpack.
1. Measure and buy the replacement zipper
Measure the old zipper while it is flat. Start at the inside edge of one end stop and finish at the inside edge of the other stop.
Match the new zipper to the old one in:
- Length
- Width
- Tooth or coil type
- Number of sliders
- Direction of opening
- Curve and seam placement
A zipper that is slightly too long can sometimes be shortened at the end. A zipper that is too short may leave stress on the backpack opening.
2. Empty and clean the backpack
Remove everything from the bag. Brush away dust and lint near the zipper.
If the backpack is dirty, clean and dry it before sewing. Dirt can make the fabric stiff and can clog the new zipper.
3. Photograph the original zipper
Take clear photos of both sides of the zipper before removing it. Include the corners, seam folds, zipper stops, and lining.
These photos help you restore the original position. They are especially useful when the zipper curves around a backpack pocket.
4. Remove the old stitching
Use a seam ripper to cut the thread that holds the zipper to the backpack. Work from the inside when possible.
Pull out loose thread as you go. Do not cut the backpack fabric or the lining.
If the zipper has a protective flap, note how the flap overlaps the zipper. It must return to the same position to protect the opening.
5. Position the new zipper
Place the new zipper under the opening. Align the zipper teeth with the position of the old teeth.
Close the zipper before clipping it in place. This helps keep both sides even.
Start by clipping the center or straight section. Then work toward the ends and corners. Keep the zipper tape smooth and avoid pulling it tight.
6. Sew one side
Sew along the old stitch line. Use a strong polyester thread and a needle that can pass through the backpack fabric.
If using a sewing machine, slow down over thick seams. Turn the hand wheel by hand when the needle reaches several fabric layers.
If sewing by hand, use a backstitch. A backstitch creates a strong line because each stitch overlaps the last one.
7. Sew the second side
Close the zipper before attaching the second side. Check that the corners and ends line up.
Sew a short section first. Then open and close the zipper to check the fit before sewing the full length.
This check can save time. If the zipper is uneven, remove a few stitches and correct it before finishing.
8. Reinforce the ends
Add firm stitches at both ends of the zipper. These stitches keep the zipper from pulling out of the seam.
Make a bar tack across the zipper tape where the original zipper had a stop. Do not place the bar tack so close to the slider that it blocks movement.
9. Trim and inspect
Cut loose threads. Check the inside of the backpack for exposed thread loops or sharp metal ends.
Open and close the zipper several times. Load the backpack lightly and test it again. A zipper that works when empty may bind when the bag is under tension.

How to Repair a Backpack Zipper Without Sewing
You can make a temporary repair without sewing, but most no-sew methods are less durable than a stitched repair.