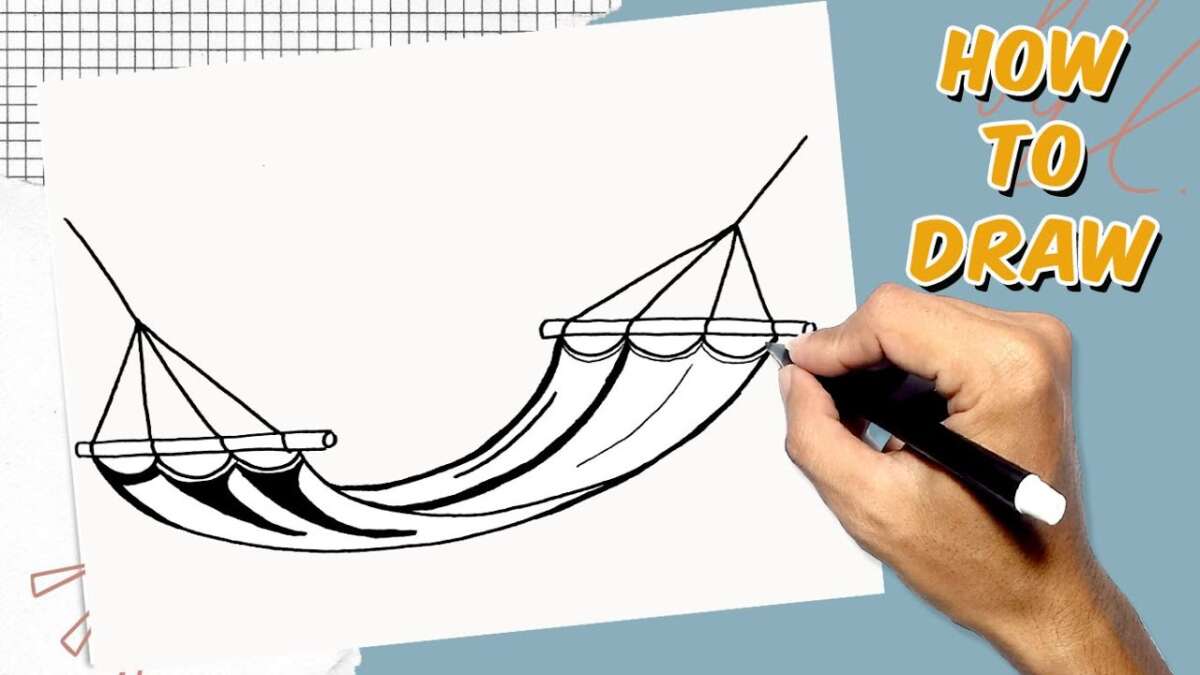
Begin with two support points, sketch a gentle sagging curve, add ropes and woven fabric.
I’ve taught drawing workshops and sketched hammocks for years, so I know how to draw a hammock in ways that look simple and believable. This guide breaks the process into clear steps, shows materials and style choices, and gives practical tips from my experience so you can draw a hammock that reads real and stylish on paper or screen.

Materials and tools you need to draw a hammock
Keep your toolkit small and useful. Pick supplies that match your comfort and medium.
- Pencil and eraser for loose sketches and corrections.
- Fine liner or ink pen for clean outlines.
- Colored pencils, markers, or digital brushes for shading and color.
- Ruler or straightedge to help with anchor lines and perspective.
- Reference photo of a hammock for shape and fabric detail.
Start simple with pencil sketches, then refine lines and add texture. If you draw digitally, use layers for sketch, ink, and color. Practicing with simple supplies builds better observation skills when you draw a hammock.

Step-by-step guide: how to draw a hammock
Follow these steps to create a clear, realistic hammock drawing.
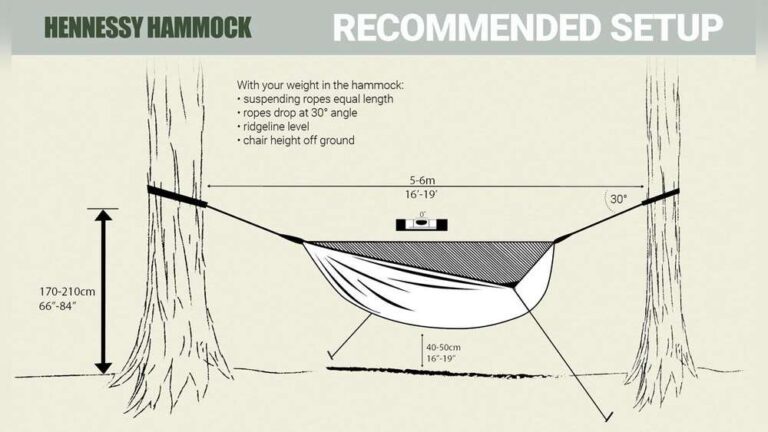
- Establish anchor points
- Draw two vertical markers for the tree trunks, posts, or hooks.
- Keep the spacing balanced; too close makes the hammock steep, too far makes it flat.
- Sketch the support lines
- Draw two straight lines from each anchor point toward the hammock area.
- These lines act as ropes or straps and set tension in the composition.
- Draw the hammock curve
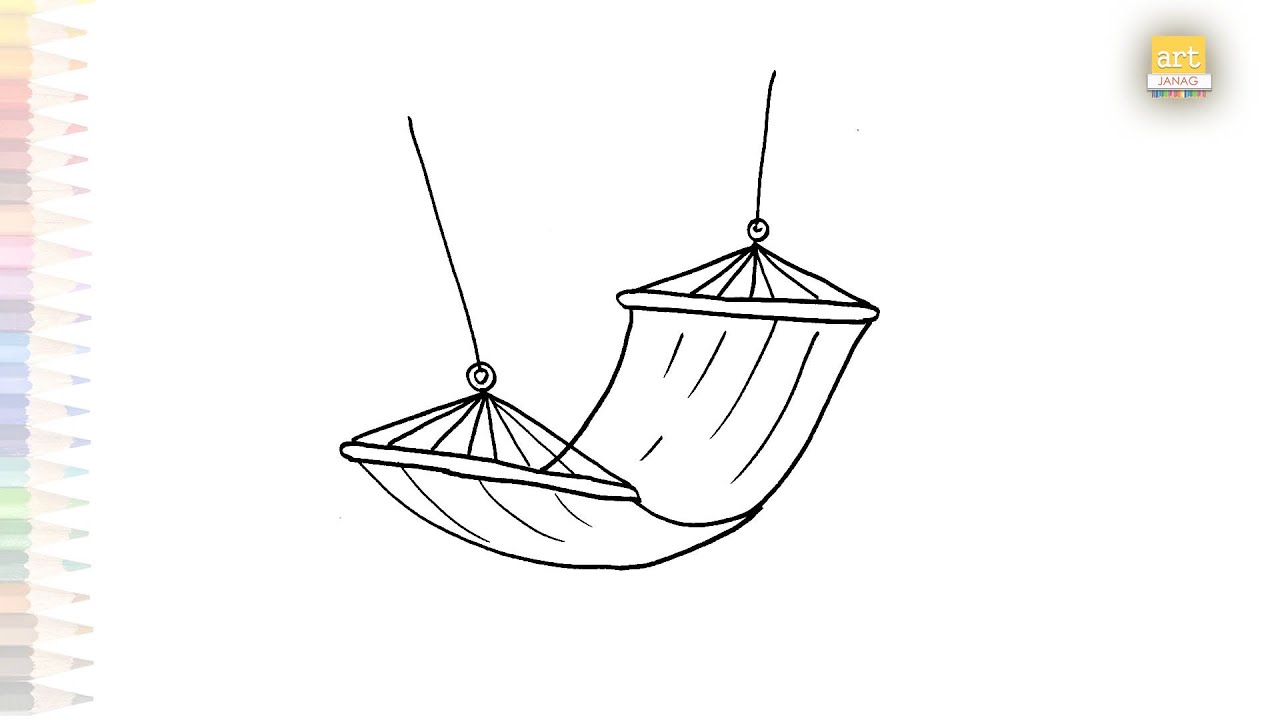
- Between the rope ends, draw a soft U-shaped curve for the body of the hammock.
- The curve should show sag; deeper sag implies a relaxed, used hammock.
- Add fabric edges and gathered ends
- Draw the fabric edges along the curve, showing thickness or fold.
- At each end, sketch gathered fabric or tied loops that meet the ropes.
- Indicate suspension details
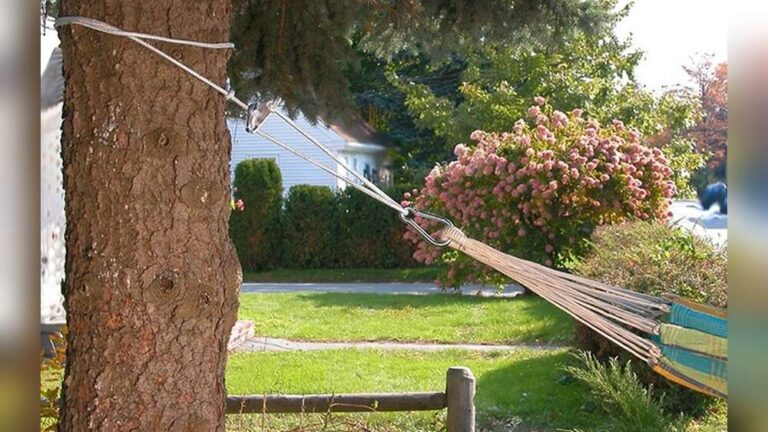
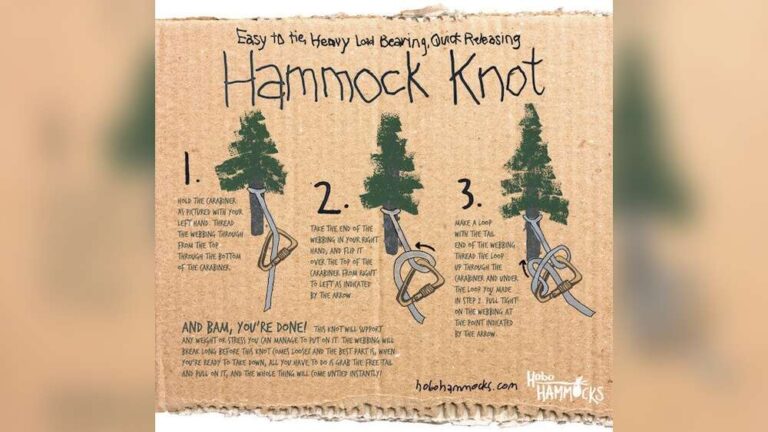
- Add knots, rings, or carabiners where ropes join the hammock ends.
- Small hardware details make the scene believable.
- Create texture and weave
- For woven hammocks, draw parallel lines across the body, then cross-lines to form a net.
- For fabric hammocks, add subtle folds and creases along the curve.
- Add people or objects (optional)
- Putting a simple silhouette or a book on the hammock adds scale and story.
- Keep figure proportions simple to avoid overpowering the hammock.
- Ink and color
- Ink your final lines if using pen, then erase pencil marks.
- Shade the underside darker and add highlights on the top for depth.
- Final touches
- Add background hints like trees, a porch, or a beach to set context.
- Adjust contrast and color saturation to match your style.
Repeat the process several times with varied spacing, sag, and textures to master how to draw a hammock across styles.

Composition and perspective tips for drawing hammocks
Good composition makes the hammock feel part of the scene. Use these tips when you draw a hammock.
- Use eye-level perspective for a straightforward side view.
- Tilt the hammock toward or away to show depth with foreshortening.
- Place one anchor slightly closer to the viewer to create diagonal interest.
- Keep horizon and ground hints consistent with the anchor heights.
When you draw a hammock in perspective, the sagging curve will gently follow the line of sight. Short, deliberate strokes work well to show weave and fabric folds without over-detailing.

Style choices: realistic, stylized, and cartoon hammocks
Decide on a visual approach before you start. Each style changes how you draw a hammock.
- Realistic: Focus on accurate fabric folds, shadows, and rope tension.
- Stylized: Simplify the net or fabric into bold shapes and clear lines.
- Cartoon: Exaggerate sag and add playful accessories like a cat or a large pillow.
I often switch styles depending on audience and speed. Quick sketches use minimal lines; finished pieces include texture and color layers. Practicing all three helps you adapt when you draw a hammock for different projects.
Common mistakes and how to avoid them when you draw a hammock
Avoid these pitfalls to make your hammock drawings stronger.
-
Mistake: Straight, flat body with no sag.
-
Fix: Always draw a U-curve to show gravity and weight.
-
Mistake: Ropes that ignore perspective.
-
Fix: Align ropes to the same vanishing point when drawing in perspective.
-
Mistake: Over-detailing the weave early.
-
Fix: Block in basic shapes, then add texture in the final pass.
Learning to avoid these mistakes speeds up your process and improves realism. I learned by redrawing the same hammock from different angles until the sag and ties looked natural.
Color, shading, and texture when you draw a hammock
Color and light make the hammock feel tactile. Use these simple rules.
- Shade the lower curve slightly darker to suggest shadow and depth.
- Highlight the top crest where light naturally hits.
- For woven hammocks, alternate light and dark strands to show interlacing.
- Use muted, natural colors for outdoor hammocks and bright patterns for decorative ones.
I prefer colored pencils for subtle texture and digital brushes for quick gradients. When you draw a hammock, think about the environment’s light—sunny beach, shaded porch, or forest canopy will dictate your palette.

Practice exercises and quick sketches to improve
Short, focused practice sessions help you improve fast. Try these exercises.
- 10-minute sag studies: Draw five hammock curves with different sag depths.
- Anchor practice: Sketch anchors and rope angles from reference or imagination.
- Texture drills: Spend five minutes drawing different weaves and fabric creases.
- Mini-scenes: Draw a small hammock in three contexts—beach, backyard, treehouse.
These drills made my lines more confident and my hammocks more believable. Small, daily practice beats occasional long sessions.

Personal tips from experience
Here are lessons I learned while teaching and drawing hammocks.
- Start loose: A light sketch lets you adjust sag and spacing easily.
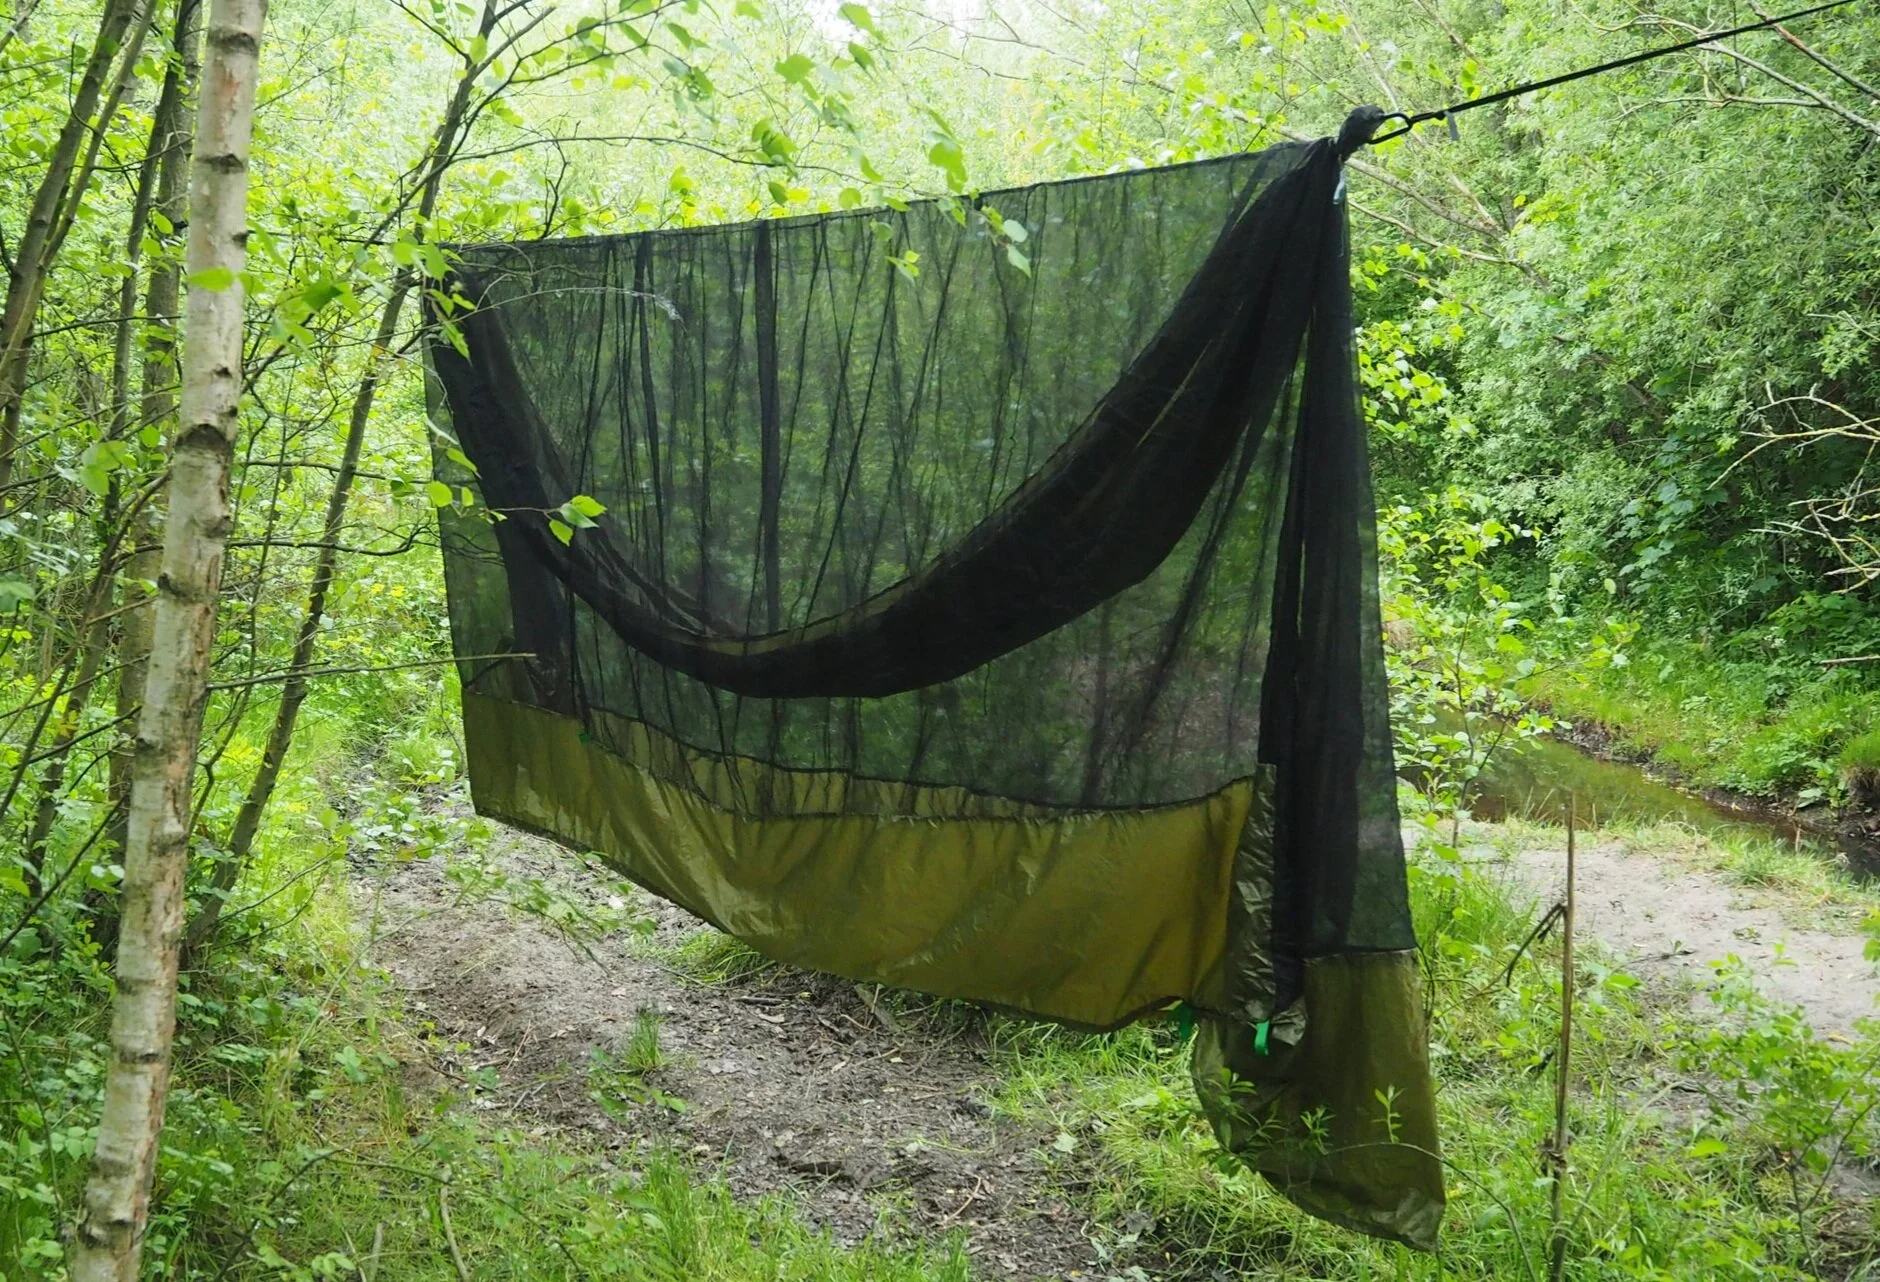
- Use reference photos: Real life shows how fabric folds around weight.
- Think story: A towel, book, or cat gives the hammock character.
- Don’t overwork: Simple marks often read better than busy details.
Once, I spent hours refining a woven pattern and lost the fresh shape of the hammock. Now I hold detail for the last pass. This keeps drawings lively and accurate.
Related concepts and when to use them
Knowing related drawing ideas helps when you draw a hammock in scenes.
- Drapery and cloth studies help with fabric folds.
- Rope and knot studies improve suspension realism.
- Figure-in-place sketching teaches scale and weight distribution.
Combine these skills when you draw a hammock with a person inside, and your composition will feel natural and convincing.
Frequently Asked Questions of how to draw a hammock
How do I start a hammock drawing if I’m a beginner?
Begin with two anchor points and a loose U-shaped curve between them. Add ropes, gather the fabric ends, and refine the shape step by step.
What’s the best way to show sag and weight?
Use a deeper U-curve and darker shading on the lower curve. Adding a simple silhouette inside the hammock shows real weight.
Should I draw the weave or fabric first?
Block in the basic shape and folds first, then add weave or texture in the final pass for clarity. This prevents overworking early stages.
How can I make a hammock look three-dimensional?
Add shadows under the hammock and highlights on the upper crest, and use perspective on the ropes to show depth. Foreshortening of the fabric helps too.
Can I draw a hammock digitally and still get texture?
Yes. Use layered brushes: a soft brush for shading, a textured brush for weave, and a fine brush for rope details. Work on separate layers for easy edits.
Conclusion
Drawing a hammock is about observing how fabric behaves under weight, setting clear anchor points, and using simple curves and texture to sell the idea. Practice the steps, try the quick drills, and choose a style that fits your goal. Start with a loose sketch, focus on the sag and suspension, and add details only after the shape reads well.
Now try this: sketch three hammocks in ten minutes—vary spacing, sag, and texture—and share your favorite. If you found these tips helpful, subscribe for more drawing guides or leave a comment with your hammock questions.

Zayden Halbrook is a travel enthusiast and gear researcher passionate about making every journey smoother and more enjoyable. With a keen eye for practical travel essentials and real-world tips, he helps readers choose the right gear and travel smarter. When he’s not testing travel kits or exploring new destinations, Zayden shares simple, reliable advice to make every trip stress-free.