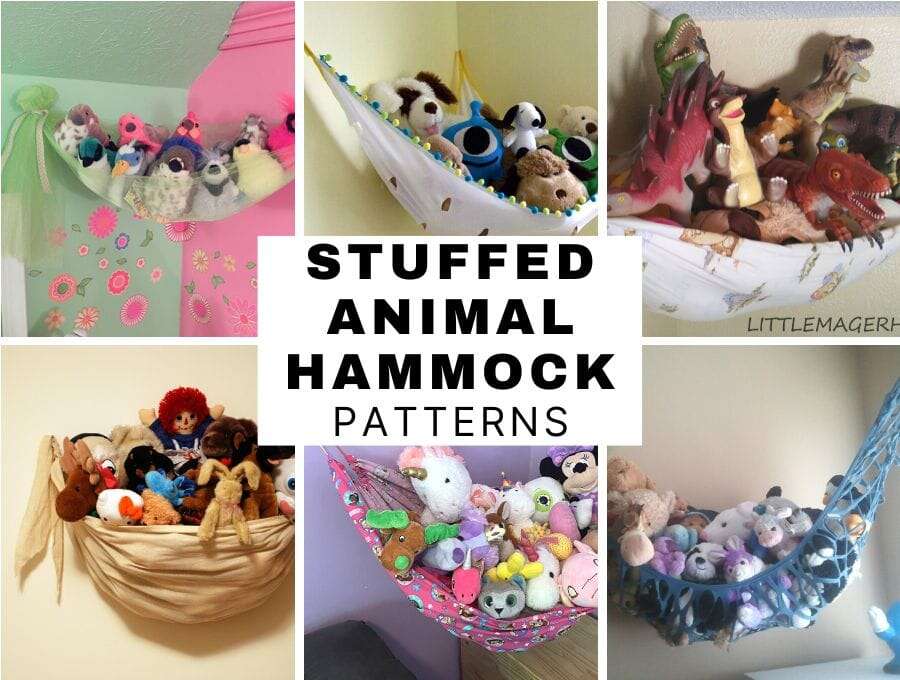
Make a cozy stuffed animal hammock with simple fabric, rope, and easy step-by-step instructions.
I have built dozens of small hammocks and organized playrooms for kids and caregivers, so I’ll walk you through how to make a stuffed animal hammock with clear steps, practical tips, and safety notes. This article covers tools and materials, a step-by-step sewing method, no-sew alternatives, mounting options, maintenance, troubleshooting, and creative variations—everything you need to make a durable, attractive stuffed animal hammock that fits your space and toys.
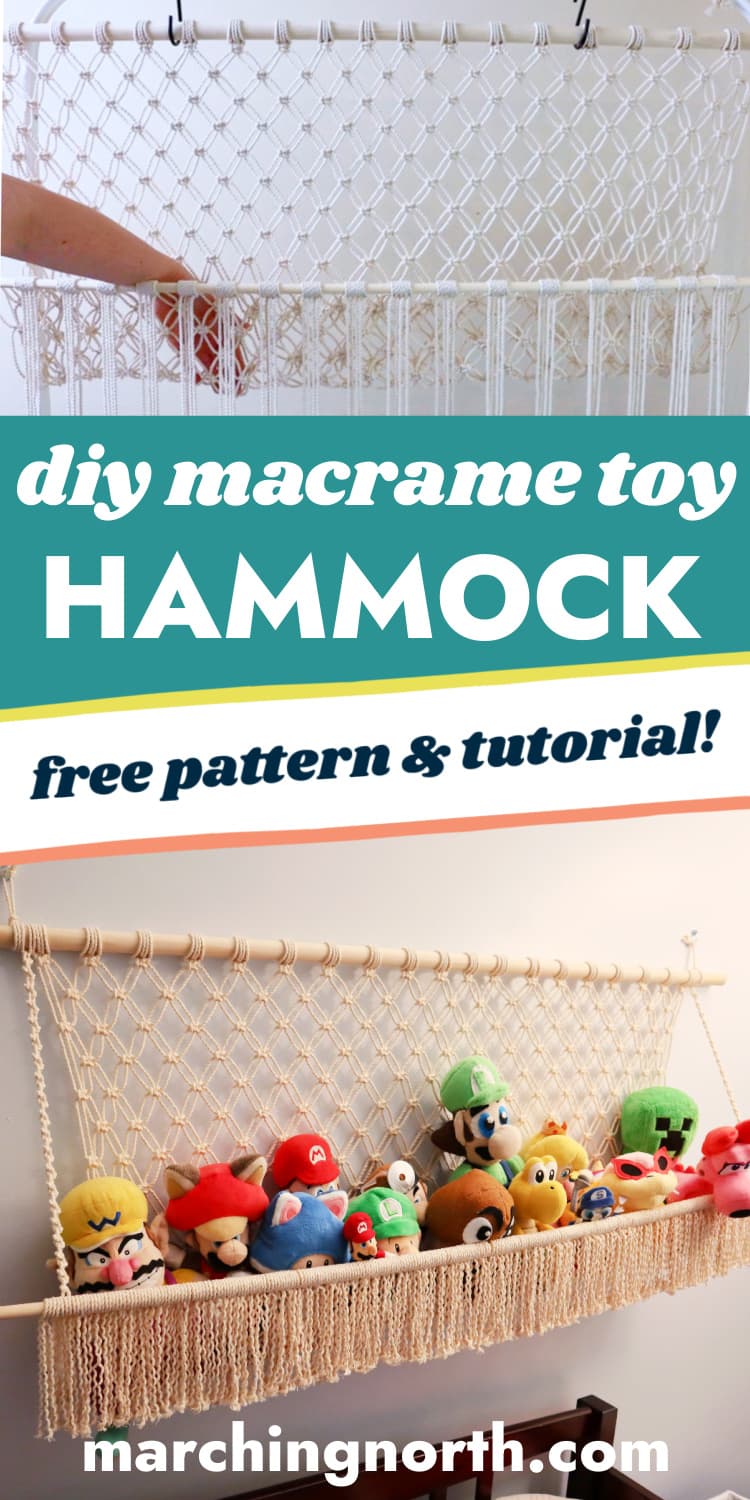
Materials and tools you’ll need
Here’s a concise list of what works best when you want to know how to make a stuffed animal hammock that lasts. I focus on supplies that are easy to source and safe for kids.
- Fabric options: quilting cotton, canvas, denim, or upcycled bedsheets; aim for medium to heavy weight.
- Reinforcement: bias tape, seam binding, or a double layer of fabric for corners.
- Rope or cord: non-stretch braided cord, cotton rope, or decorative macramé cord.
- Fasteners: metal grommets and grommet tool, sew-on D-rings, or heavy-duty snaps.
- Tools: sewing machine (or needle and strong thread), scissors, measuring tape, fabric marker, pins, and a ruler.
- Mounting hardware: ceiling hooks, wall anchors, or adhesive hooks rated for weight.
Tip from experience: choose fabric that washes easily and rope that resists stretch. When I first made a hammock, thin elastic cord caused sagging after a week. Use sturdy cord instead.

Design and sizing guidelines
Decide how many toys you want the hammock to hold and where it will hang before you start. Good planning simplifies how to make a stuffed animal hammock that fits the space.
- Small shelf hammock: 12 inches by 18 inches holds 4–6 small plush toys.
- Medium corner hammock: 18 inches by 24 inches fits larger stuffed animals.
- Large or layered hammock: 24 inches by 36 inches or multiple tiers for big collections.
Measure twice and cut once. If you make a corner hammock, cut the fabric into a square and fold diagonally to make a triangular hammock. If you plan several tiers, stagger the heights by 6–8 inches for easy access.

Step-by-step sewing method (recommended)
Follow these clear steps if you know basic sewing. This is my preferred approach for a strong, neat stuffed animal hammock.
- Cut the fabric
- Choose a rectangle sized for the toys you want to store (example: 18 x 24 inches).
- Add 1 inch to each side for seam allowance.
- Reinforce corners
- Fold over a 1-inch hem at each short end and sew a straight seam.
- Fold fabric into a neat pocket by bringing the long edges to the center and topstitching if you want extra strength.
- Create attachment points
- Mark four corner points where the ropes will tie or loop.
- Add metal grommets or sew small fabric loops reinforced with extra stitching.
- Attach ropes
- Cut four equal lengths of cord. For wall or ceiling mounts, 18–30 inches per rope works well depending on desired drop.
- Thread rope through grommets or loops and secure with knots, or tie to D-rings sewn into corners.
- Mount the hammock
- Install hooks or anchors into studs or with rated wall anchors.
- Hang each corner evenly and test with gentle pressure before adding toys.
Practical tip: double-stitch the corners and backstitch at seams. My early hammocks failed at the corner seams; reinforcing those areas resolved it.
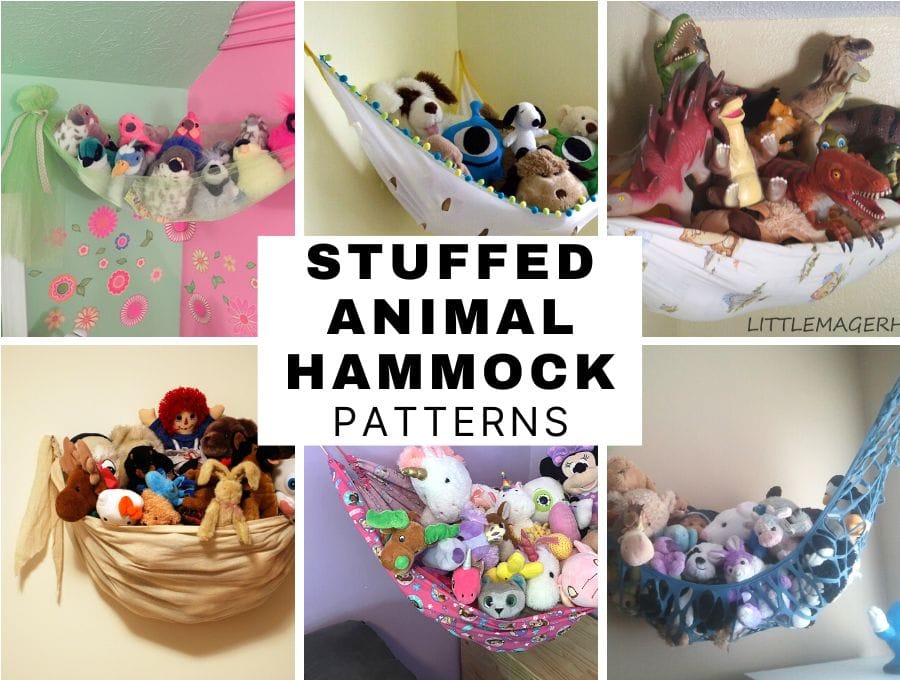
No-sew options for beginners
If you don’t sew, you can still create a sturdy hammock. Here are reliable no-sew approaches that show how to make a stuffed animal hammock quickly.
- Hem tape or fabric glue for edges: fold edges and secure with iron-on hem tape or strong fabric adhesive.
- Sew-free loops: use heavy-duty snap rings or clamp-on cable ties on reinforced corners.
- Use a pre-made fabric basket or slings: repurpose a small cotton tote by cutting two opposite sides and folding to form a hammock shape.
- Use a wooden dowel or small board: create a hanging shelf effect by tying cord to the ends and hanging from hooks.
No-sew tip: always test strength before loading with toys. Use multiple fasteners per corner if possible.
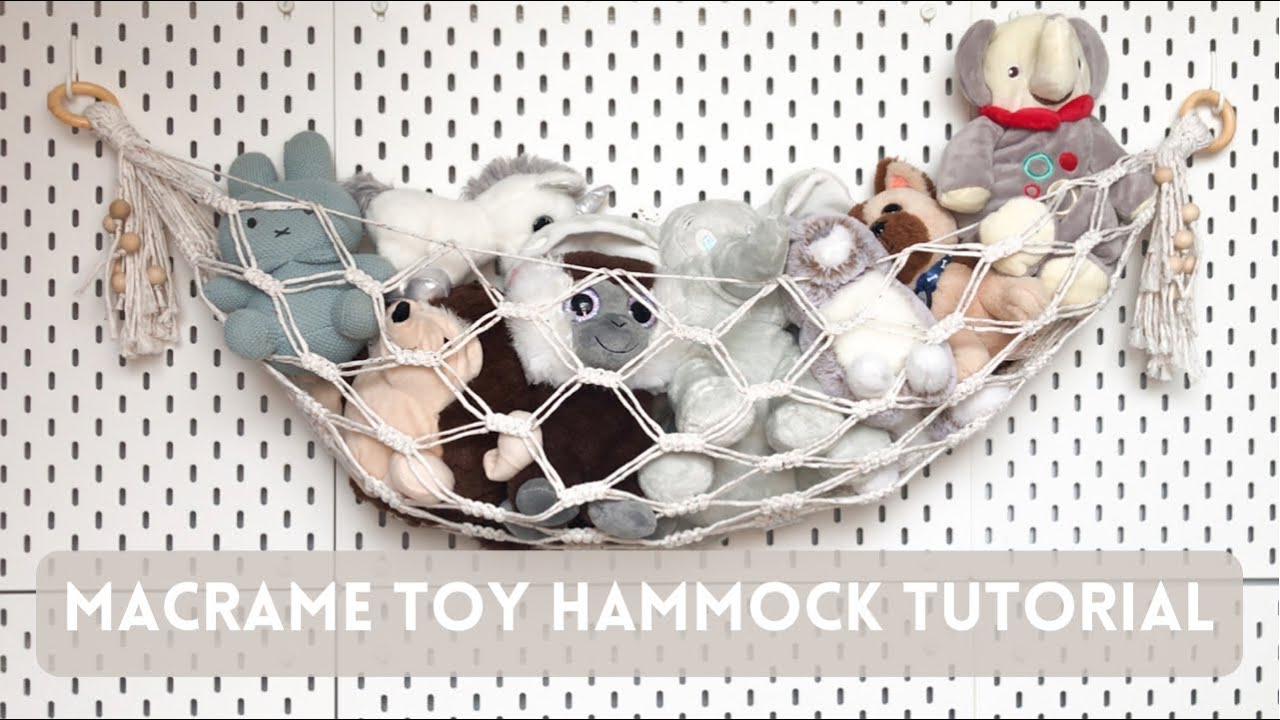
Mounting methods and placement ideas
Choosing how to hang the hammock affects accessibility, safety, and aesthetics. Here are safe, practical mounting options when learning how to make a stuffed animal hammock.
- Ceiling hooks into studs for central hanging: gives a floating look.
- Wall-mounted hooks or heavy-duty adhesive hooks for vertical hammocks: good for corners.
- Over-door hooks or tension rods for temporary setups: ideal for renters.
- Pegboard or multi-hook boards to create a multi-hammock display.
Safety note: always anchor into studs or use hardware rated for the expected load. For ceilings or drywall, use toggle bolts or molly bolts rated beyond the toy weight.
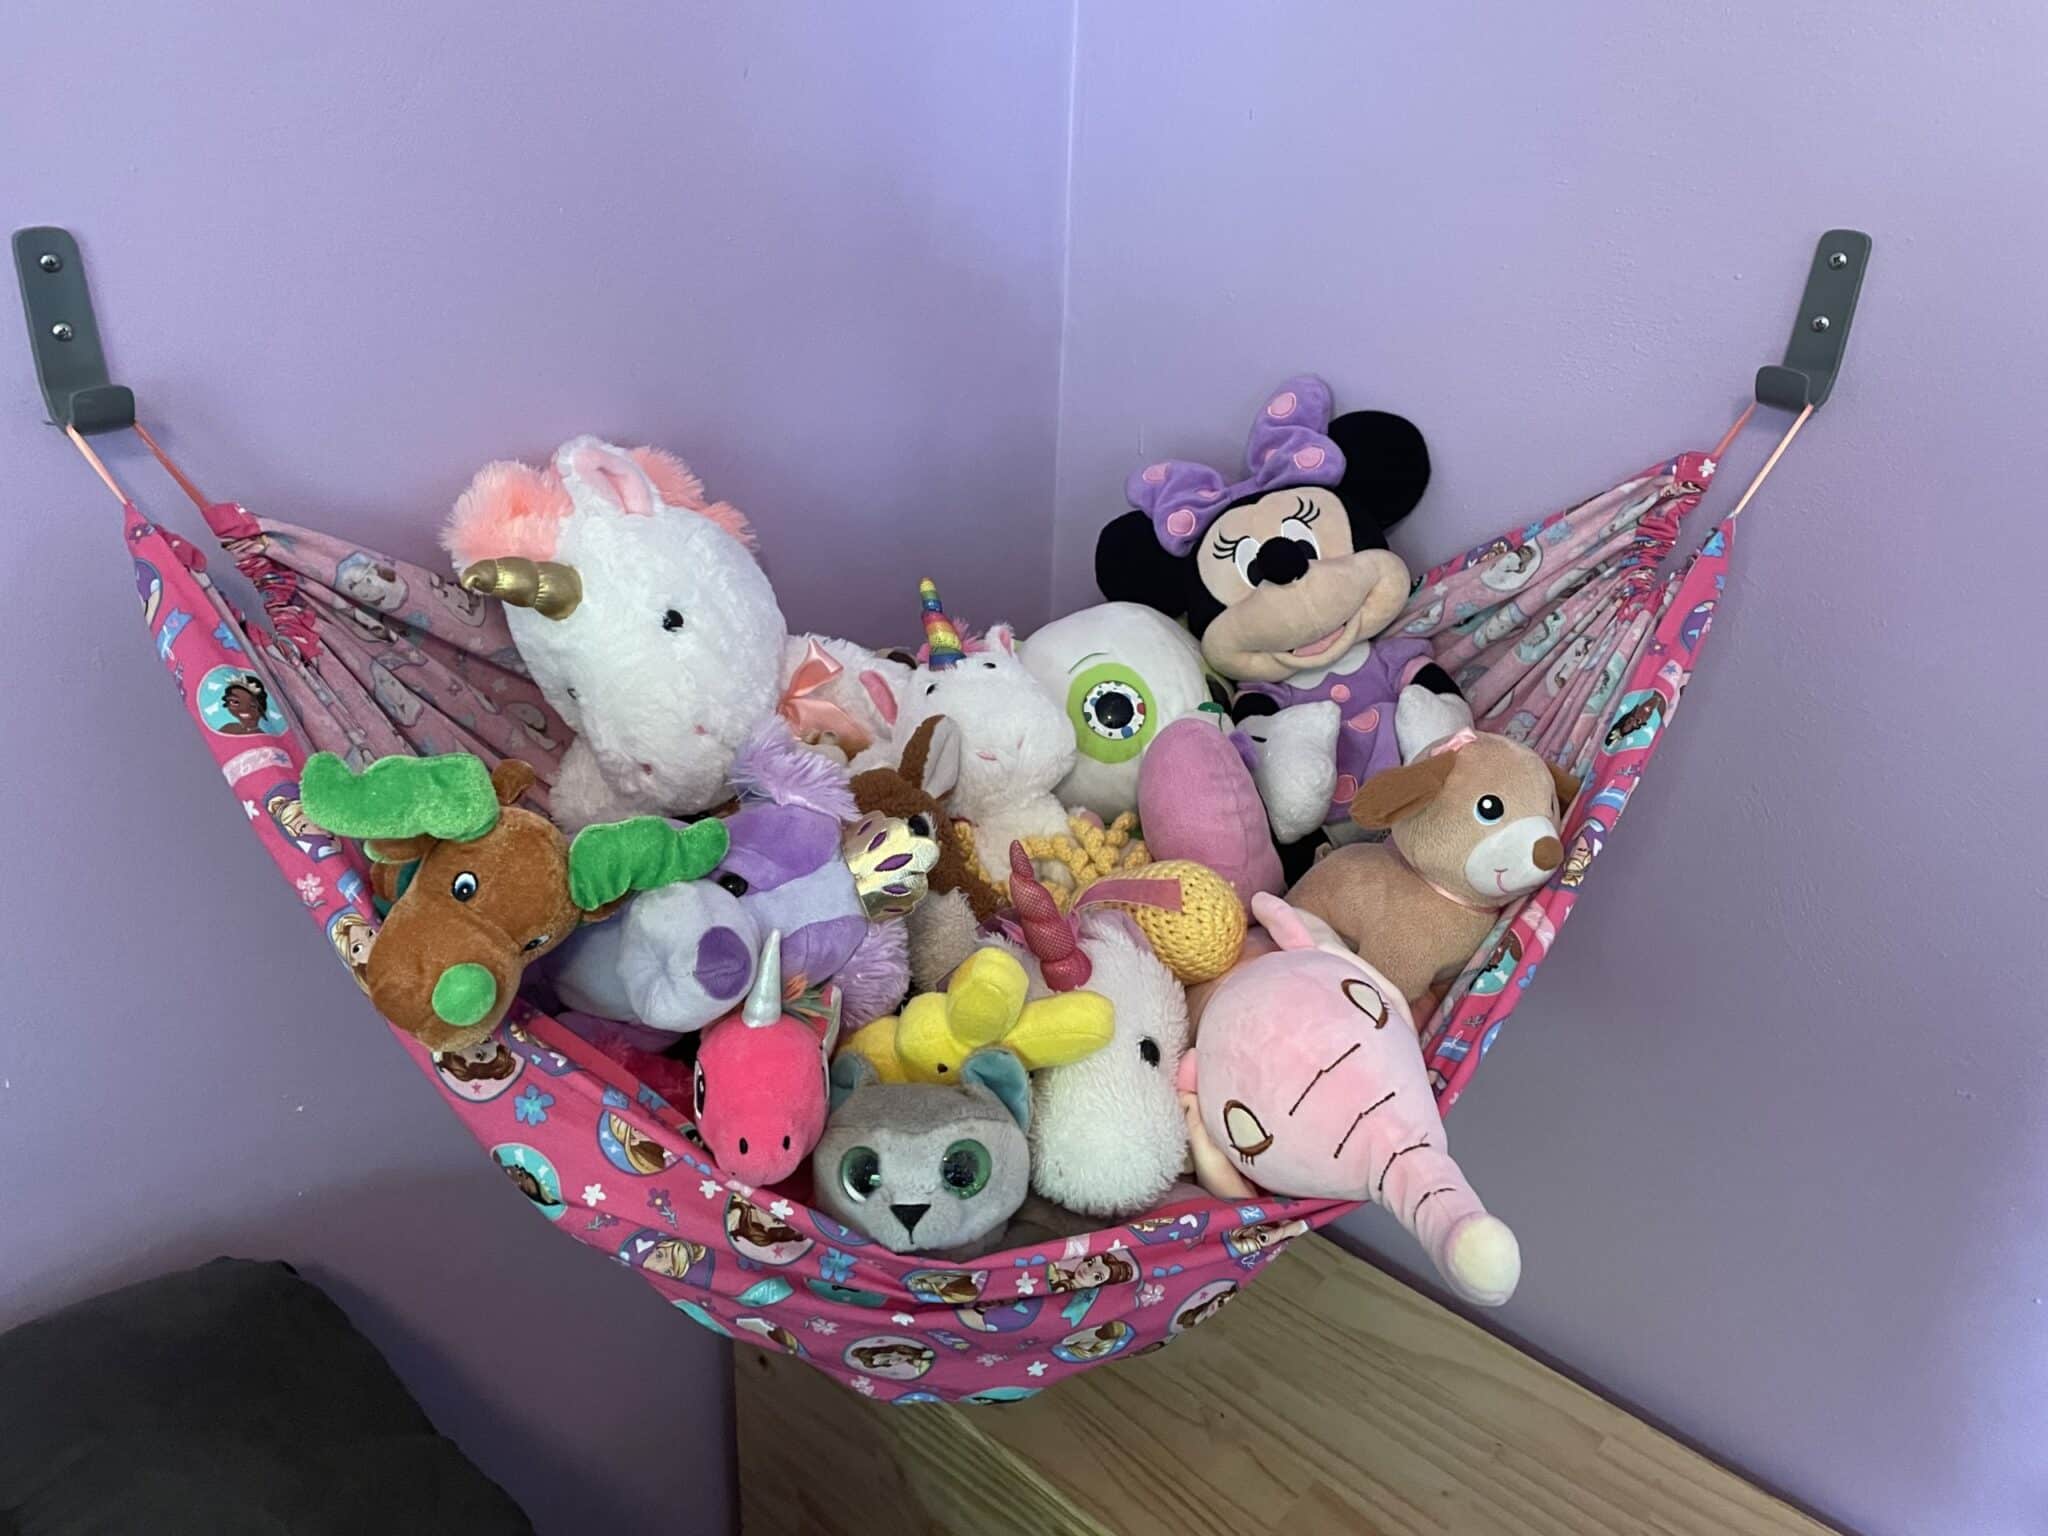
Safety and maintenance
Safety and upkeep are vital. Follow these tips so your stuffed animal hammock is safe and stays attractive.
- Weight limits: keep to light toys. Don’t hang heavy items that can pull anchors loose.
- Small parts: avoid grommets or hardware that can detach and become choking hazards for young children.
- Washing: make the hammock removable or use machine-washable fabric. Spot clean rope and air dry.
- Regular checks: inspect seams, knots, and anchors monthly to prevent failure.
I once found a fraying rope during a routine check; replacing it prevented a fall. Regular checks are quick and worth it.

Creative variations and décor ideas
Customize how to make a stuffed animal hammock to match a nursery, playroom, or bedroom.
- Themed fabric: animals, stars, or simple geometric prints for a minimalist look.
- Multi-tier hammocks: stack two or three shallow hammocks for sorting by size or type.
- Corner pocket hammock: triangular shape that tucks into room corners to save space.
- Colorful rope or tassel accents: add playful design elements for kids.
Example: I made a two-tier version using upcycled denim for the bottom and bright cotton for the top; kids loved sorting animals by color.

Troubleshooting common issues
If your hammock sags, leans, or wears out, these fixes will help you refine your build and learn how to make a stuffed animal hammock better next time.
- Sagging: shorten ropes, tighten knots, or add a center support strap.
- Uneven height: adjust individual corner lengths and re-level by sight.
- Fraying fabric: add bias tape or sew over raw edges to protect from wear.
- Loose anchors: move to studs or use higher-rated wall anchors.
Short test: load the hammock with weight equal to likely toy load and watch for stress points before daily use.

PAA-style quick questions
Q: Can I use an old sheet to make a stuffed animal hammock?
A: Yes. Upcycle a clean, medium-weight sheet, double-layer it for strength, and reinforce corners.
Q: Is a sewn hammock stronger than a no-sew hammock?
A: Sewn hammocks typically hold up better because seams and reinforced stitching add strength over glued or taped edges.
Q: What height should I hang a stuffed animal hammock?
A: Hang it low enough for kids to reach safely, usually 3–4 feet from the floor, and higher if it’s purely decorative.
Frequently Asked Questions of how to make a stuffed animal hammock
How durable is a DIY stuffed animal hammock?
A well-constructed hammock with reinforced corners and quality rope can last for years under normal use. Regular inspections and fabric choice also affect longevity.
Can I wash a stuffed animal hammock?
Yes. Use machine-washable fabric and removable ropes or detach the hammock from hooks before washing. Air dry to prevent shrinkage.
How much weight can a stuffed animal hammock hold?
Weight capacity depends on materials and anchors. A small hammock with good hardware usually supports 10–25 pounds safely; always test before use.
Are there child safety concerns with hanging a hammock?
Yes. Avoid small loose parts, anchor properly, keep the hammock out of reach of infants, and regularly check fastenings to prevent accidents.
What is the easiest way to make a hammock without a sewing machine?
Use hem tape, fabric glue, reinforced snap rings, and sturdy rope. A pre-made fabric sling or tote can be repurposed with minimal tools.
Conclusion
Making a stuffed animal hammock is an easy, rewarding project that clears clutter and creates a playful display. With the right materials, simple sewing or no-sew techniques, secure mounting, and basic safety checks, you can make a durable, attractive stuffed animal hammock that fits your space. Try one small project first, test it, and then scale up or customize with tiers and decorative touches. If you enjoyed this guide, pick a fabric, gather your tools, and start building—then share your results or questions in the comments.

Zayden Halbrook is a travel enthusiast and gear researcher passionate about making every journey smoother and more enjoyable. With a keen eye for practical travel essentials and real-world tips, he helps readers choose the right gear and travel smarter. When he’s not testing travel kits or exploring new destinations, Zayden shares simple, reliable advice to make every trip stress-free.