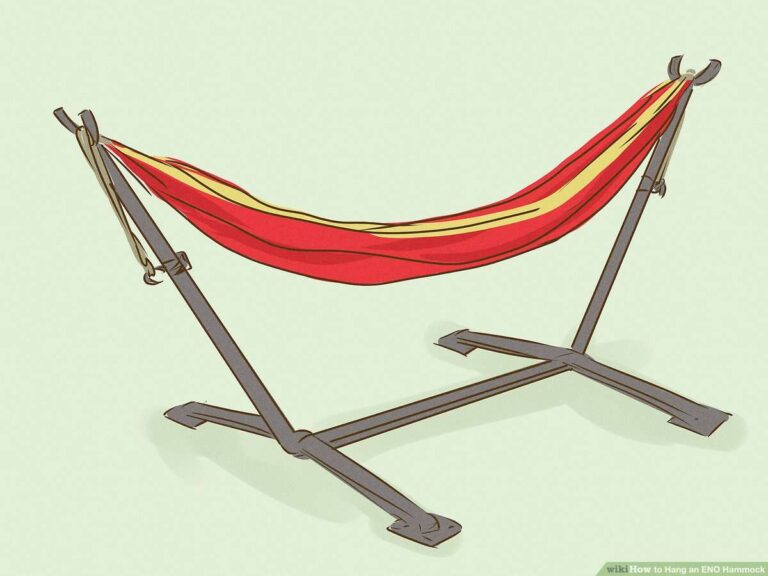
Assemble a hammock stand by connecting the frame parts, tightening the hardware, and checking stability before use.
Learning how to put a hammock stand together is easier than it may seem. Most portable stands use a few frame sections, bolts, hooks, and adjustable height points. With the right order and a careful safety check, you can build a strong stand in about 15 to 30 minutes.
This guide explains how to put a hammock stand together from start to finish. It also covers tools, common stand types, safety checks, setup mistakes, weight limits, and ways to make your hammock more comfortable.
Check the Parts Before Assembly
Before learning how to put a hammock stand together, place every part on a clean, flat surface. A garage floor, patio, or lawn works well. Do not begin on rough ground where small bolts can disappear.
Read the instruction sheet that came with your stand. Parts can look alike but may have different holes or ends. Using the wrong section in the wrong place can make the frame sit unevenly.
Most hammock stands include these parts:
• Two long base rails or feet
• Two upright support arms
• One or more center frame bars
• Connecting bolts or pins
• Washers and nuts
• S-hooks or hanging brackets
• Plastic caps or rubber feet
• Adjustment holes or telescoping sections
Lay the parts out in the order shown in the manual. This simple step saves time and helps you spot missing hardware before the frame is partly built.
If a bolt has a washer, use it. Washers spread pressure across the metal and help protect the frame. Never replace a missing bolt with a random screw unless the manufacturer clearly approves it.

Gather the Right Tools
Many hammock stands include the basic wrench you need. Still, having a few simple tools nearby makes the job easier and safer.
You may need:
• A socket wrench or adjustable wrench
• A Phillips or flathead screwdriver
• A rubber mallet for light fitting work
• A tape measure
• A level surface or small level tool
• Work gloves
• A soft cloth
Avoid using power tools at high speed. A drill can over-tighten a bolt and strip the threads. Hand-tightening with a wrench gives you better control.
Do not use oil or grease on bolts unless the instructions call for it. Lubricant can make it harder to know when a fastener is tight. It may also collect grit in the joint.
A good rule is to tighten each connection until it is firm, then stop. The frame should hold together without crushed tubing or bent metal.
How to Put a Hammock Stand Together Step by Step
The exact design varies, but the basic process is similar for most steel, aluminum, and wooden hammock stands. Follow the manufacturer’s manual if its steps differ from this general guide.
1. Build the base
Start with the two long base rails. These pieces form the feet of the stand and keep it from tipping.
Place them parallel to each other. Make sure the wider side faces down and that rubber feet or end caps touch the ground.
If the base has crossbars, attach them now. Insert each bolt through the matching holes. Add the washer and nut, but leave the connection slightly loose.
Leaving the bolts loose at first helps the holes line up when you add the upright supports. This is one of the most useful tips for anyone learning how to put a hammock stand together.
2. Attach the upright supports
Find the two curved or angled support arms. These arms rise from the base and hold the hammock ends.
Place one support arm at each end of the base. Match the holes carefully. Insert the bolts from the direction shown in the manual.
Add washers and nuts by hand first. Do not fully tighten one side while the other side remains loose. Tighten both sides in small turns so the pressure stays even.
For a wooden hammock stand, check that the grain and joints face the correct way. Wood screws should enter straight. A crooked screw can split the wood or weaken the joint.
3. Add the center bars
Some stands use one long center bar. Others use two or three sections that connect in the middle.
Join the sections as shown in the instructions. Push the tubes together fully before inserting the locking pin or bolt.
If the center bar does not slide into place, stop and inspect the ends. Dirt, a bent edge, or a misplaced section may be blocking it. Never force the tube with a hammer.
The center bar should sit straight between the two supports. If it twists, loosen the nearby bolts, realign the frame, and try again.
4. Secure every fastener
Once the main frame is assembled, tighten each bolt with a wrench. Work around the stand instead of tightening all bolts on one side first.
Use this pattern:
-
Tighten the left base connection.
-
Tighten the right base connection.
-
Tighten the left support connection.
-
Tighten the right support connection.
-
Check the center bar and locking pins.
-
Repeat the circuit until each connection feels firm.
Do not stand on the hammock while checking the bolts. Test the empty frame first.
5. Install hooks or hanging brackets
Attach the S-hooks, carabiners, or hanging brackets to the support arms. Some models use fixed hooks. Others use chains with several height settings.
The hook should face inward toward the center of the stand. Check that it sits fully inside the hole or bracket.
If the stand uses a chain, attach both sides at the same height. Uneven chain lengths can make the hammock tilt and place extra stress on one side.
6. Add the hammock
Place one hammock loop on each hook. Confirm that the fabric or rope sits in the deepest part of the hook.
The hammock should hang with a gentle curve. When empty, it should not be pulled tight like a clothesline.
As a general starting point, the hammock bed may sit about 18 inches above the ground when occupied. The exact height depends on the hammock style, the user’s height, and the stand design.
Sit down slowly. Keep your weight near the center. Avoid jumping, dropping into the hammock, or swinging hard during the first test.

Adjust the Hammock for Comfort and Balance
Knowing how to put a hammock stand together is only the first part. Correct adjustment makes the stand more comfortable and reduces strain on the frame.