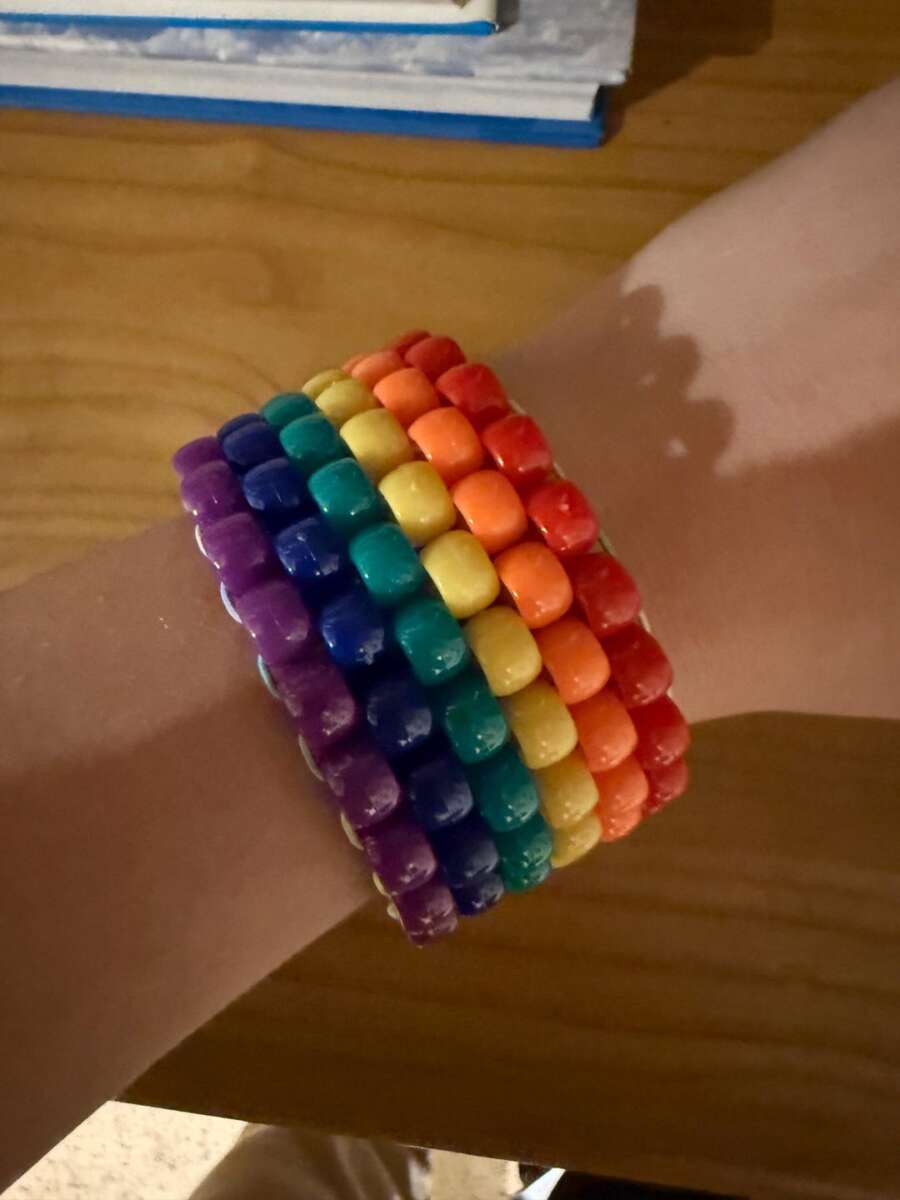
Yes, you can make a bag from rainbow peyote cuffs. The most reliable method is to use the cuffs as colorful panels, join them edge to edge, and add a base, side panels, lining, and strap.
For U.S. crafters, this project works well with small seed beads, beading thread, a sharp beading needle, and cuffs made with even-count or odd-count peyote stitch. The main challenge is shape: a cuff is narrow and flexible, while a bag needs depth, strength, and a secure opening.
You can make a small pouch from two wide cuffs, or a larger bag from several matching cuffs. If the cuffs already have different rainbow patterns, treat them as patchwork panels.

What Is a Peyote Cuff?
A peyote cuff is a beaded bracelet made with peyote stitch. In this stitch, beads interlock in rows so that each new bead sits between beads in the row below.
A cuff usually has these features:
- A narrow, flat shape
- A flexible beaded fabric
- A repeating color pattern
- A clasp, button, or open-ended closure
- A finished edge that may or may not support sewing
“Rainbow peyote cuff” can mean two things:
- A cuff that uses rainbow colors in a planned sequence
- A cuff with a random mix of bright colors
Both types can work in a bag. Planned color stripes often create a cleaner look. Random color mixes give the bag a playful, one-of-a-kind style.
The bead size also matters. Size 11/0 seed beads are common for cuffs. Size 15/0 beads create a finer fabric but take more time. Larger beads can make a bag faster to build, but the finished fabric may have larger gaps and less flexibility.
A cuff is not automatically strong enough to carry heavy items. Beads can handle tension in the fabric, but thread can weaken if it rubs against a sharp bead edge or carries too much weight.
How Can You Turn Peyote Cuffs Into a Bag?
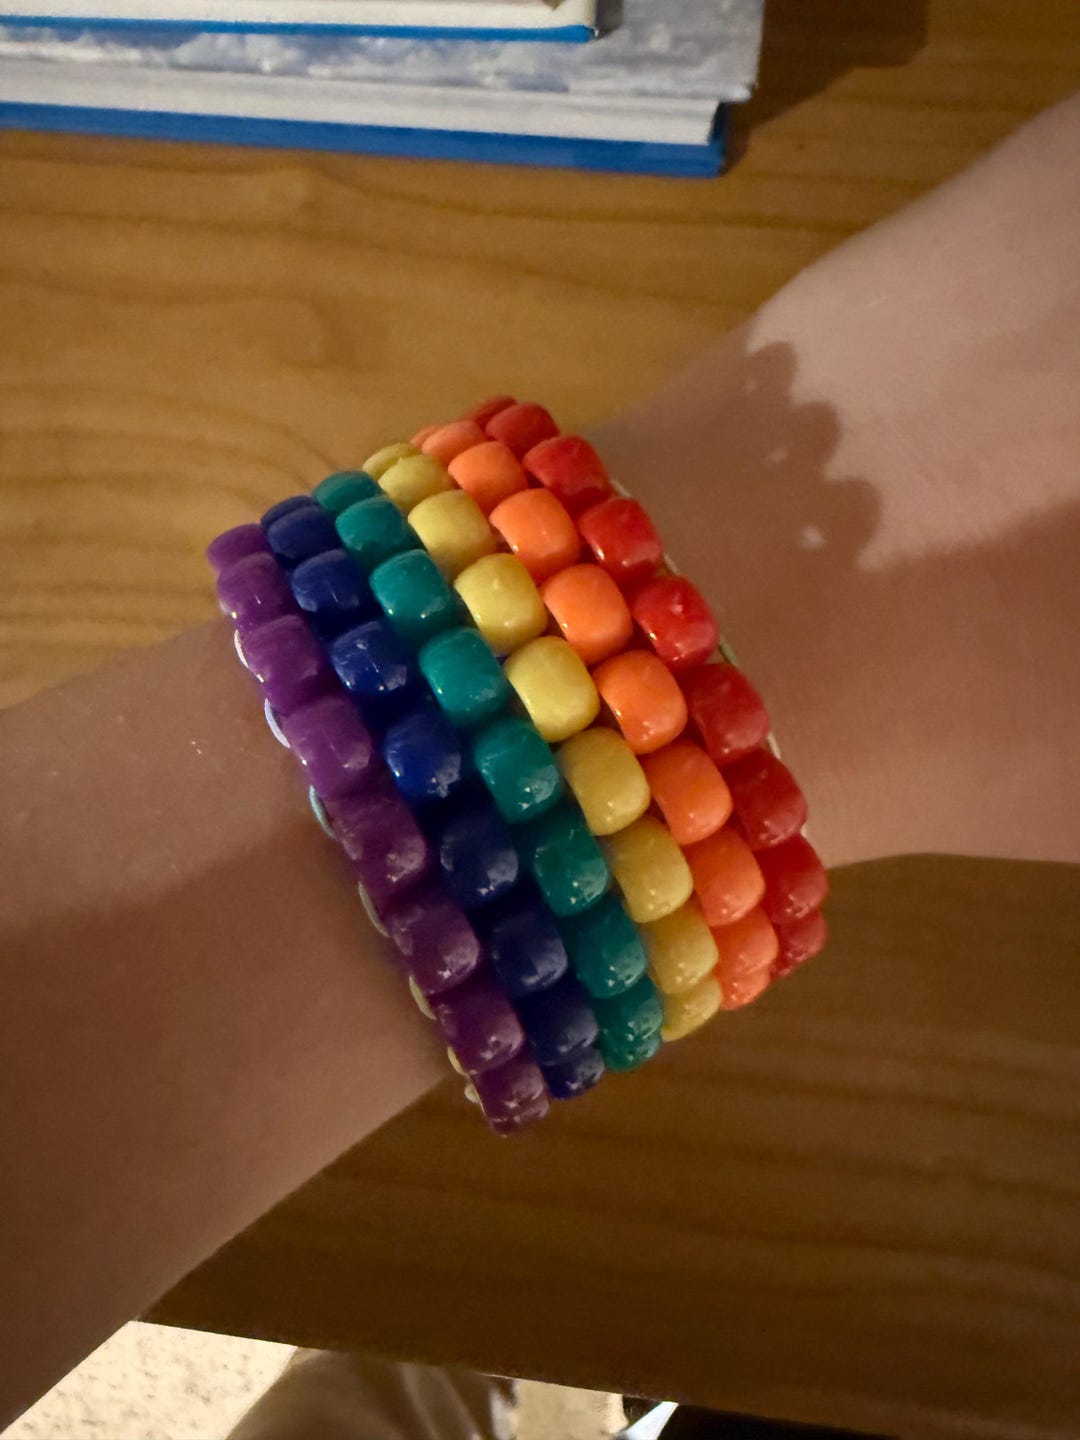
The easiest design is a small rectangular pouch made from two cuffs. Place the cuffs side by side or face to face, then stitch them together along the sides and bottom.
You have three practical construction options.
Option 1: Use Two Cuffs as Front and Back Panels
This is the simplest method.
Use:
- One cuff for the front
- One cuff for the back
- A narrow beaded strip or fabric gusset for the sides and bottom
- A lining
- A zipper, snap, button, or flap
This design works best when both cuffs have a similar width and length.
Option 2: Join Several Cuffs Into One Large Panel
You can stitch several cuffs together along their long edges. The joined panel becomes the front, back, or full body of the bag.
This method is useful when:
- You have many short cuffs
- The cuffs use similar bead sizes
- You want a patchwork effect
- You want a wider tote or shoulder bag
The joined seams may look uneven if the cuffs have different row counts. Plan the layout before sewing.
Option 3: Use Cuffs as Decorative Panels
If the cuffs are too narrow, fragile, or valuable to cut, attach them to a fabric bag. This gives the beads support without forcing them to form the whole structure.
A fabric base can also hold more weight. The peyote cuffs then act as bright outer panels rather than the entire bag body.

What materials Do You Need?
Gather the materials before you begin. A clean work area helps prevent lost beads and tangled thread.
Basic materials
- Two or more rainbow peyote cuffs
- Beading thread that matches or blends with the beads
- A beading needle
- Sharp fabric scissors
- Soft measuring tape or ruler
- Fabric for the lining
- Sewing needle and regular thread
- A zipper, magnetic snap, button, or drawstring
- Lightweight interfacing or bag stabilizer
- Optional: a narrow fabric strip for the gusset
- Optional: beads for a decorative border
Use the same thread type, or a compatible thread, for joining the cuffs when possible. If you use a different thread, test it on a small seam first.
A beading needle should pass through the bead holes more than once. This matters because the joining seam may require two or three passes through some beads.
Choosing a closure
A zipper gives the most secure finish for a pouch. A magnetic snap is easier to install but may not keep small items from falling out. A button and loop suit a soft, handmade bag. A drawstring works well for a relaxed pouch but requires a channel or upper border.
Choosing a lining
A lining protects the beadwork from rubbing against keys, pens, and other objects. Cotton, quilting fabric, or lightweight canvas can work.
Avoid very thick fabric unless the beadwork has strong seams. Heavy fabric can pull on the outer beads and distort the bag.
How to Build a Bag From Rainbow Peyote Cuffs
Follow this method for a small pouch. Adjust the measurements to fit your cuffs.
1. Measure the cuffs
Measure each cuff from end to end and from edge to edge.
Write down:
- Finished length
- Finished width
- Number of rows
- Bead size, if known
- Whether the edges are straight or scalloped
The usable bag size will be smaller than the total cuff size if you add seams, a closure, and a lining.
For example, two cuffs that each measure 6 inches long and 2 inches wide may create a pouch close to 6 inches by 4 inches before adding side depth. The final size will depend on the seam and gusset.
2. Plan the layout
Place the cuffs on a flat surface. Try several arrangements before joining them.
Check:
- Whether the rainbow colors face the same direction
- Whether the patterns line up
- Whether the bead edges are straight
- Where the clasp or original cuff closure will go
- Whether you want the original clasp to remain visible
Remove or hide old bracelet clasps if they interfere with the bag design. Do not cut beadwork until you are sure of the layout.
3. Stabilize weak cuffs
Inspect the edges. If the cuff curls, has loose beads, or has exposed thread, repair it before construction.
You can add a narrow bead border to a weak edge. Another option is to sew a fabric backing behind the cuff. Use small stitches through the beadwork rather than pulling tightly around one bead.
Do not use glue as the main structural support. Glue may stiffen the thread, stain the beads, or fail when the bag bends.
4. Join the main panels
Place the cuffs with their finished sides facing outward. Align the rows and edges.
Use a ladder stitch or a controlled peyote-style joining pass. Pick up the edge beads in order, and keep the tension firm but not tight.
A good seam should:
- Hold the panels together without gaps
- Allow the bag to bend slightly
- Keep the bead rows aligned
- Avoid pulling the outer beads inward
If the edges do not line up, do not force them. Use a small gusset or add a border row to the shorter edge.
5. Add a bottom and side gusset
A gusset is a strip that creates depth. Without one, the bag will look more like a flat envelope.
You can make the gusset from:
- Peyote beadwork
- Fabric
- Ribbon
- Faux leather
- A narrow strip of canvas
A fabric gusset is usually easier and stronger for a first project. Cut one strip long enough to run along the bottom and up both sides. Its width controls the depth of the bag.
For example:
| Gusset width | Likely result |
|---|---|
| ½ inch | Very flat pouch |
| 1 inch | Small amount of depth |
| 1½ to 2 inches | More room for a phone or small wallet |
| Over 2 inches | Needs stronger support and careful shaping |
These are planning examples, not fixed rules. The correct width depends on the cuff size and the flexibility of the beadwork.
6. Attach the lining
Make the lining slightly smaller than the outer bag. A lining that is too large can push the beadwork outward and make the bag look loose.
Sew the lining into a simple pouch first. Leave a small opening in one seam so you can turn it right side out if needed.
Attach the lining by hand near the upper edge. Keep stitches close to the beadwork but avoid catching only one fragile bead.
7. Add the closure
Install the closure after the bag body is stable.
For a zipper, sew it to the lining and outer edge in small sections. For a snap, reinforce the area with a small piece of fabric or interfacing. For a button, use a loop made from strong thread, cord, or a narrow peyote strip.
A closure should not hang from a single bead. Spread the force across several beads or a reinforced fabric section.
8. Add a strap only after testing the body
If you want a shoulder strap, attach it to reinforced side points. A strap can place more stress on the bag than the contents do.
Good strap options include:
- A fabric strap sewn into the lining
- A chain attached to reinforced rings
- A wide peyote strap backed with fabric
- A cord passed through a strong upper border
Test the empty bag first. Then add a small, light item and inspect the attachment points before carrying it outside.
How Many Cuffs Do You Need?
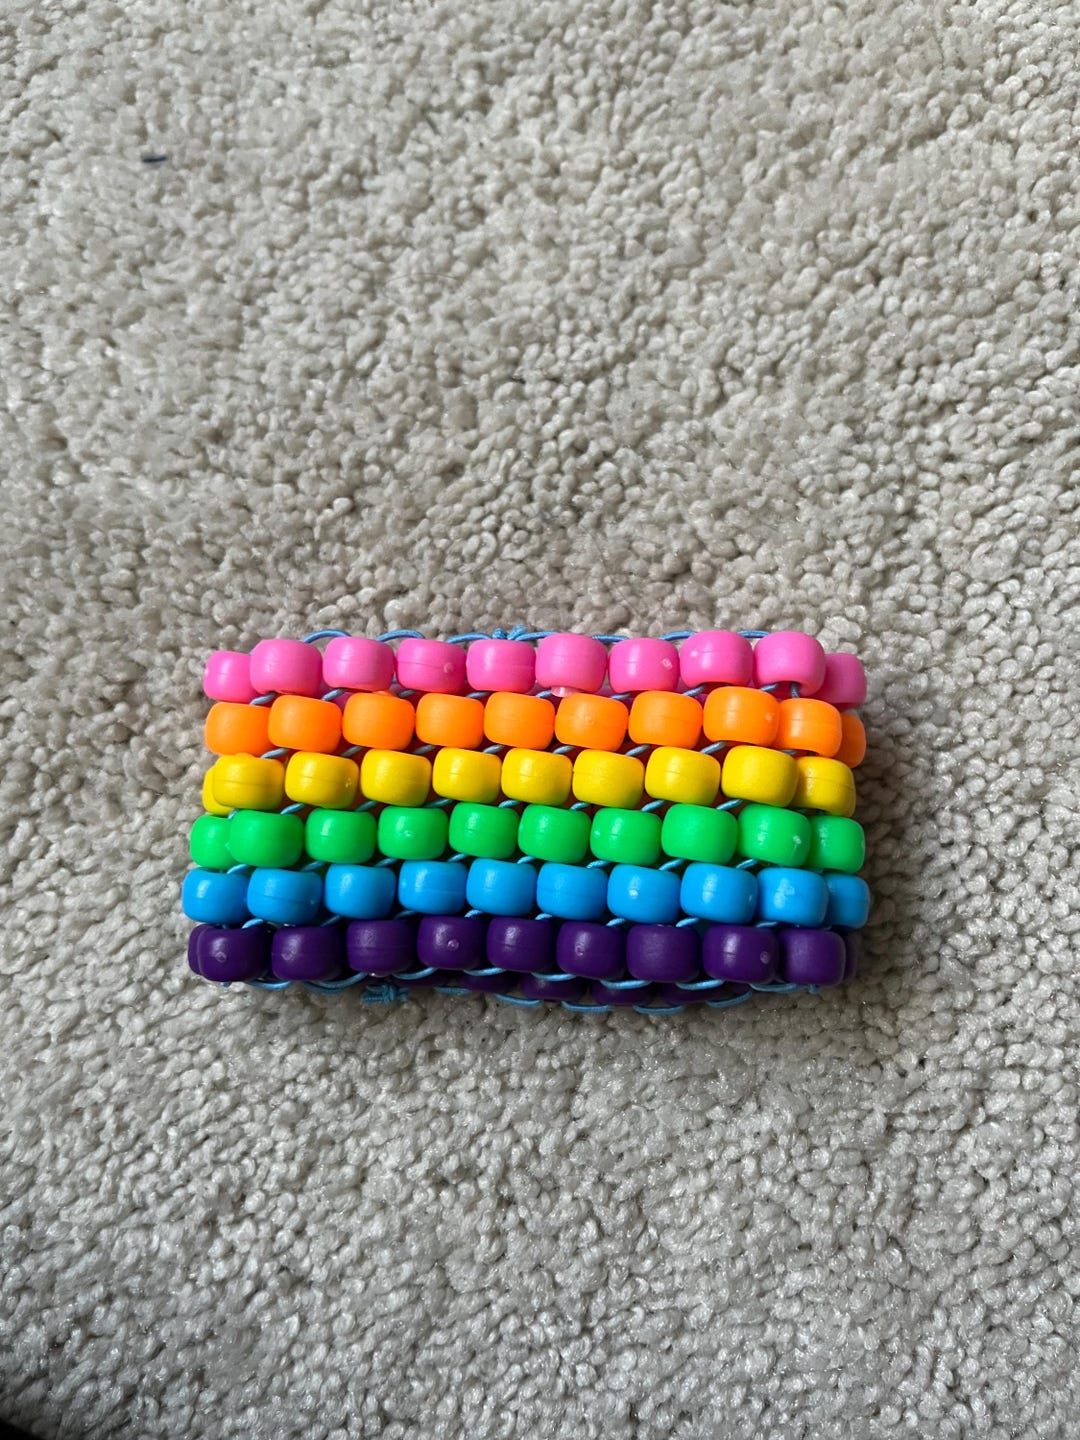
The number of cuffs depends on the bag style and the cuff size.