How To Use A Piping Bag
If you love baking or want to make your food look special, learning how to use a piping bag is a must. A piping bag helps you add beautiful designs and neat shapes to cakes, cupcakes, cookies, and even savory dishes.
Many people feel nervous the first time they try, but with the right steps and a little practice, anyone can do it. In this guide, I’ll walk you through everything you need to know. I’ve spent years decorating cakes for birthdays and family gatherings, and I’ll share what works, what can go wrong, and how you can get great results right away.
What Is A Piping Bag?
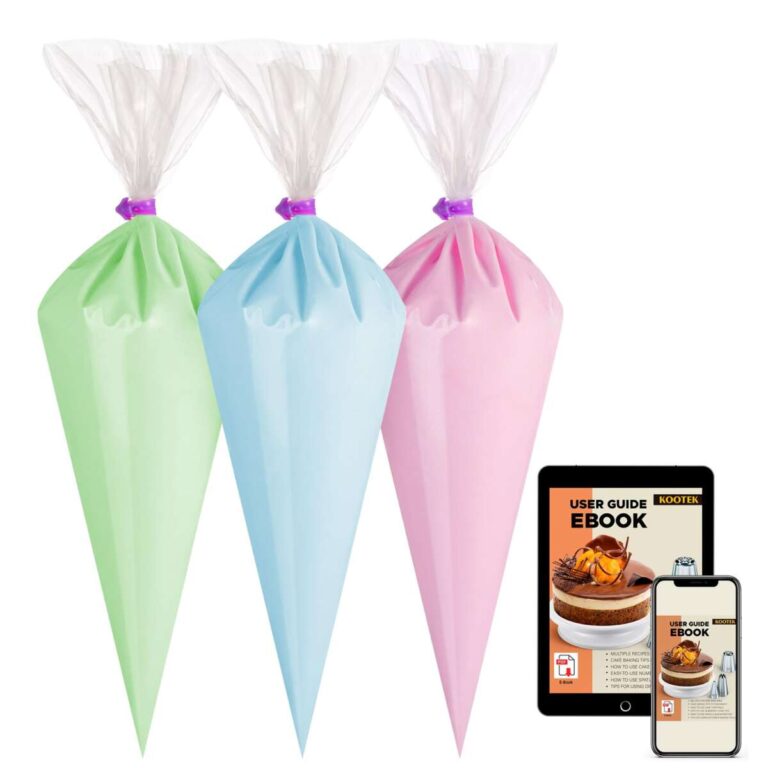
A piping bag is a cone-shaped tool made of plastic, fabric, or silicone. You fill it with soft mixtures like frosting, whipped cream, mashed potatoes, or choux pastry. The bag has a small opening at the tip. You can use it alone or fit it with a nozzle (also called a piping tip) to control the shape and size of what comes out.
There are different types of piping bags:
- Disposable bags: Made from thin plastic. Use once, then throw away.
- Reusable bags: Made from cloth or silicone. Wash and use many times.
- Coupler: A small plastic piece that lets you change piping tips easily.
Piping bags are common in both home kitchens and professional bakeries. They help you make food look neat and creative.
When And Why Use A Piping Bag?
You can use a piping bag for many tasks:
- Cake decorating: Add borders, flowers, or letters to cakes.
- Filling pastries: Fill cream puffs, éclairs, or doughnuts easily.
- Shaping cookies: Pipe shapes for meringue, macarons, or spritz cookies.
- Savory foods: Make mashed potatoes or deviled eggs look fancy.
A piping bag gives you control and helps your food look tidy and professional. Even simple designs can make a big difference. The first time I made cupcakes for my niece’s birthday, I piped swirls on top. The kids were amazed and asked, “Did you buy these?
” That’s the power of a piping bag.

Credit: wilton.com
Types Of Piping Bags: Which One To Choose?
Before you start, it’s good to know which bag fits your needs. Here’s a quick comparison:
| Type | Material | Pros | Cons |
|---|---|---|---|
| Disposable | Plastic | Easy to use, no cleaning | Not eco-friendly, can burst with thick mixtures |
| Reusable | Cloth/Silicone | Durable, eco-friendly | Needs washing, can stain over time |
| DIY | Parchment/Plastic Bag | Cheap, good for small tasks | Not strong, not for big jobs |
If you bake often, a reusable silicone bag is a smart choice. For one-time tasks or strong flavors (like garlic mashed potatoes), disposable bags are quick and mess-free.
Types Of Piping Tips
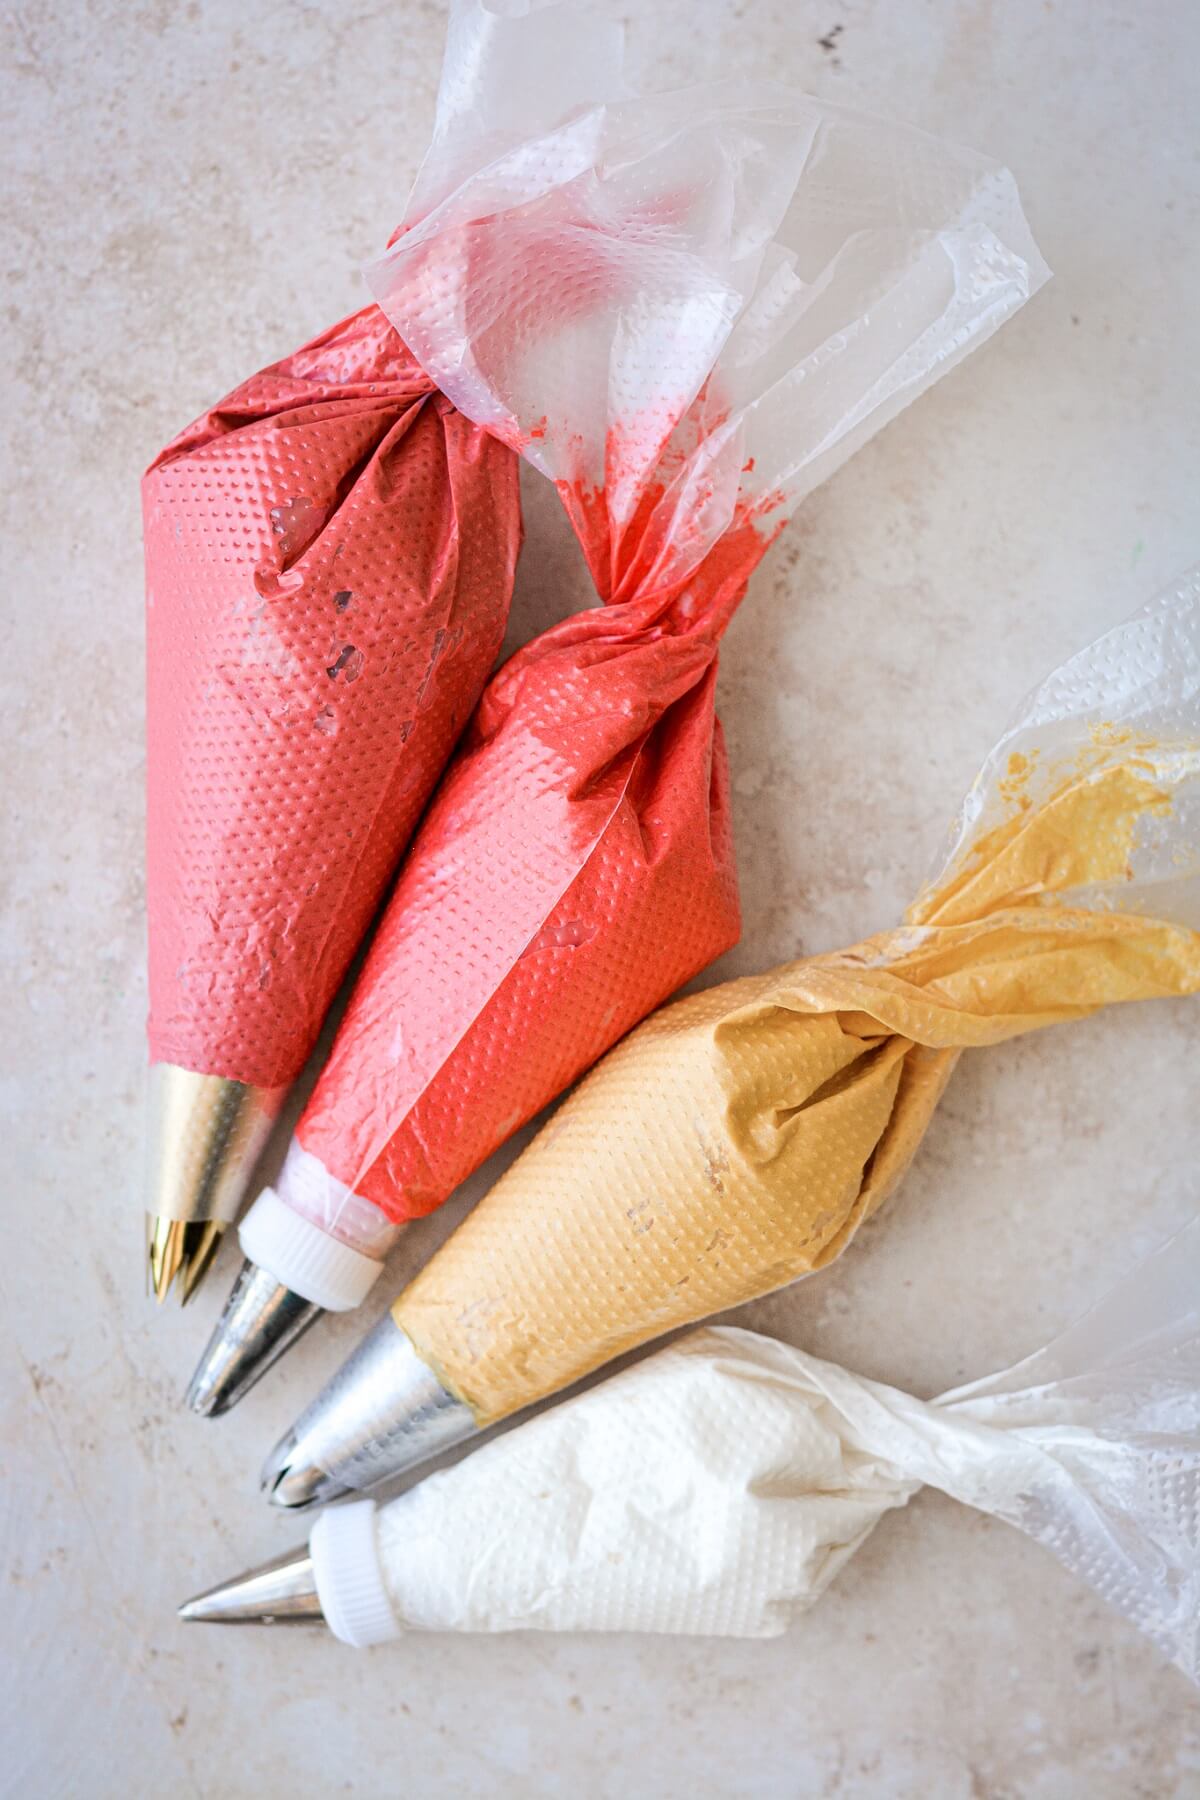
The piping tip (or nozzle) shapes what comes out of the bag. Each tip makes a different pattern. Here are some popular ones:
| Tip Name | Shape | Best For |
|---|---|---|
| Round | Circle | Writing, dots, borders, filling |
| Star | Ridged star | Swirls, rosettes, shells |
| Petal | Flat, curved | Flowers, ruffles |
| Leaf | Pointed, slit | Leaves, ribbons |
| Drop Flower | Star with hole | Simple flowers |
It’s easy to swap tips using a coupler. This is helpful if you want to use different shapes with the same color frosting. For beginners, a round and a star tip are enough for most tasks.
Credit: curlygirlkitchen.com
Getting Ready: What You Need
Before you start, gather your tools and ingredients. Here’s what you’ll need:
- Piping bag (disposable or reusable)
- Piping tips (at least one)
- Coupler (optional, for changing tips easily)
- Filling (frosting, whipped cream, etc.)
- Tall glass or jar (for filling the bag)
- Scissors
- Spatula or spoon
- Damp cloth (to keep the tip clean)
Make sure your filling is smooth. Lumps can block the tip and make piping hard.
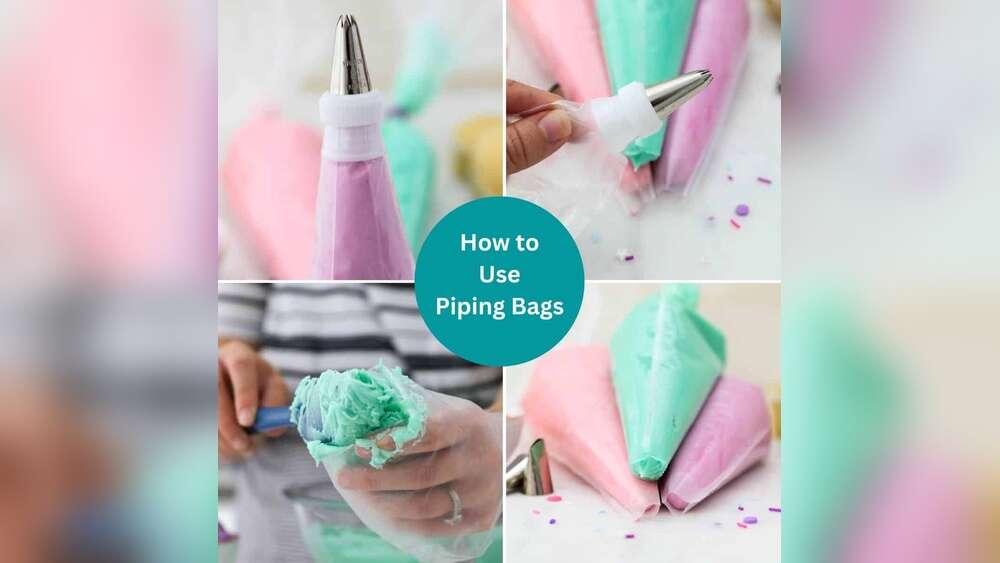
How To Prepare A Piping Bag
This step is simple but important. A well-prepared bag makes piping easy and less messy.
- Choose your bag and tip. If using a coupler, place the large part inside the bag. Push it to the tip.
- Cut the tip of the bag. Use scissors to make a small cut, just big enough for the coupler or piping tip to fit snugly. Don’t cut too much.
- Attach the piping tip. If using a coupler, add the tip outside the bag, then screw on the ring to hold it in place.
- Fold down the top of the bag to make a cuff, about 2-3 inches. This keeps the bag open and clean when you fill it.
- Place the bag in a tall glass or jar. The glass holds the bag steady and makes filling much easier.
How To Fill A Piping Bag Without Mess
Filling the bag is the part where most people get frosting on their hands or the bag overflows. Here’s how to do it neatly:
- Spoon or spatula: Use a spatula or spoon to scoop your filling into the bag.
- Don’t overfill: Only fill the bag halfway or two-thirds full. If you add too much, it’s hard to squeeze and may burst.
- Unfold the cuff: Lift the folded edge back up to close the bag.
- Push filling down: Gently squeeze the filling toward the tip. Try to remove air pockets, as they can make the piping uneven.
- Twist the top: Twist the top of the bag to keep the filling from coming out the back.
Tip: If you have a lot of filling, refill the bag as needed. Don’t try to pipe everything at once.
How To Hold A Piping Bag
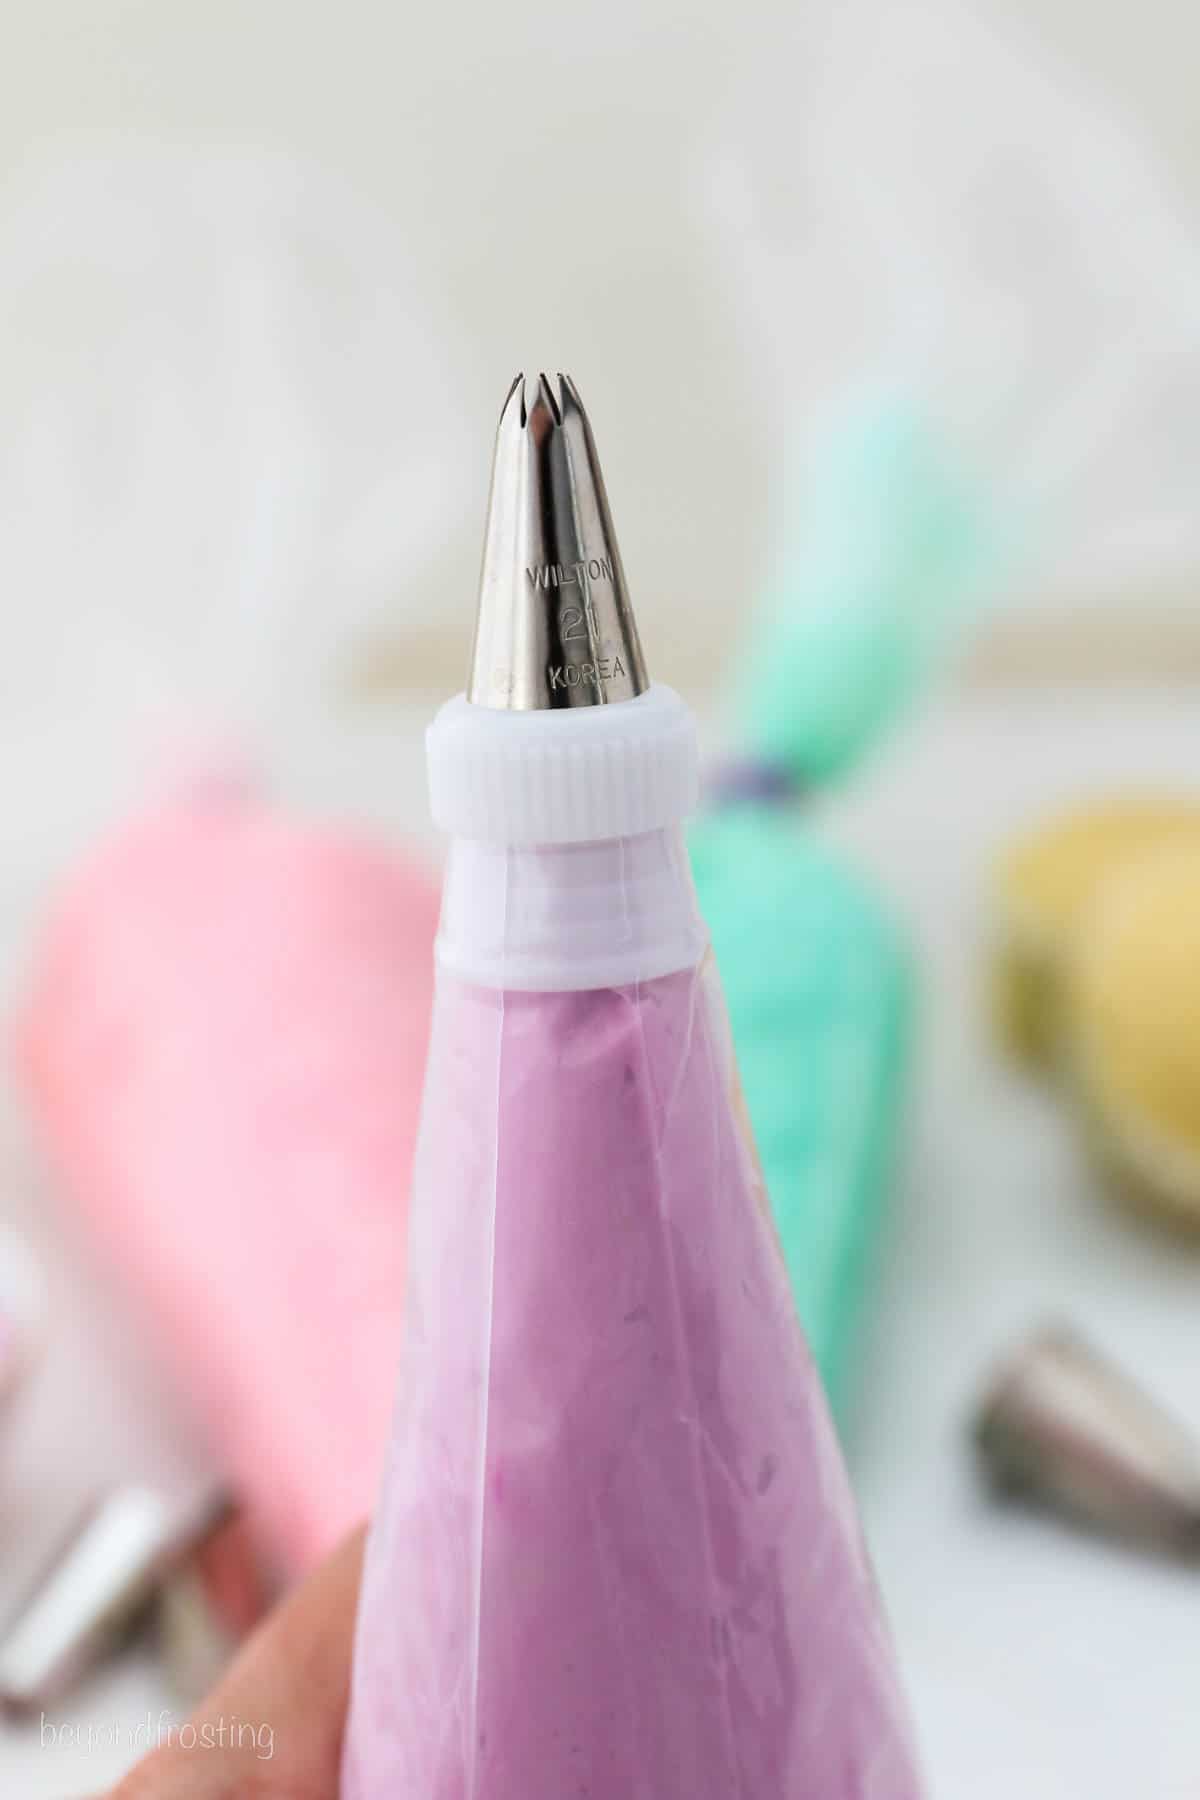
Many beginners hold the bag like a tube of toothpaste, squeezing from the middle. This makes piping hard to control. Here’s how to hold it the right way:
- Grip the top: Hold the twisted top of the bag with your dominant hand. This hand squeezes.
- Guide with the other hand: Use your non-dominant hand to guide the tip and keep it steady.
- Keep the bag upright: For most designs, hold the bag straight up and down. For writing or lines, you might tilt the bag slightly.
Your hands will warm the filling over time. If you are working with buttercream or whipped cream, take breaks to keep it cool.
Credit: beyondfrosting.com
Basic Piping Techniques
Once you have your bag filled and ready, try these basic moves. Practice them on parchment paper first if you want.
1. Piping A Swirl
Perfect for cupcakes:
- Start in the center.
- Squeeze the bag and move in a circle, working outwards.
- Release pressure and lift up at the end.
2. Writing Or Lines
Great for messages or borders:
- Hold the bag at a 45-degree angle.
- Squeeze gently and move the tip smoothly.
- Stop squeezing before you lift the tip.
3. Rosettes
Looks like little flowers:
- Hold the bag upright.
- Squeeze and move in a small circle.
- Stop pressure and lift in the center.
4. Shells
Classic cake border:
- Hold the bag at an angle.
- Squeeze, then release as you pull the tip away.
5. Dots
Simple and neat:
- Hold the bag upright.
- Squeeze a small amount, stop, then lift straight up.
Practice helps a lot. The first time I tried piping letters, my “Happy Birthday” looked more like “Hapy Bday. ” Now, with some practice, I can write clearly and evenly.
Advanced Piping Tips And Tricks
As you get comfortable, you can try more advanced designs and methods.
Change Colors Easily
If you want two or more colors, you have options:
- Striped effect: Paint stripes of food color inside the bag before adding frosting.
- Dual bags: Place two small bags of different colors inside a larger bag with a wide tip.
- Layered colors: Spoon in different colors side by side.
Use Different Textures
Piping isn’t just for frosting. Try these:
- Mashed potatoes: For a fancy side dish.
- Cream cheese: For bagels or appetizers.
- Choux pastry: For eclairs or cream puffs.
Refill Without Mess
If you run out of filling, don’t take out the tip. Instead:
- Twist the empty bag from the tip.
- Insert it into a new, filled bag.
- Squeeze, and the filling continues smoothly.
Fixing Mistakes
If your design goes wrong, don’t worry. For frosting, you can often scrape off the mistake and try again. For savory dishes, smooth over with a spoon and pipe again.
Common Piping Problems And How To Solve Them
Everyone faces some trouble when starting out. Here’s how to fix the most common issues:
- Bag bursts: This happens if you overfill or squeeze too hard. Fill less and use steady pressure.
- Tip clogs: Lumps in your filling can block the tip. Strain or beat your filling until smooth.
- Uneven lines: Air pockets cause gaps. Push out air before piping and refill as needed.
- Filling leaks from the top: Always twist the top tightly and hold it closed with your hand.
- Hands get tired: Take breaks, use both hands, or fill less at a time.
One trick I learned after several tired hands is to place the filled bag in the fridge for a few minutes. The filling firms up and is easier to pipe, especially on hot days.
Cleaning And Caring For Your Piping Bag
For disposable bags, just throw them away after use. For reusable bags:
- Wash right after using. Dried filling is hard to clean.
- Use warm, soapy water. Rinse well.
- Dry completely before storing to avoid mold.
- For tips and couplers, use a small brush to clean inside.
Silicone bags are easy to clean and last for years. Cloth bags can stain if you use food color, but they work well for thicker mixtures.
How To Store Leftover Filling
Sometimes you have extra frosting or filling. Here’s what to do:
- Buttercream or cream cheese: Store in the fridge in a sealed container for up to a week.
- Whipped cream: Use within 24 hours for best texture.
- Savory fillings: Most can be refrigerated for 2-3 days.
If you want to store a filled piping bag, twist the top, cover the tip with plastic wrap, and refrigerate. When ready, let it come to room temperature before piping again.
Piping Bag Vs. Alternatives
Some people use plastic sandwich bags or parchment cones instead of real piping bags. Here’s a quick look at how they compare:
| Tool | Best For | Pros | Cons |
|---|---|---|---|
| Piping Bag | All tasks | Strong, fits tips, reusable or disposable | May need to buy tips, more parts to clean |
| Plastic Bag | Quick, small jobs | Cheap, easy to find | Less control, can burst easily |
| Parchment Cone | Fine lines, chocolate | Good for tiny amounts | Not for thick mixtures, not strong |
For best results, use a real piping bag. If you’re in a hurry, a plastic bag with the corner snipped off will do, but you won’t get sharp designs.
How To Practice Your Skills
Piping takes practice, but you can improve quickly with a few simple tricks:
- Use parchment paper: Pipe designs onto a sheet and scrape off to reuse the filling.
- Try different tips: Practice with round and star tips first.
- Watch videos: Seeing someone pipe can help you learn fast.
My first cakes looked messy, but by practicing five minutes a day, I got much better in two weeks. Don’t worry if your first tries aren’t perfect. Have fun and learn with each attempt.
Safety Tips
- Wash your hands before and after piping.
- Don’t use hot fillings; they can burst the bag or burn you.
- Check for allergies in fillings, especially if baking for others.
Using A Piping Bag For Savory Foods
Piping bags aren’t just for sweets. Try them for:
- Mashed potatoes: Pipe onto a plate, then bake for a crispy top.
- Deviled eggs: Fill eggs neatly and with style.
- Cheese spreads: Make crackers look fancy.
If you use garlic, onions, or spicy mixtures, choose a disposable bag so odors don’t linger.
Decorating Ideas For Beginners
Not sure where to start? Try these easy ideas:
- Cupcake swirls: Use a star tip to swirl frosting on top.
- Simple borders: Pipe dots or shells around a cake.
- Rosettes: Make small flowers on cookies or cakes.
- Wording: Write names or greetings with a round tip.
- Leaf shapes: Add a few leaves to flower designs with a leaf tip.
Take a photo of your designs and compare them over time. You’ll see your progress.
Expert Insights: What Most Beginners Miss
Many new bakers focus only on the bag and tip, but here are two things often forgotten:
- Consistency matters most: The texture of your filling is more important than the type of bag. Too thick and it’s hard to squeeze; too thin and it won’t hold its shape. Always test a small amount before starting your main project.
- Warm hands melt frosting: Your body heat can make buttercream or chocolate runny. If this happens, chill the bag for 5-10 minutes.
These small details make a big difference in your final results.
Resources For Further Learning
If you want to see piping in action or learn more designs, check out Wikipedia’s piping bag page for more information and history.
Frequently Asked Questions
How Do I Stop Air Bubbles In My Piping Bag?
Air bubbles form if you don’t push the filling down well or if you whip too much air into your mixture. After filling the bag, gently press the filling toward the tip, and tap the bag to release trapped air before you start piping.
Can I Use A Piping Bag For Hot Mixtures?
Yes, but be careful. Only use heat-safe bags (silicone or strong cloth). Never use thin plastic bags for hot mixtures; they can burst and cause burns.
How Do I Keep Frosting From Melting In My Hands?
Work quickly, fill the bag only halfway, and take breaks if your kitchen is warm. Place the bag in the fridge for a few minutes if the frosting gets too soft.
What Is The Best Tip For Beginners?
A medium round or star tip works for most designs. Start with these and practice basic shapes before trying more complex tips.
Can I Clean Piping Bags In The Dishwasher?
Most silicone and plastic reusable bags are dishwasher safe. Check the packaging. Cloth bags should be hand washed to avoid damage.
Decorating with a piping bag takes time, patience, and practice. The results are worth it, and your creations will impress friends and family. Enjoy the process, and remember: even if things aren’t perfect, they’re still delicious.

Zayden Halbrook is a travel enthusiast and gear researcher passionate about making every journey smoother and more enjoyable. With a keen eye for practical travel essentials and real-world tips, he helps readers choose the right gear and travel smarter. When he’s not testing travel kits or exploring new destinations, Zayden shares simple, reliable advice to make every trip stress-free.