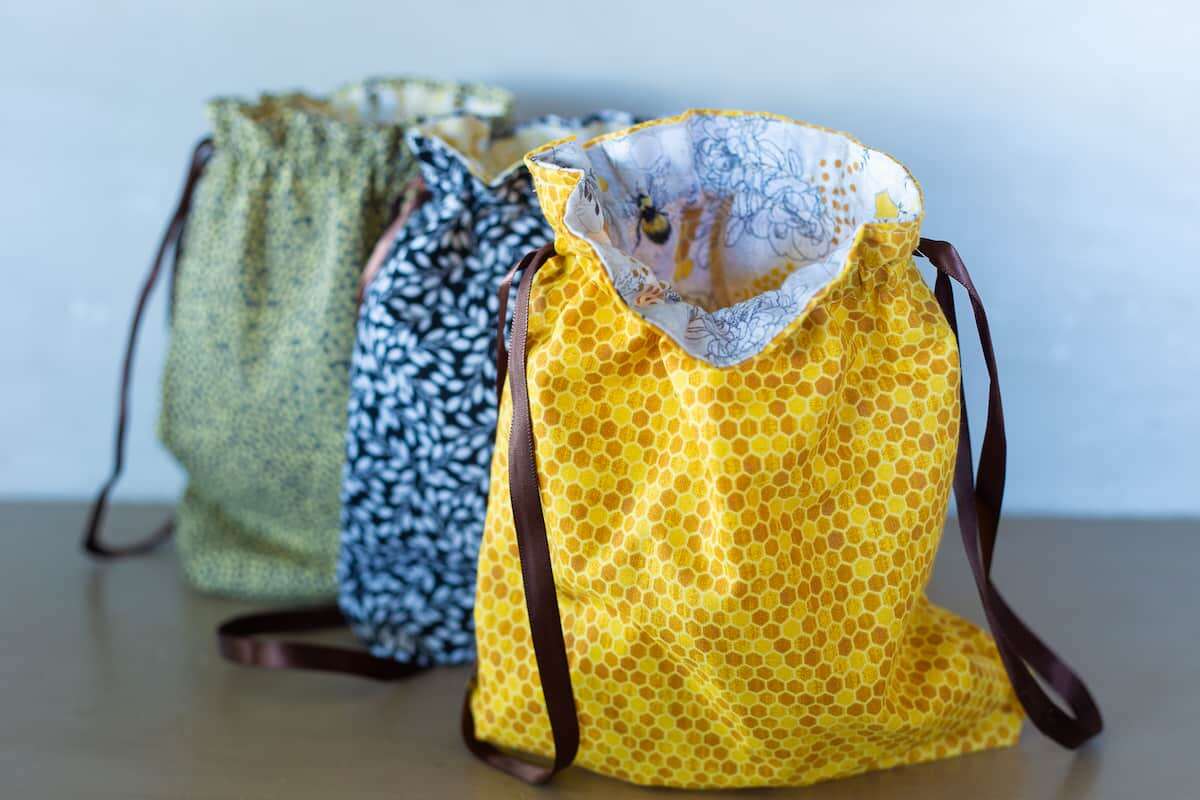
A simple sewing project: fold, stitch a casing, thread cords, and cinch — your drawstring bag is ready.
I’ve taught people and made dozens of bags, so I know how to make a drawstring bag that looks neat and lasts. This guide walks you through each step, from picking fabric to finishing touches. You’ll get clear materials lists, a plain sewing method, a no-sew option, design ideas, troubleshooting tips, and real tips from my own experience. Read on to learn how to make a drawstring bag that fits your needs and skills.
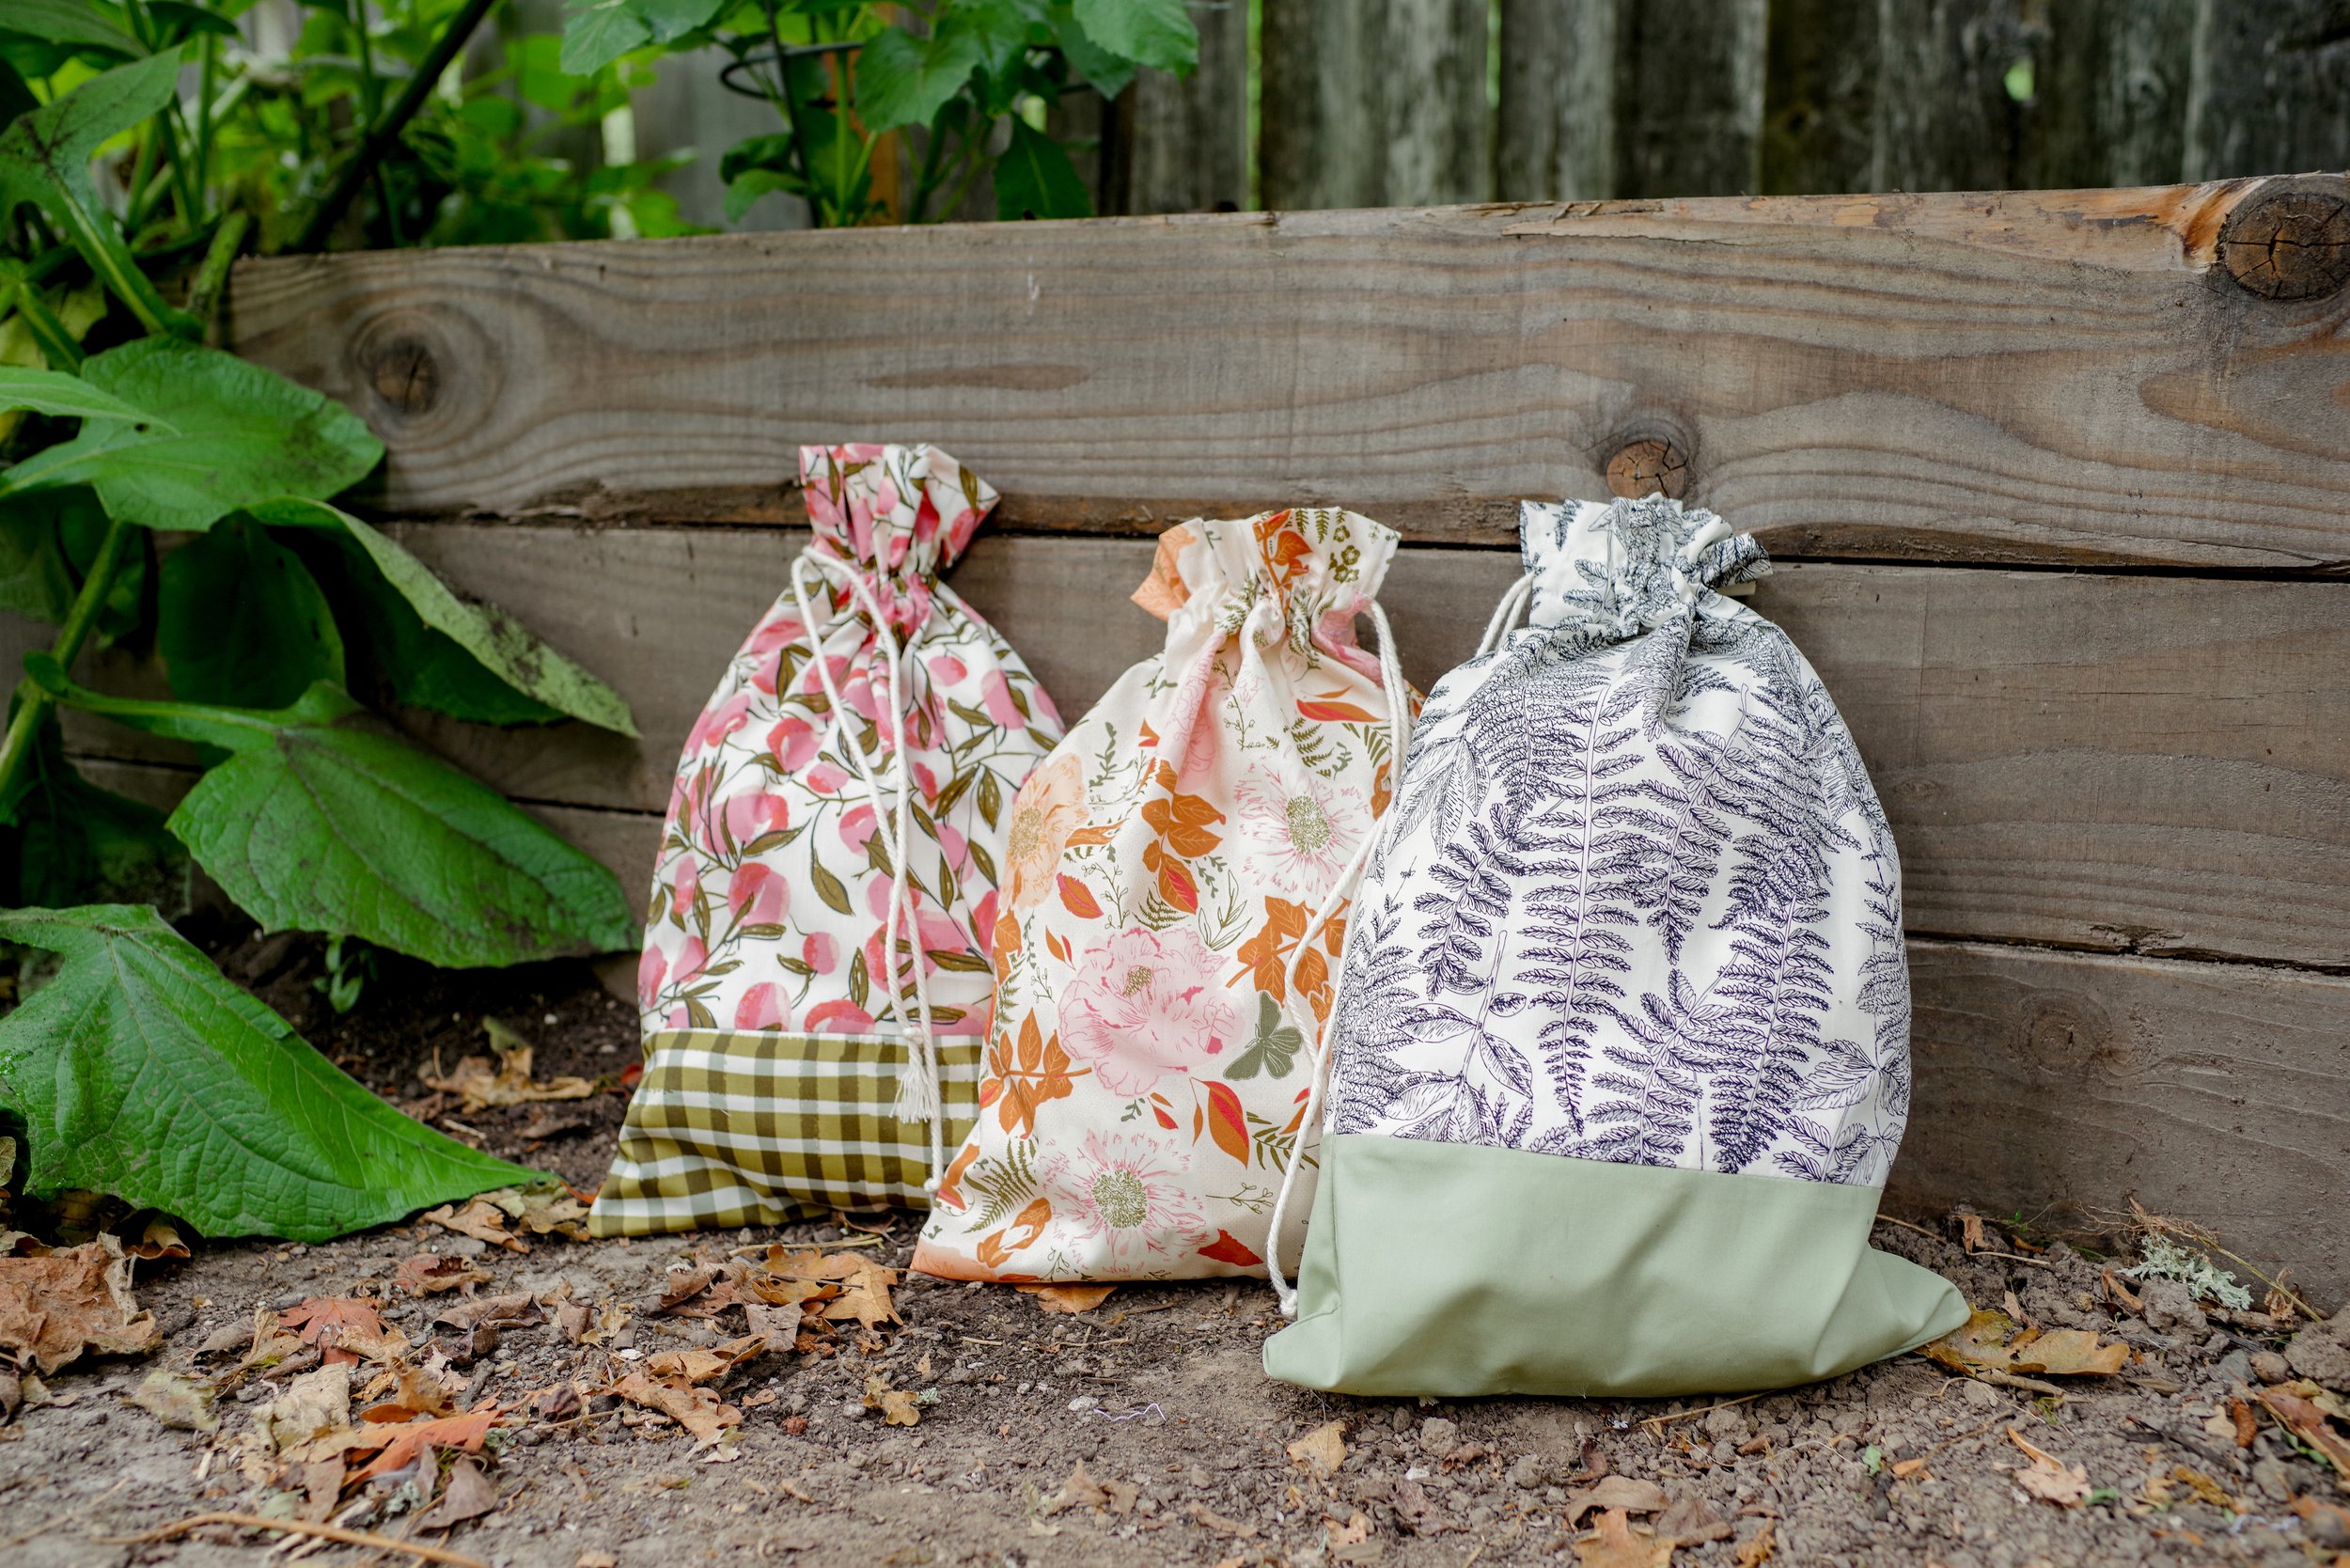
Tools and materials you need
Below is a short list to get started. I keep this small so beginners can start fast.
- Fabric: lightweight cotton works best for first projects.
- Lining fabric: optional, adds strength and hides seams.
- Thread: polyester or cotton-wrapped polyester.
- Sewing machine: optional; hand sewing needle if not using one.
- Scissors or rotary cutter: for clean edges.
- Measuring tape and ruler: to size the bag.
- Pins or clips: to hold pieces in place.
- Safety pin or bodkin: to thread the drawstring.
- Drawstring cord: rope, ribbon, or cording.
- Iron: for pressing seams and casing.
Choosing the right fabric makes a big difference. For heavy use, pick canvas or denim. For gifts or kids, pick fun prints. Lining helps the bag hold shape and hides raw edges.
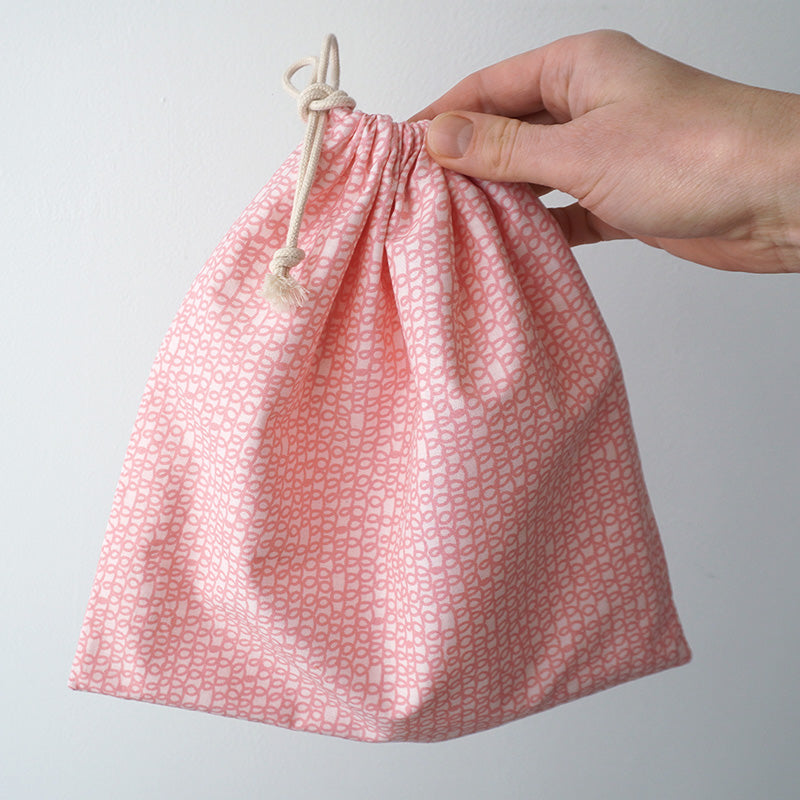
Basic measurements and pattern (simple math)
A clear pattern keeps sewing fast. Here is a simple way to size the bag.
- Decide final bag size: example 12 inches wide by 15 inches tall.
- Add seam allowance: add 1 inch to width and 1 inch to height.
- Cut fabric size: 13 inches wide by 16 inches tall for that example.
- Casing width: plan 1 inch plus seam so the cord fits freely.
- For lined bags: cut lining same size as outer fabric.
If you want a flat-bottom bag, add a boxed corner. Measure the corner square from the bottom edge. I usually use a 2-inch box for a medium bag. This step makes the bag sit upright.
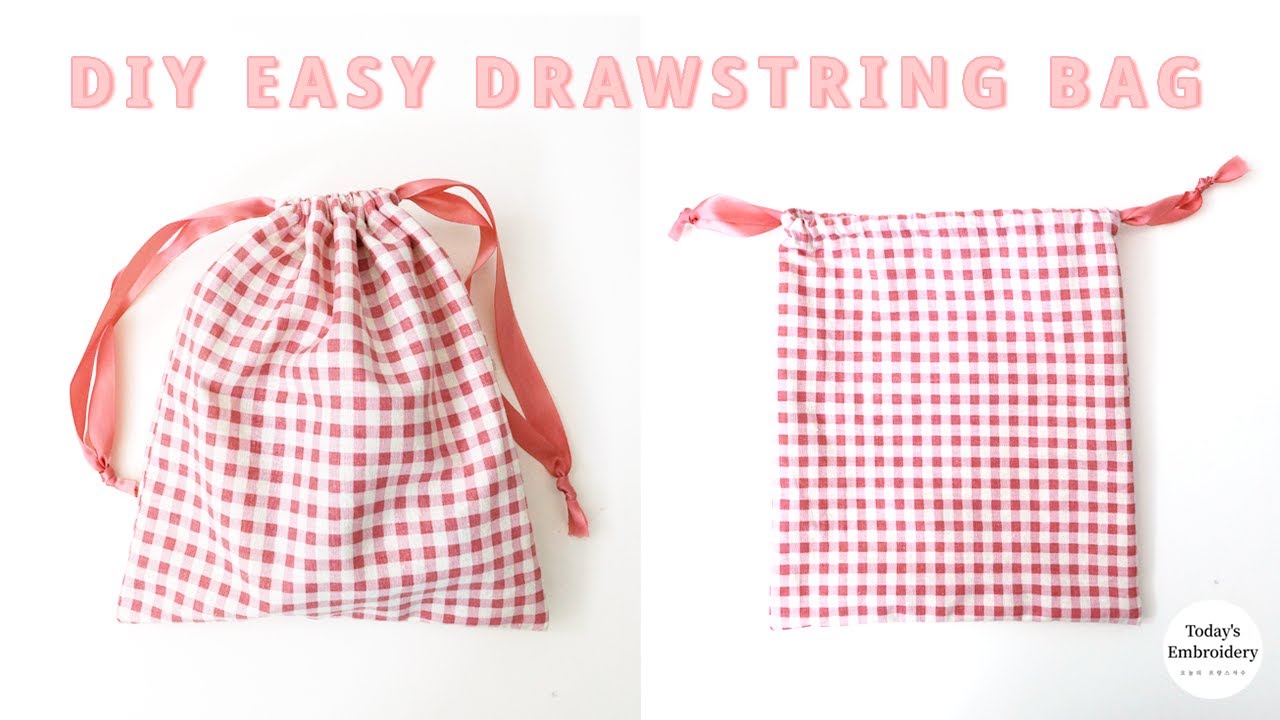
Step-by-step: sewing a classic drawstring bag
Follow these ordered steps. Each step is short and clear.
- Prepare fabric
- Wash and press fabric to avoid shrinkage later.
- Cut outer fabric and lining as measured.
- Sew side seams
- Place right sides together.
- Stitch both side seams with a 1/2 inch seam allowance.
- Press seams open or to one side.
- Create boxed corners (optional)
- Fold a corner so side seam meets bottom seam.
- Measure out the chosen box depth and stitch across.
- Trim excess fabric, leaving seam allowance.
- Make the casing
- Fold the top edge down by 1/2 inch and press; then fold again by the casing width (about 1 inch).
- Pin and stitch close to the lower folded edge, leaving a small gap to thread the cord if you want two cords or a single gap if the cord goes around.
- Finish edges
- Trim loose threads.
- Topstitch around the top for stronger finish if desired.
- Thread the drawstring
- Attach safety pin to cord.
- Push through casing, looping around if you want two cords or one cord threaded both sides.
- Tie cord ends or add knots or beads.
I always test the cord by pulling gently. If the cord jams, open the casing stitching and widen the channel. Practice makes this quick.
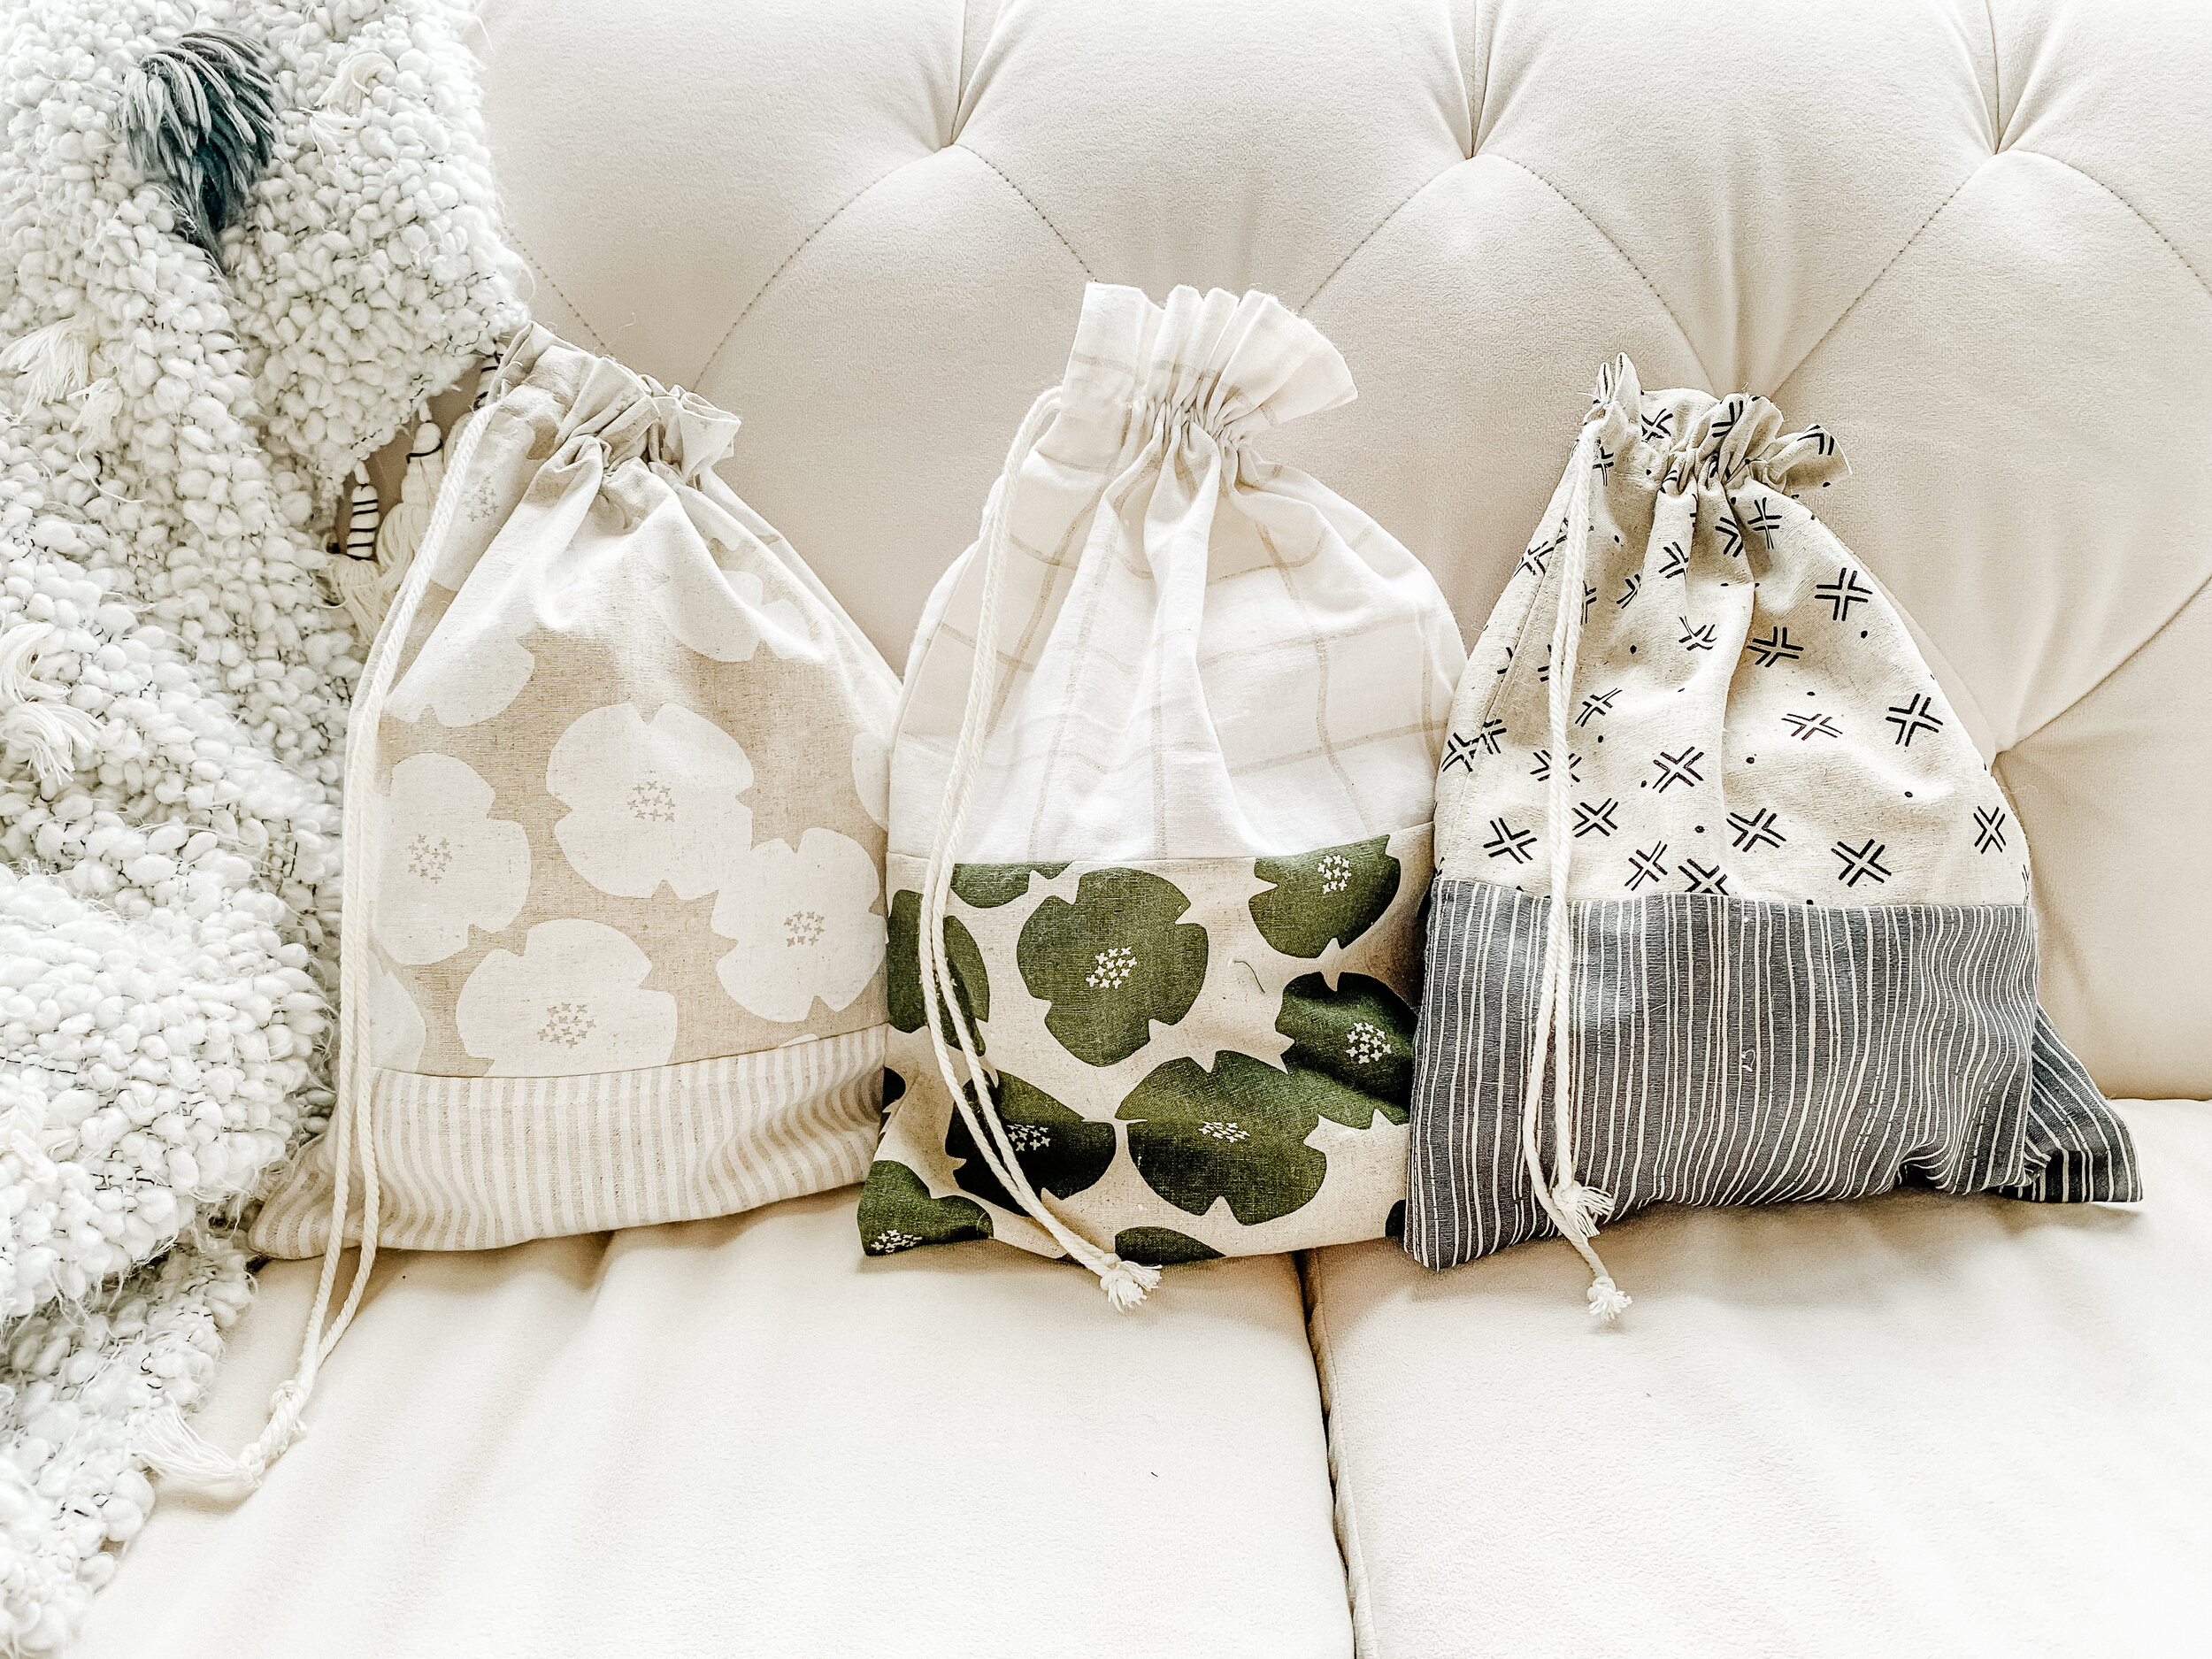
No-sew and quick variations
You can make a bag without a machine. These quick options save time.
- No-sew tied bag: Use fabric glue or iron-on hem tape for seams. Fold edges and secure tape, then fold a wide casing and glue. Thread cord.
- Drawstring with grommets: Mark two holes, punch grommets, and thread cord through for a clean look.
- Ribbon tie: Use wide ribbon instead of cord. Tie decorative bows.
- Recycled items: Use old T-shirts or pillowcases. Cut and sew or glue edges.
I once used an old shirt to make a gym bag in 20 minutes. It held shoes well for weeks. For long use, machine sewing lasts longer.
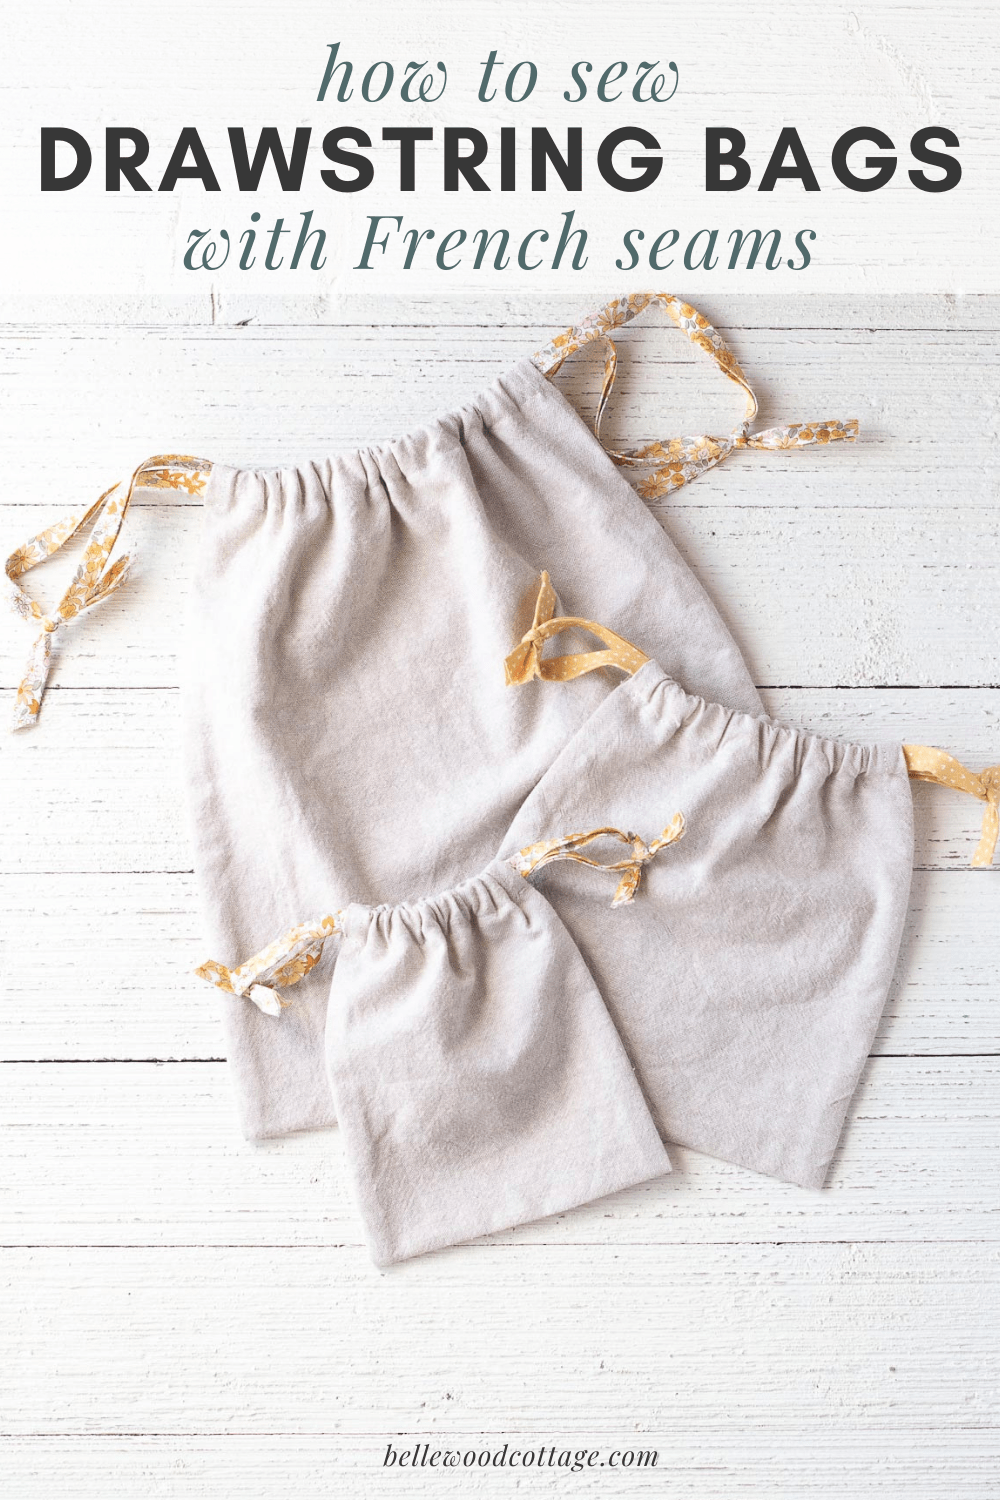
Lining, pockets, and finishing touches
Add features that improve use. These small upgrades matter.
- Lining
- Cut lining to same size and sew with right sides together.
- Sew top seams together before folding to create a neat edge.
- Interior pocket
- Cut a small rectangle, hem the top, and stitch three sides to the lining.
- Reinforced corners
- Use interfacing or extra fabric at the bottom corners for strength.
- Decorative finishes
- Topstitch in contrasting thread.
- Add patches, embroidery, or labels.
I add a small loop inside to clip keys. It is a simple feature that saves time looking for things.
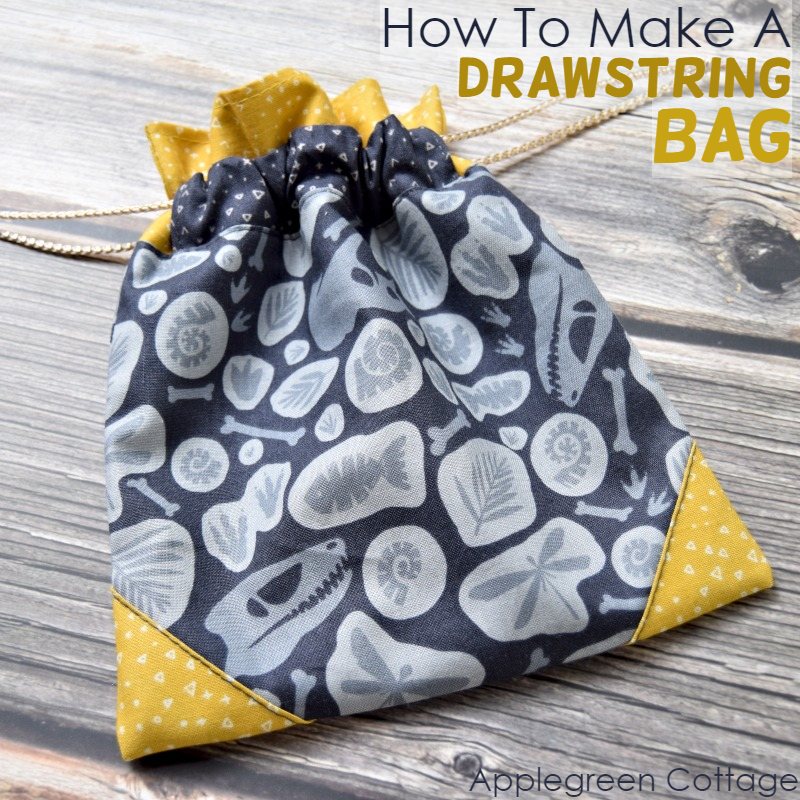
Troubleshooting and common mistakes
Short, practical fixes help you when things go wrong.
- Casing too tight
- Re-stitch wider casing. Use thicker fabric or larger safety pin to test fit.
- Drawstring slips out
- Tie small knots at ends or use cord stoppers.
- Bag too small or large
- Recalculate pattern with extra seam allowance. Always cut extra fabric if unsure.
- Uneven seams
- Use clips and press seams flat before topstitching.
My first bag had a twisted casing. I learned to press each fold and pin securely. That step fixed most alignment issues.

Design ideas and use cases
Think about how you will use the bag. That choice guides fabric and size.
- Everyday tote
- Medium cotton bag for lunch or books.
- Gift bag
- Use fancy fabric and ribbon. Add a small tag.
- Shoe bag
- Waterproof lining keeps shoes from getting other items dirty.
- Kids’ drawstring bag
- Bright prints, shorter cords, and safety knots on cords.
How to make a drawstring bag changes slightly with each use case. For travel, add a zip pocket. For crafts, add a canvas base.
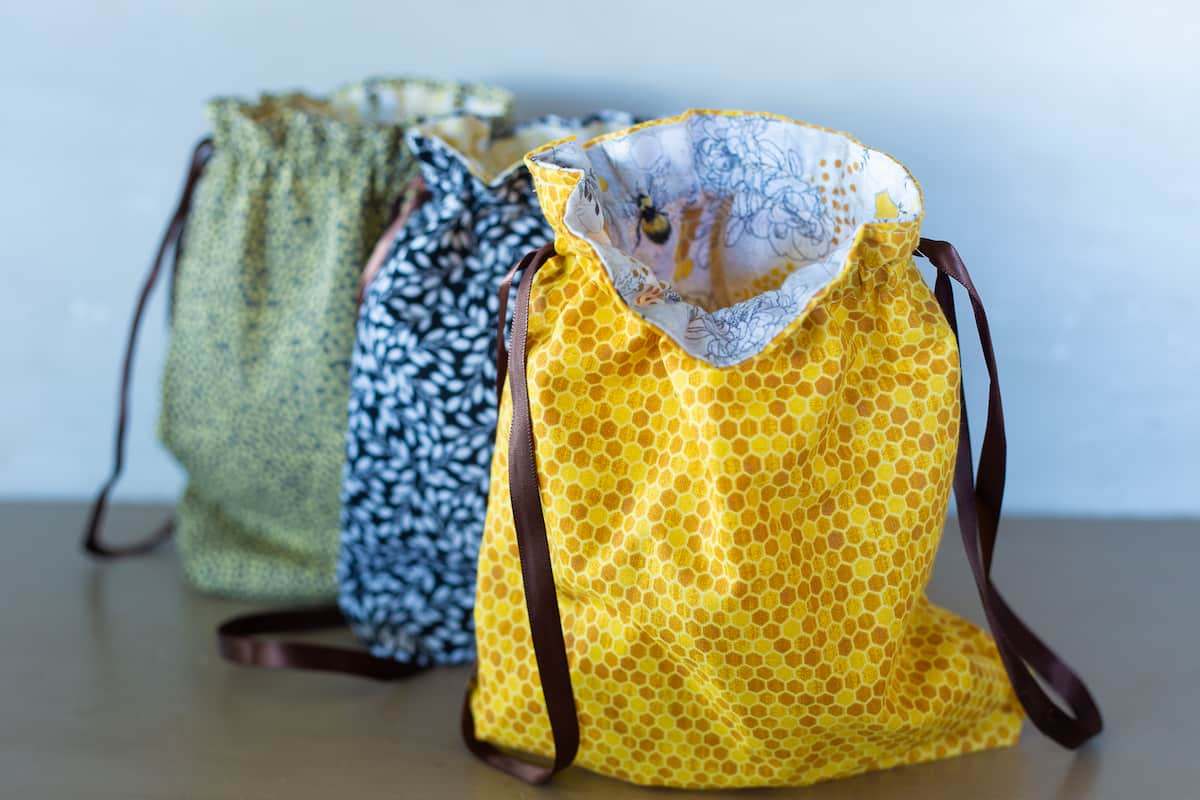
Personal experience and lessons learned
I’ve sewn many drawstring bags for markets and gifts. Here are honest lessons.
- Start simple. A basic single-fabric bag builds confidence.
- Press every fold. It saves time and keeps lines straight.
- Test cord thickness by threading a scrap before final stitches.
- Use a longer cord than you think you need. It’s easier to trim than to add length.
- Label fabric if using multiple pieces to avoid sewing mistakes.
One market season, I made 50 bags. The ones with lined seams lasted years. The unlined ones showed wear fast. That taught me to match materials to intended use.
Maintenance and care
Caring for the bag keeps it useful.
- Washing
- Hand wash delicate fabrics. Machine wash sturdy cotton on gentle cycle.
- Drying
- Air dry to avoid shrinking or heat damage.
- Ironing
- Press seams on low to medium heat as needed.
- Repair
- Reinforce worn seams with a short zigzag stitch.
If the cord frays, replace it quickly. It is a simple repair that extends life.
Frequently Asked Questions of how to make a drawstring bag
How much fabric do I need to make a basic drawstring bag?
For a medium bag about 12 by 15 inches, you need a single piece 13 by 16 inches including seam allowance. Add lining and extra for boxed corners if needed.
Can I make a drawstring bag without a sewing machine?
Yes. Use fabric glue or iron-on hem tape for seams and casing, then thread the drawstring through the glued casing.
What type of cord works best for drawstrings?
Cotton cord, nylon cording, or ribbon all work. Choose cord thickness that matches the casing width so it slides easily.
How do I make a bag that stands up on its own?
Add boxed corners or a small base panel. Use heavier fabric or interfacing to give structure.
How do I add pockets inside the bag?
Cut a rectangle for the pocket, hem the top edge, and stitch the other three sides to the lining before assembling the bag.
Final thoughts and next steps
You now have a clear path to how to make a drawstring bag. Start with simple fabric and one basic method. Then add lining, pockets, or grommets as you gain confidence. Try different cords and finishes to match each use. Make one today, and share your results or questions in the comments — I’d love to see what you create.

Zayden Halbrook is a travel enthusiast and gear researcher passionate about making every journey smoother and more enjoyable. With a keen eye for practical travel essentials and real-world tips, he helps readers choose the right gear and travel smarter. When he’s not testing travel kits or exploring new destinations, Zayden shares simple, reliable advice to make every trip stress-free.