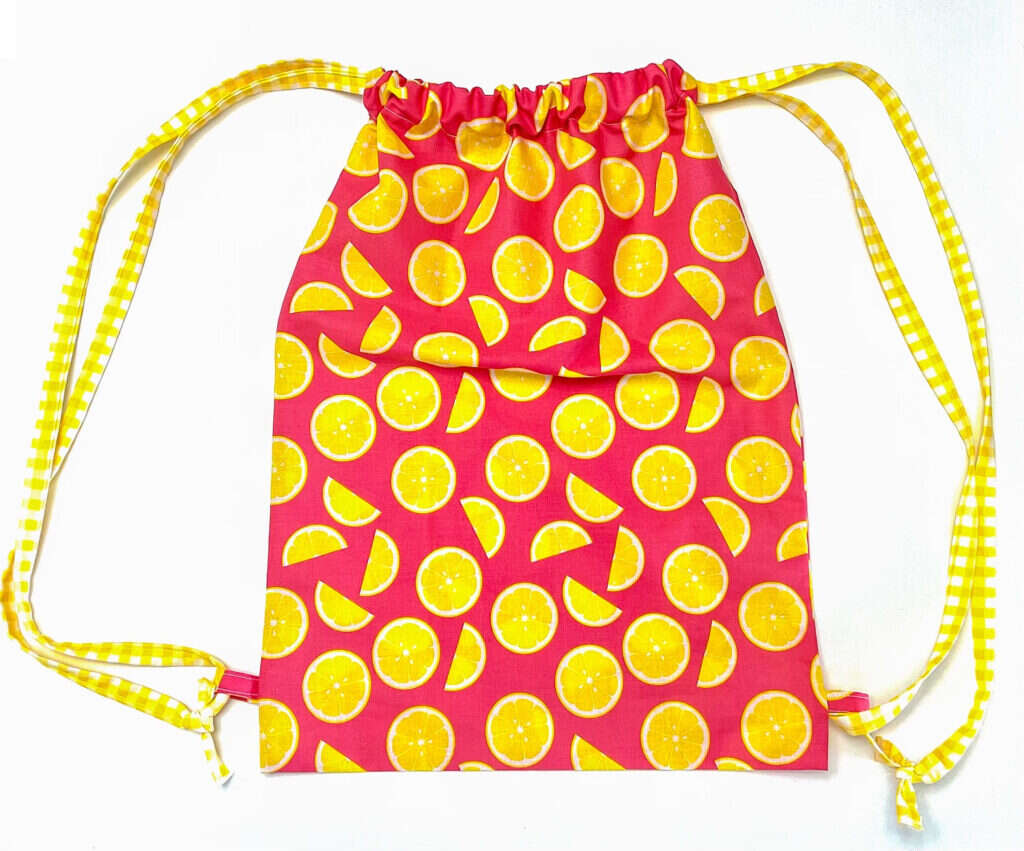
Make a drawstring backpack by cutting two fabric panels, sewing the seams, and threading cords through sturdy fabric channels.
Learning how to make a drawstring backpack is a useful beginner sewing project that builds real skills. With basic fabric, cord, and a sewing machine or hand needle, you can create a light, washable bag for school, travel, gifts, or daily use. This guide explains each step, including measurements, seam strength, cord placement, common mistakes, and simple design ideas.
Why Make a Drawstring Backpack?
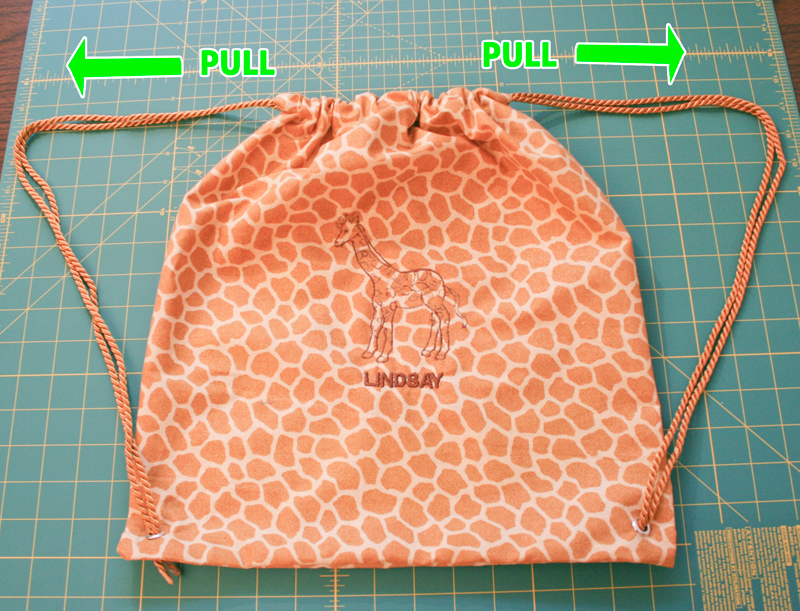
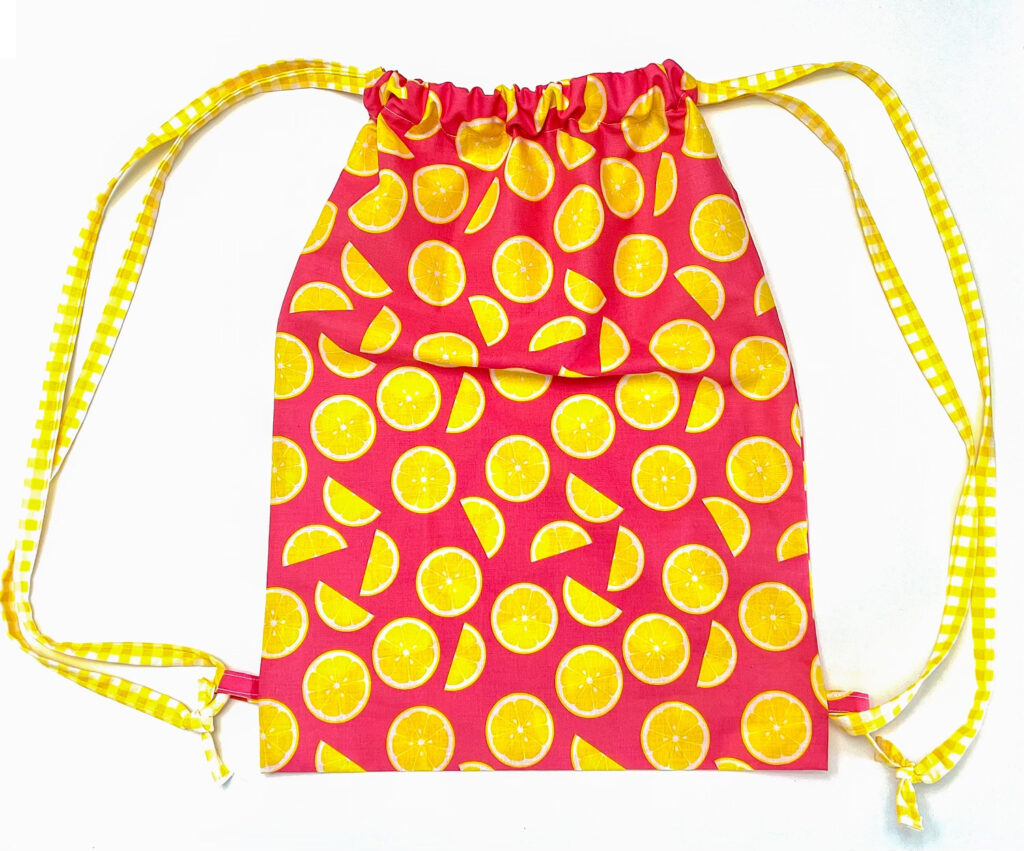
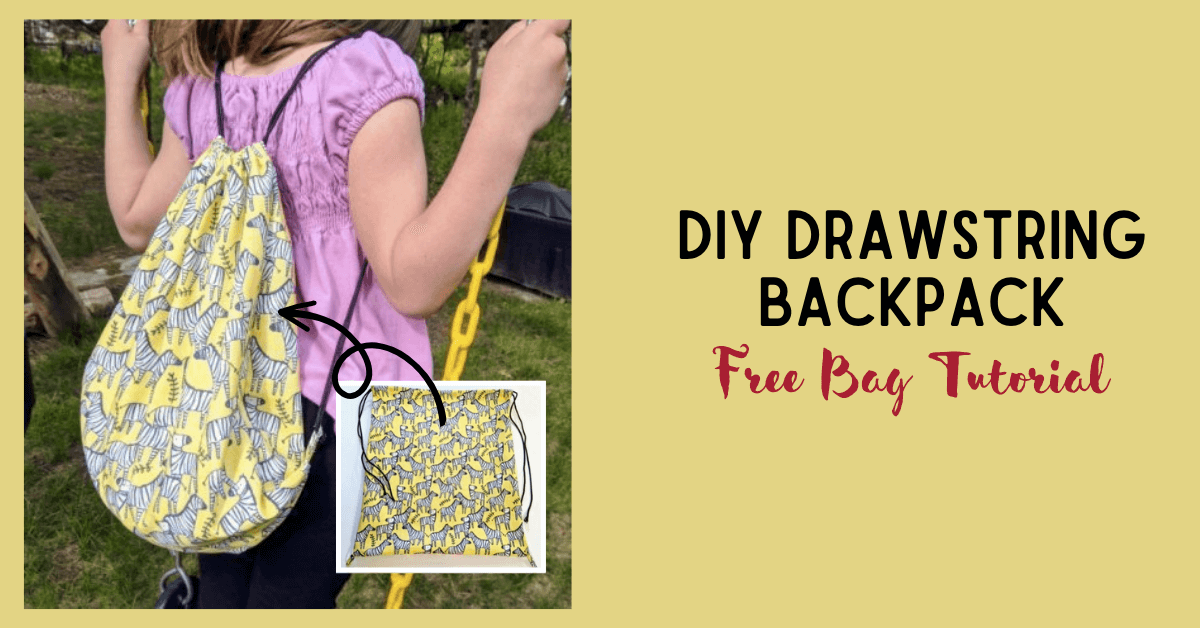
A drawstring backpack is simple, light, and easy to customize. It closes with two cords that pass through fabric channels and also act as shoulder straps.
This project is popular because it needs little fabric and few supplies. It also makes a thoughtful handmade gift. You can use cotton for a soft everyday bag, canvas for more strength, or recycled fabric for a low-waste project.
A homemade drawstring backpack also lets you control the size, color, and features. You can add a lining, inside pocket, name tag, or decorative patch without changing the basic pattern.

Materials and Tools You Need
Before you start, gather all your supplies. Having everything ready makes sewing faster and helps you avoid rushed cuts.
Basic materials
For a standard adult or teen backpack, use:
• Two fabric pieces, each 15 inches wide by 18 inches tall
• Two cords, each about 60 inches long
• Thread that matches or contrasts with the fabric
• Two small fabric pieces for cord channels, each 3 inches wide by 15 inches long
• A small amount of interfacing for thin fabric, if needed
Choose cotton quilting fabric for an easy first project. It is stable, affordable, and easy to press. Canvas, denim, and lightweight twill make stronger bags but may require a heavier needle.
Sewing tools
You will also need:
• A sewing machine or hand-sewing needle
• Fabric scissors or a rotary cutter
• A ruler or measuring tape
• Sewing pins or fabric clips
• An iron and ironing surface
• A fabric marking pen or chalk
• A safety pin or bodkin for threading the cords
A sharp needle gives cleaner stitches. Use a universal size 80/12 needle for cotton and a denim or heavy-duty needle for canvas or thick fabric.
Choose the Right Size
The finished size depends on the width and height of your fabric panels. Remember that the bag will become smaller after sewing the seams.
A useful starting point is:
• Small child’s bag: two panels measuring 11 by 14 inches
• Standard everyday bag: two panels measuring 15 by 18 inches
• Large sports or travel bag: two panels measuring 18 by 22 inches
The finished bag will usually be about 1 inch narrower and 1 inch shorter than the cut panels. This difference comes from the seam allowance and the folded top edge.
If you plan to carry books or shoes, make the bottom wider. You can do this by boxing the lower corners, which creates a flat base. For a first drawstring backpack, however, a flat bottom is easier and faster.
Prepare and Cut the Fabric
Wash and dry your fabric before cutting it. Prewashing removes excess dye and prevents the finished backpack from shrinking after its first wash.
Press the fabric so it lies flat. Then place it on a clean cutting surface and measure carefully. Accurate cutting matters more than sewing speed.
Cut the following pieces:
-
Cut two main panels to your chosen size.
-
Cut two cord channel strips that match the bag width.
-
Cut optional lining panels if you want a lined backpack.
-
Cut a small pocket if you want extra storage.
Mark the wrong side of each fabric piece. This small step prevents confusion when you begin sewing, especially if the fabric has a print or a clear front and back.
How to Make a Drawstring Backpack Step by Step
The basic process has five parts: prepare the top edge, sew the body, attach the cord channels, reinforce the bottom corners, and thread the cords.
Step 1: Finish the top edges
Place each main fabric panel face down. Fold the top edge down by ½ inch and press it.
Fold it down another 1 inch and press again. This creates a clean casing area at the top of the bag. Stitch close to the lower folded edge.
Repeat this process on both panels. Keep the stitching straight because the cord will later pass near this area.
Step 2: Sew the backpack body
Place the two main panels with their right sides together. Align the side and bottom edges.
Pin or clip both sides and the bottom. Sew with a ½-inch seam allowance. Leave the top open.
Backstitch at the start and end of each seam. This locks the thread and helps prevent the bag from opening during use.
Trim loose threads. If the fabric frays, finish the raw edges with a zigzag stitch, overlock stitch, or clean French seam.
Step 3: Make the cord channels
Take the two channel strips. Fold each short end toward the wrong side by ½ inch and press. Stitch the short ends to stop them from fraying.
Fold each strip in half lengthwise, with the wrong sides together. Press the fold.
Turn the backpack right side out. Position one channel near the bottom of the bag on the outside. Center it across the width, then stitch along the top and bottom edges.
Repeat with the second channel on the other side. The channels should sit at the same height so the backpack hangs evenly.
Step 4: Reinforce the lower corners
The cord ends will attach to the lower corners, so these areas need extra strength. Fold each cord end into a small loop and place it at the side seam near the bottom corner.
Sew each loop securely with a rectangle and an X through the middle. This stitch pattern spreads the pulling force across the fabric.
For a heavy bag, sew over the reinforcement twice. You can also add a small patch of canvas inside the corner for extra support.
Step 5: Thread the cords
Cut two equal cord lengths. A 60-inch cord works well for many standard bags, but you may need longer cords for a large backpack or a tall user.
Thread the first cord through the top channel. Start at one side, pass it through the front casing, and bring it out at the other side. Then guide both ends down to the matching lower corner.
Thread the second cord through the opposite channel in the reverse direction. Attach its ends to the other lower corner.
Tie firm knots. Test the straps by pulling gently before placing anything inside the bag.
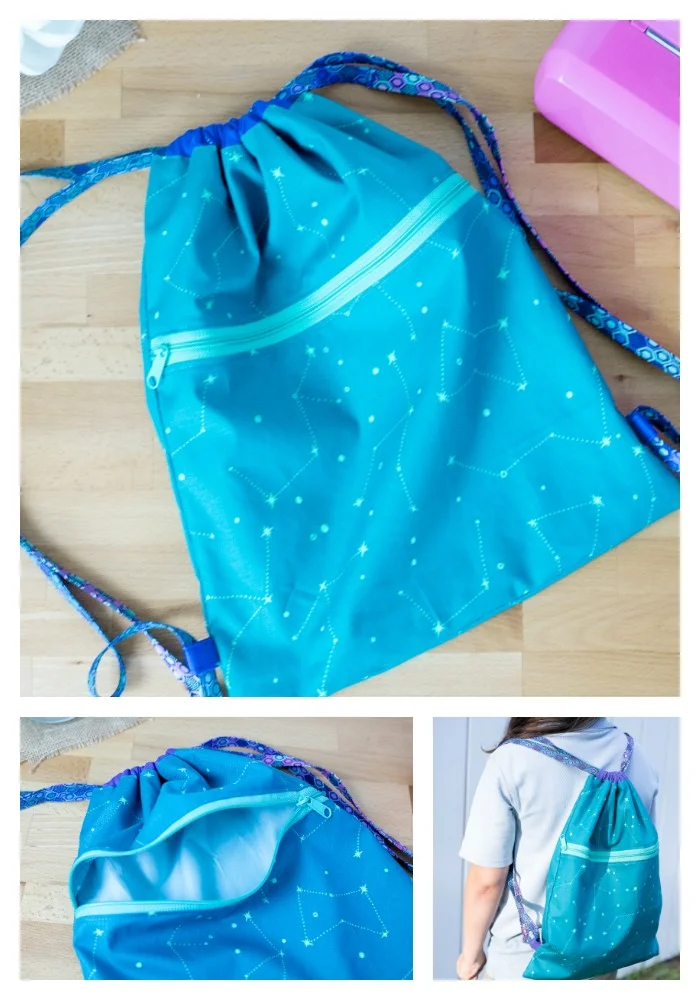
Add a Lining for a Cleaner Finish
A lining gives the backpack a smoother inside and hides raw seams. It also adds modest strength, although a lining does not replace strong outer fabric.
Cut two lining panels the same size as the main panels. Sew them together at the sides and bottom, leaving a small opening in the bottom seam for turning.
Place the lining inside the outer bag with the right sides facing each other. Match the top edges and sew around the opening.
Turn the bag through the lining gap. Push out the corners, close the gap with a ladder stitch or machine stitch, and tuck the lining inside.
For a lined drawstring backpack, keep the cord channels attached to the outer fabric. The cords need to remain outside the lining so they can move freely.
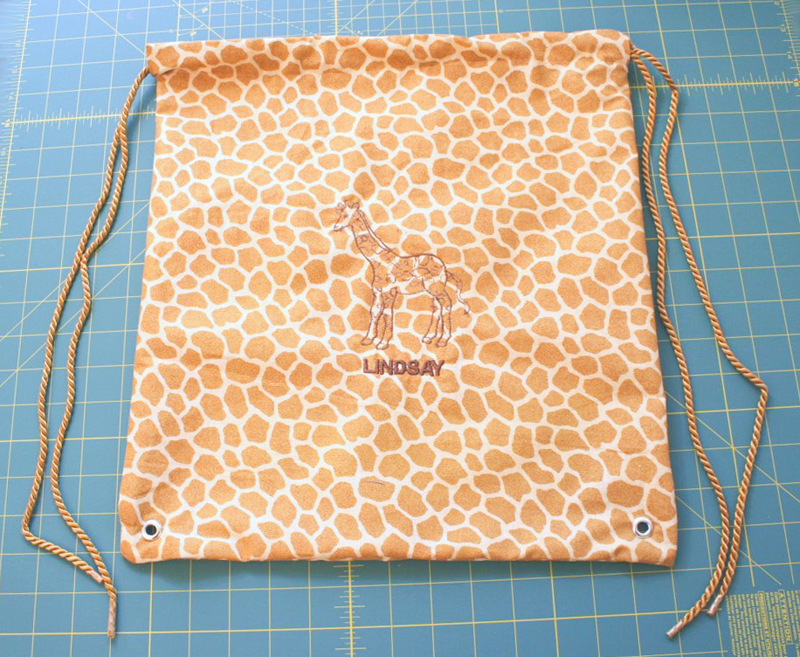
Improve Strength and Comfort
A simple drawstring backpack works well for light items. If you want better durability, focus on the stress points rather than making every seam bulky.
Use these upgrades:
• Add interfacing to thin fabric before sewing.
• Use canvas or denim for the bottom section.
• Stitch the side seams with a second row of stitching.
• Reinforce the lower cord loops with a fabric patch.
• Use soft cotton cord for comfort.
• Add a wide bottom panel for shoes, lunch containers, or sports gear.
Avoid using very thin ribbon as a shoulder strap. It may cut into the skin and can tear under weight. Round cotton cord, braided cord, and soft nylon cord are usually more comfortable.
The U.S. Consumer Product Safety Commission has warned about long cords and loops on children’s products because they can create entanglement risks. For young children, keep cords short, avoid neck loops, and supervise use.
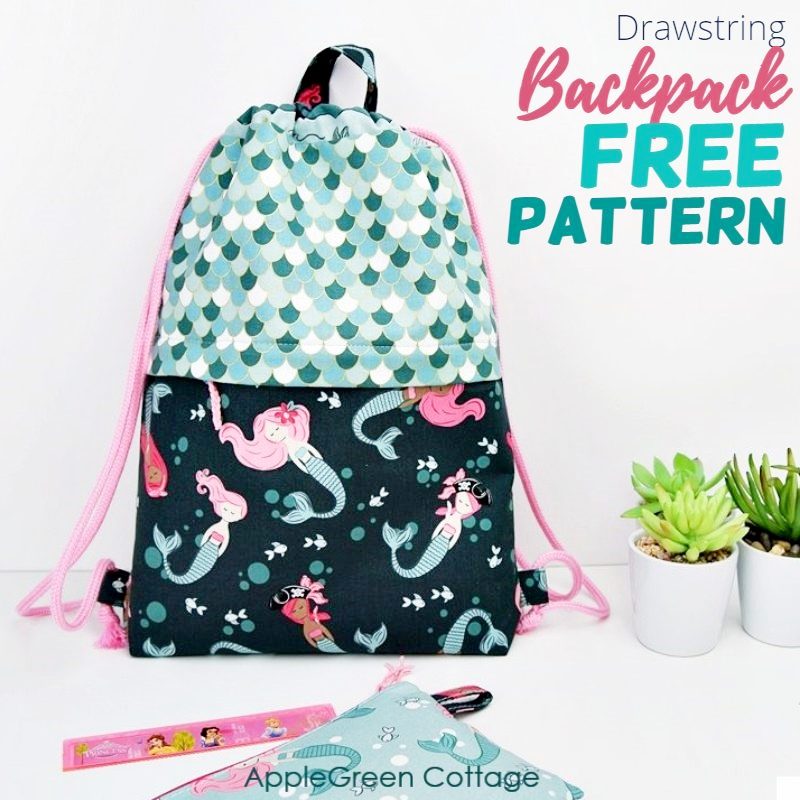
Common Mistakes to Avoid
Many first projects fail because of small preparation errors. The good news is that most are easy to prevent.
Cutting without measuring
Uneven panels create a crooked bag. Measure from a straight grain when possible, and mark all corners clearly.
Forgetting the top casing
The cord needs a smooth tunnel. If the top edge is sewn shut or too narrow, the cord will not slide well.
Using weak corner stitches
The lower corners carry much of the strap tension. A single row of stitches may pull out, especially with books or shoes inside.
Making the cord too short
Place the cord around your shoulders before cutting it. It should allow the bag to sit comfortably on your back without pulling tightly.
Skipping backstitches
Backstitch at every seam beginning and ending. This takes only a few seconds but helps stop seams from unraveling.
Sewing with the wrong sides together
The right sides of the outer fabric should face each other when sewing the body. If you are unsure, place a small sticker on the wrong side of each panel before starting.
In my own beginner sewing projects, the most common problem was rushing the pressing stage. Pressing each fold made the next seam straighter and gave the finished bag a much cleaner shape.
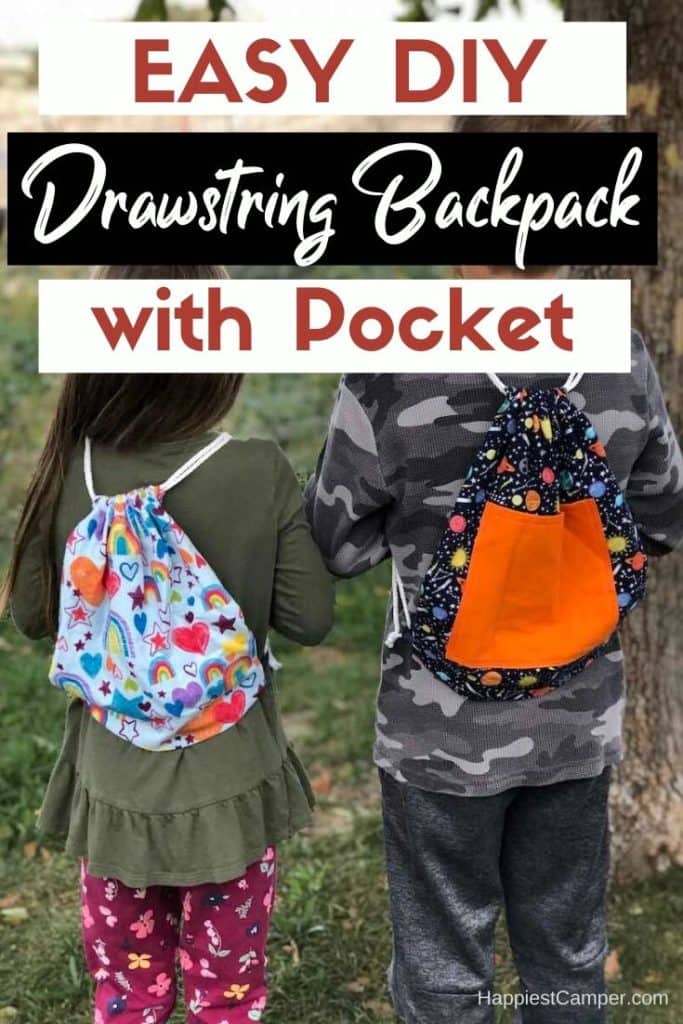
Customize Your Drawstring Backpack
Once you know how to make a drawstring backpack, you can change the design in many ways.
Try these ideas:
• Add a front pocket for keys or a phone.
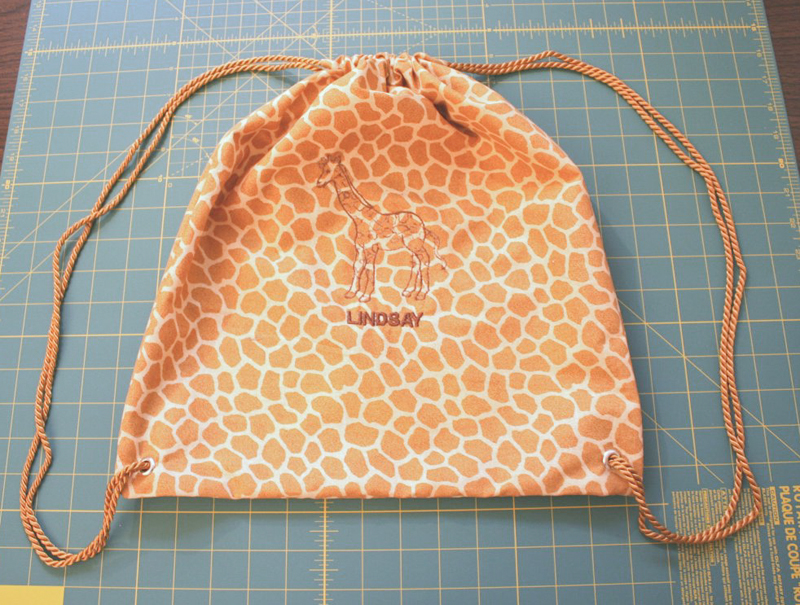
• Sew a name or monogram onto the front panel.
• Use contrasting fabric for the cord channels.
• Add a reflective strip for evening visibility.
• Combine denim with patterned cotton.
• Make matching bags for family trips or parties.
• Use old shirts, curtains, or denim jeans as recycled fabric.
For a reversible backpack, use two attractive fabrics and finish all seams neatly. Keep in mind that exposed cord channels may need a clean finish on both sides.
You can also make a themed bag for sports, books, crafts, or travel. A bright cotton bag suits children, while waxed canvas or dark twill creates a more durable adult version.
How to Care for a Handmade Backpack
Always check the fabric care label before washing. Cotton bags can often be machine washed in cool water, but some canvas finishes and printed fabrics may need gentle care.
Turn the bag inside out before washing. Use mild detergent and avoid high heat unless the fabric has been preshrunk.
Inspect the seams and cord knots from time to time. Repair loose stitching early. A small repair can prevent a torn corner or lost strap later.
Do not overload the bag. A drawstring backpack is best for light to moderate items unless you have used heavy fabric, reinforced seams, and strong cord.
Frequently Asked Questions
How much fabric do I need to make a drawstring backpack?
For a standard bag, you usually need two fabric pieces measuring about 15 by 18 inches. Add extra fabric if you want a lining, pocket, wide bottom, or fabric cord channels.
What is the best fabric for a drawstring backpack?
Cotton is the easiest fabric for beginners because it is stable and simple to sew. Canvas, denim, and twill are better for heavier use, but they may require stronger needles and thicker thread.
How long should the drawstring cord be?
Two cords measuring about 60 inches each work for many standard backpacks. Measure the cord around the intended user’s shoulders and add extra length for knots before cutting.
Can I make a drawstring backpack without a sewing machine?
Yes. You can sew the seams by hand with a strong backstitch. Hand sewing takes longer, but it works well for small bags and simple cotton fabric.
How do I make a drawstring backpack stronger?
Reinforce the lower corners, use strong cord, and sew a second row along the side and bottom seams. Interfacing or a canvas bottom can also improve strength.
Is a drawstring backpack safe for young children?
Use care with cords and loops around children. Keep the straps short enough to reduce entanglement risks, avoid neck loops, and supervise children while they use the bag.
Conclusion
Learning how to make a drawstring backpack is a practical sewing project with a simple pattern and many creative options. Measure carefully, press each fold, reinforce the lower corners, and choose cord that feels comfortable on the shoulders.
Start with a basic cotton version before trying canvas, lining, pockets, or a boxed bottom. Once you finish your first bag, make another with a new fabric or a custom size. Share your project, explore more sewing guides, and leave a comment about the design you created.

Zayden Halbrook is a travel enthusiast and gear researcher passionate about making every journey smoother and more enjoyable. With a keen eye for practical travel essentials and real-world tips, he helps readers choose the right gear and travel smarter. When he’s not testing travel kits or exploring new destinations, Zayden shares simple, reliable advice to make every trip stress-free.