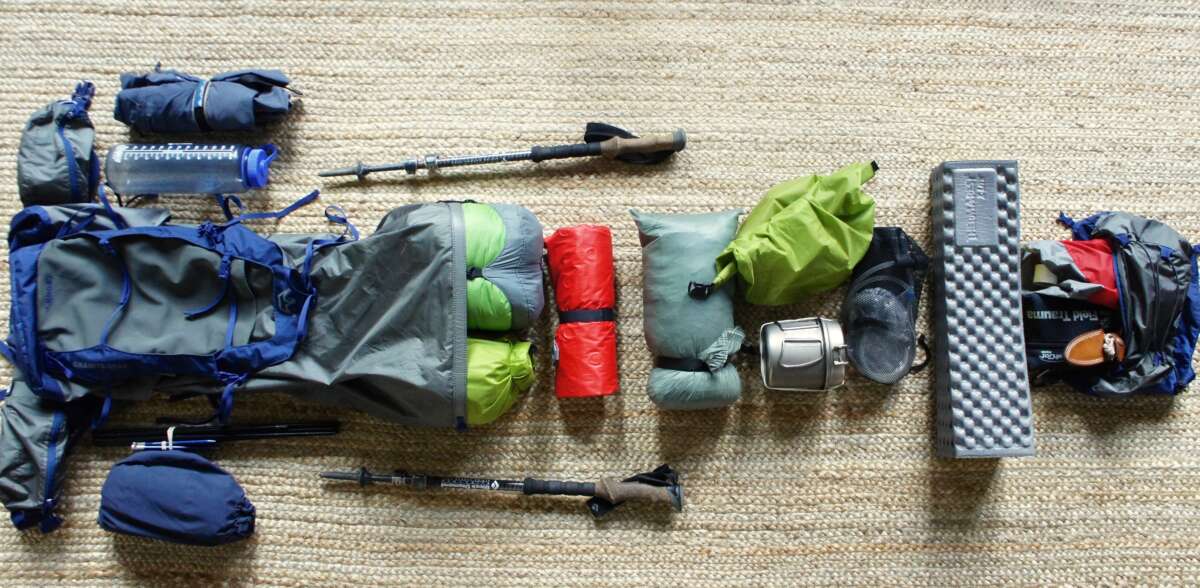
Pack a lightweight shelter, warm layers, food, water, navigation, and a reliable first-aid kit.
I’ve packed for dozens of multi-day hikes and taught friends how to travel light and safe. This guide walks you through exactly what to pack for backpacking, step by step. You’ll find clear checklists, seasonal tweaks, real mistakes I’ve made, and practical tips to keep weight down and comfort up. Read on to plan smarter and enjoy the trail.
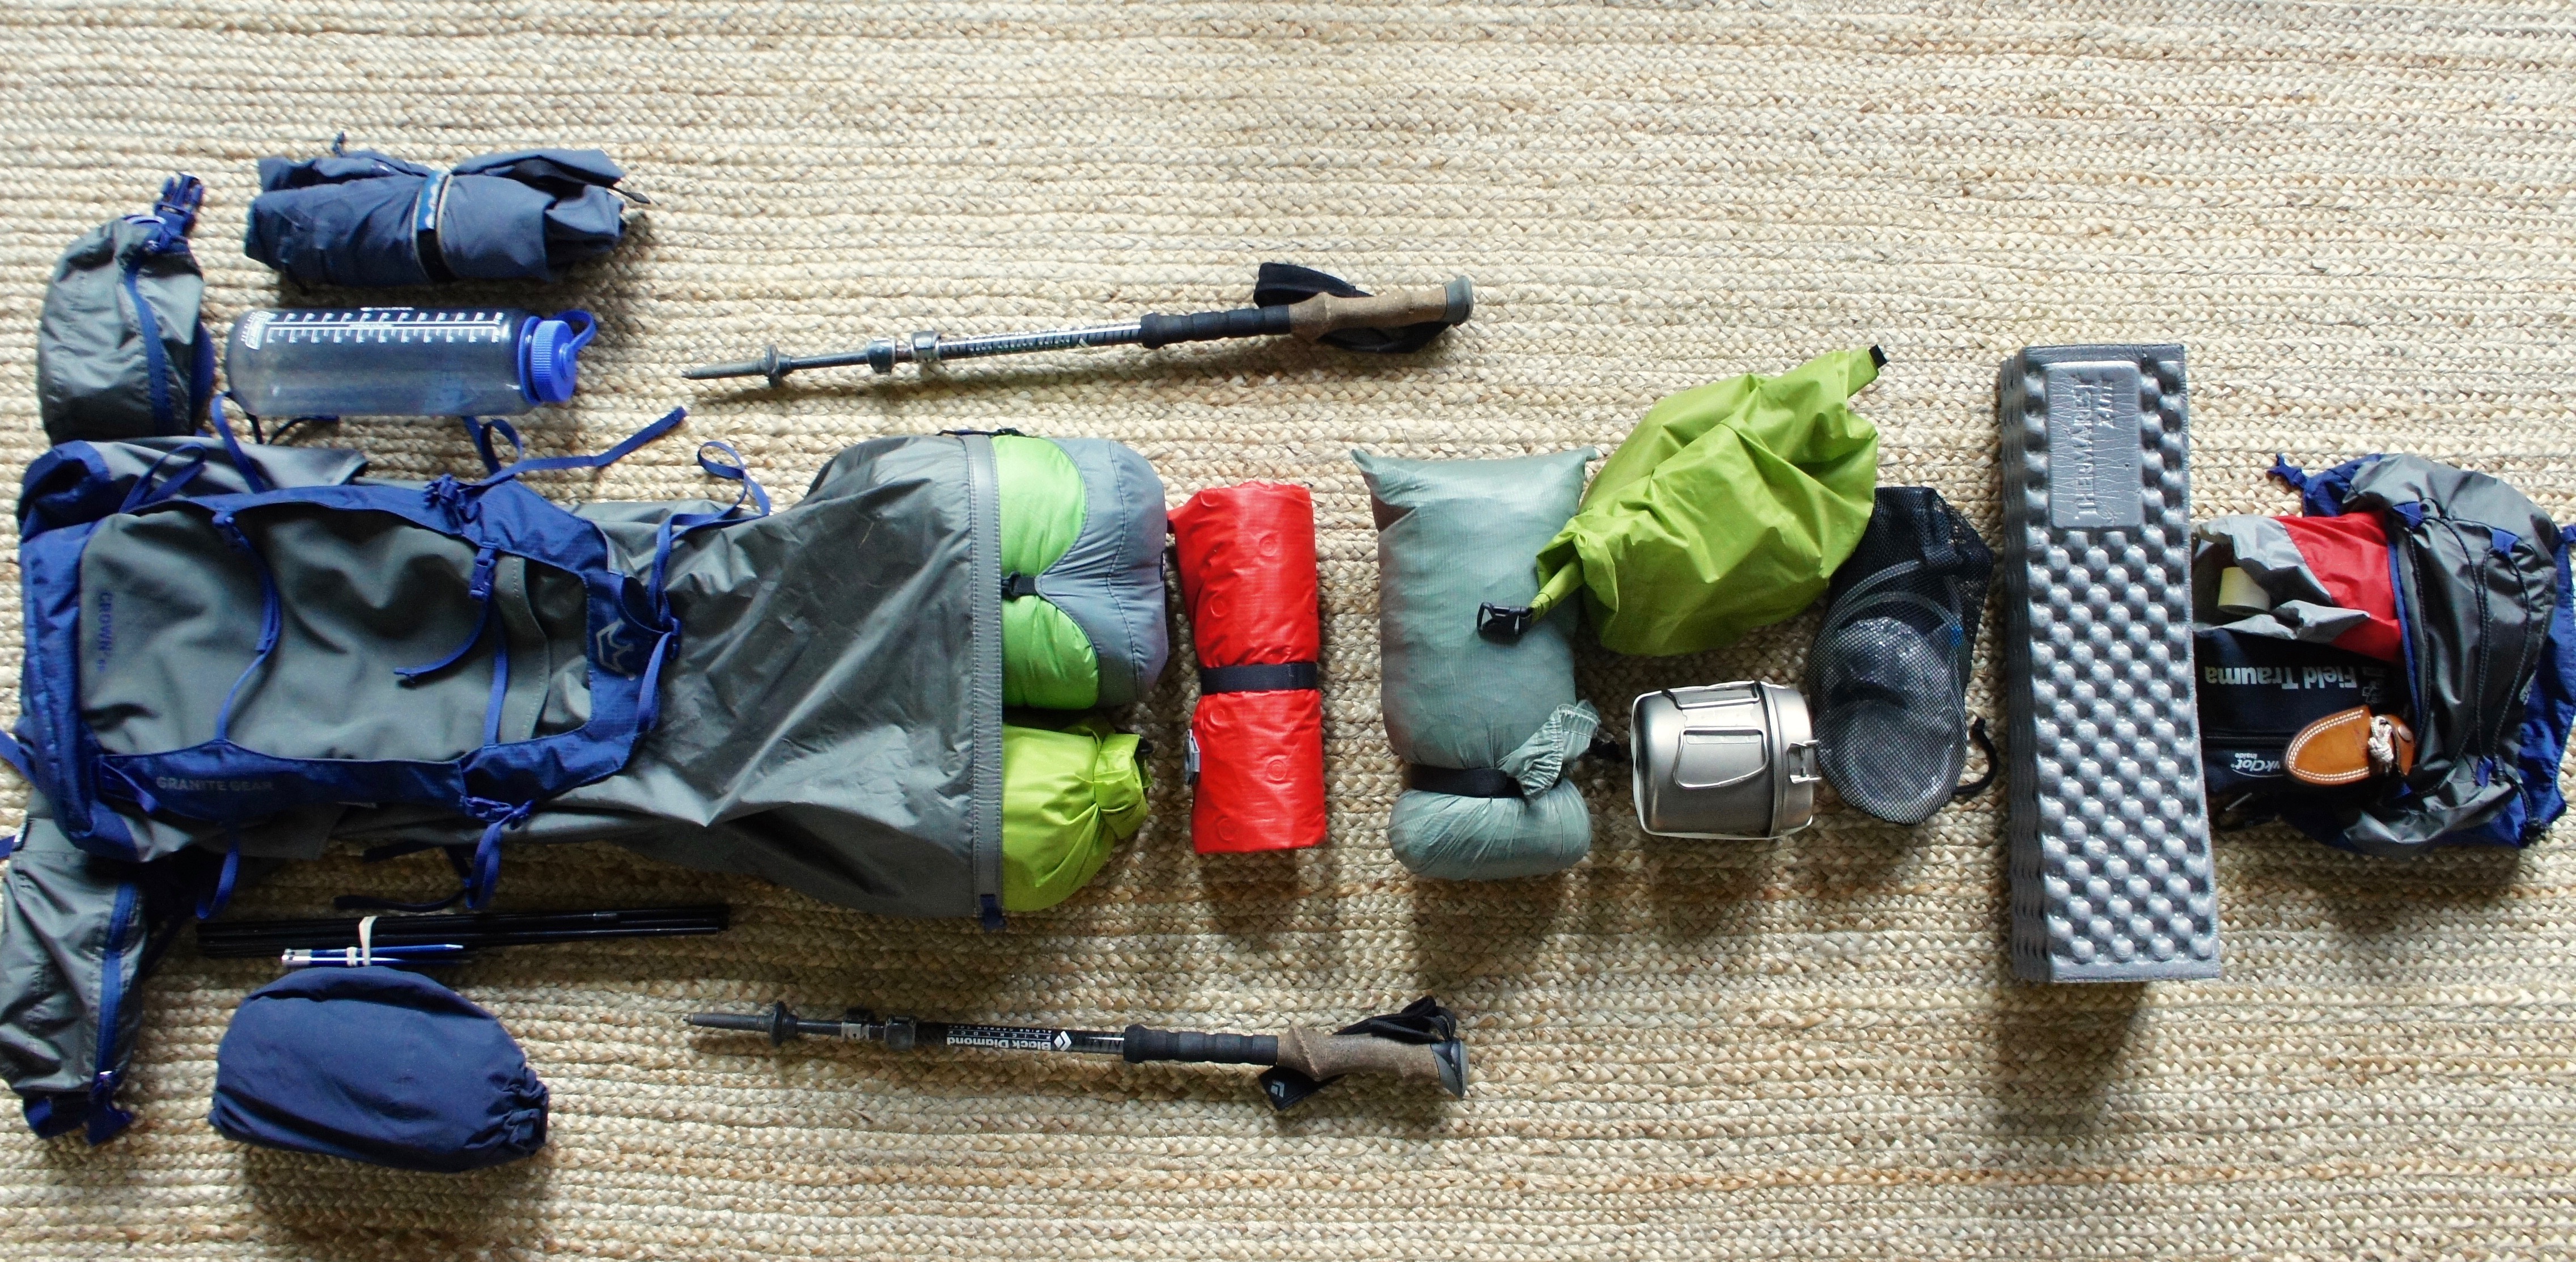
Essentials checklist: what to pack for backpacking
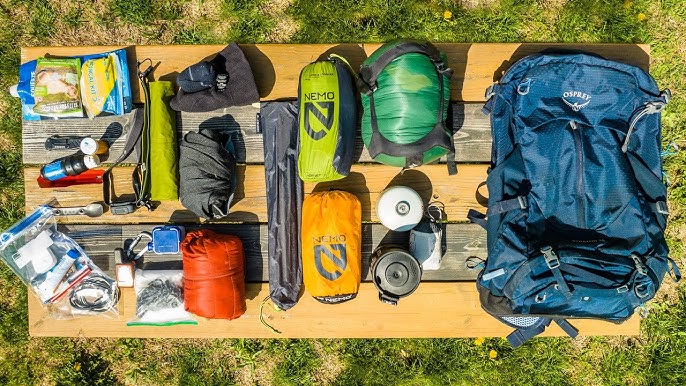
Start with the basics. A good pack, shelter, sleep system, clothing, food, water, and safety items form the core of what to pack for backpacking. Pick items that match trip length, terrain, and weather.
Items to include
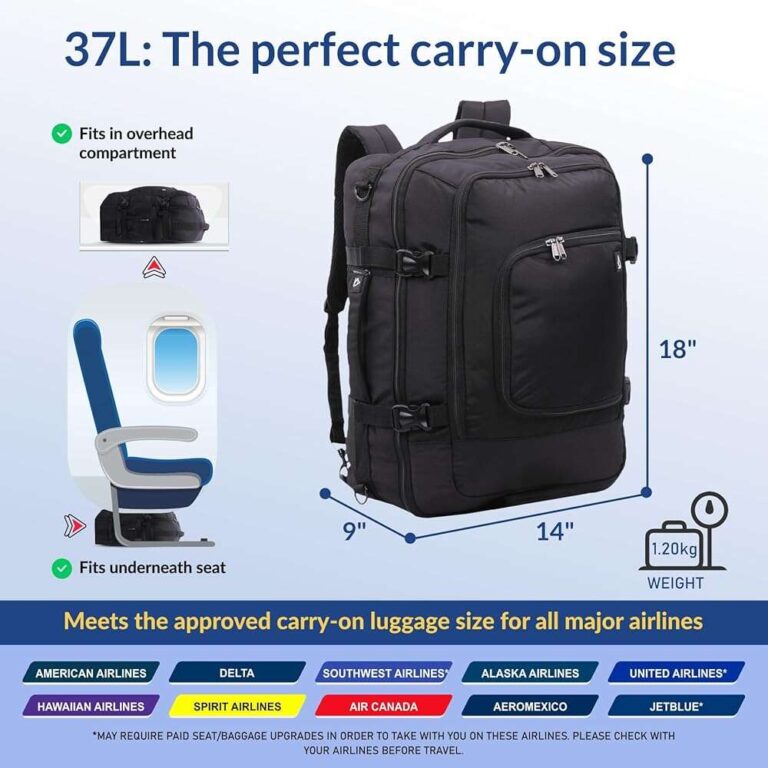
- Backpack: Choose capacity by trip length; 30–45L for 1–3 nights, 50–70L for longer trips.
- Shelter: Ultralight tent, tarp, or hammock with bug net depending on conditions.
- Sleeping bag or quilt: Rated a bit warmer than expected temps.
- Sleep pad: Inflatable or closed-cell for insulation and comfort.
- Footwear: Hiking boots or trail runners plus camp shoes.
- Water: Bottle or reservoir and a treatment method like filter or chemical drops.
- Stove and fuel: Lightweight canister, multi-fuel, or alcohol stove depending on preference.
- Food: Calorie-dense, easy-to-cook meals and snacks.
- Clothing: Layering system (base, insulating, shell) and extra socks.
- Navigation: Map, compass, and backup route info.
- First-aid kit: Tailored to the group and trip length.
- Repair kit: Duct tape, cord, spare buckles, sewing kit.
- Lighting: Headlamp with spare batteries.
- Documents and permits: ID, permits, and emergency contacts.
Practical sizing
- Short weekend: Minimize to essentials; prioritize pack comfort and shelter.
- Multi-week trip: Allow more food, spare clothing, and larger repair kits.
- Solo vs group: Group gear can be shared, letting each person carry less.
From experience, the right essentials save you time and stress. I once carried a bulky stove on a short hike and regretted it. Light choices keep the trip fun.

Clothing: smart layers and thoughtful fabrics
Clothing is about layering, not fashion. The right fabrics dry fast and resist odor. Plan outfits for hiking, sleeping, and emergencies.
Layering basics
- Base layer: Moisture-wicking shirt and underwear to move sweat away.
- Insulating layer: Fleece or lightweight down for warmth at rest or at night.
- Shell layer: Waterproof breathable jacket and rain pants for storms.
- Extra items: Warm hat, gloves, and buff or neck gaiter.
Footwear and socks
- Boots vs trail runners: Boots give ankle support; trail runners are lighter and dry faster.
- Socks: Synthetic or wool socks minimize blisters. Bring an extra pair.
- Camp shoes: Sandals or lightweight shoes for sore feet at camp.
Clothing tips
- Avoid cotton for core layers; it holds moisture and chills you.
- Carry one extra set of lightweight clothes for sleep and emergencies.
- Pack packing cubes or dry sacks to keep clothing organized and dry.
I learned to bring two pairs of socks after a cold night with wet feet. That simple change prevented blisters and kept morale up on later miles.
Shelter and sleep system: comfort that weighs less
Good sleep means better days on trail. Choosing the right shelter and sleep system impacts weight and warmth.
Shelter options
– Tent: Freestanding or non-freestanding options. Look for low weight and reliable setup.
- Tarp or tarp-tent: Ultralight and versatile in mild weather.
- Hammock: Great in bug-free, tree-filled areas with a good underquilt for cold nights.
Sleep system components
- Sleeping bag/quilt: Pick a temperature rating that suits expected lows. Down is lighter and compressible; synthetic performs better when wet.
- Sleep pad: Insulation value (R-value) matters. Take a higher R-value for cold nights.
- Pillow: Inflatable pillow or stuff sack with clothing can be used.
Setup and maintenance
- Practice pitching at home before the trip.
- Keep a footprint or groundsheet to protect tent floor.
- Vent your shelter to reduce condensation.
On a rainy trip, I learned that a well-vented shelter beats a sealed one. Condensation ruins sleep more than a little wind.

Cooking, water, and food: fuel for long miles
Your stove, water plan, and food choices shape daily routine. Pack simple systems that you can rely on when tired.
Water strategies
- Carry enough water to reach the next reliable source.
- Treat water with filters, UV purifiers, or chemical drops.
- Store extra water in collapsible bottles for space saving.
Cooking systems
- Canister stoves: Easy and compact for most trips.
- Liquid-fuel or multi-fuel: Better in cold or high altitudes.
- No-cook options: Instant meals, energy bars, and nut butters for fast days.
Food choices
- Breakfasts: Instant oats, freeze-dried meals, or granola.
- Lunches: Tortillas, cheese, cured meats, and trail mix.
- Dinners: Dehydrated meals, rice or pasta, and soups.
- Snacks: High-calorie, portable items like nuts, jerky, and energy bars.
Meal planning tips
- Pre-portion meals into zip bags for quick cooking.
- Bring a small utensil kit and a lightweight pot.
- Pack out food waste and wrappers to follow Leave No Trace.
I once underplanned food for a long day and had to ration snacks. Now I pack slightly more calories than I think I need. It’s worth the weight.
Navigation, safety, and first aid
Good navigation and safety gear prevent emergencies. Pack items that match route difficulty and remoteness.
Navigation gear
- Map and compass: Basic navigation tools that always work.
- GPS device or smartphone app: Great as backup but carry offline maps.
- Route notes: Waypoints, water sources, and potential hazards.
Safety gear
- First-aid kit: Add blister care, adhesive tape, pain relief, and personal meds.
- Emergency shelter: Space blanket or bivy for unexpected stops.
- Fire starter: Matches, lighter, and a backup.
- Whistle and mirror: Simple signaling gear for rescues.
Communication
- Satellite messenger or PLB: Essential on remote trips without cell service.
- Tell someone your plan and expected return time before leaving.
On a foggy ridge, a simple compass and map kept us safe when the GPS failed. I now always use paper backups.

Electronics, toiletries, and small gear
Small items make life easier. Prioritize multi-use gear and low weight.
Electronics
- Headlamp with spare batteries: Hands-free light for camp and trail.
- Phone and power bank: For navigation and photos.
- Camera: Optional, but compact models add minimal weight.
- Optional gadgets: Solar charger, Bluetooth speaker, or portable water pump for group trips.
Toiletries and hygiene
- Toothbrush, toothpaste, biodegradable soap, and quick-dry towel.
- Toilet trowel and small zip bag for packing out toilet paper if required.
- Sunscreen, insect repellent, and hand sanitizer.
Small but vital items
- Sunglasses and sun hat.
- Multi-tool or knife.
- Lightweight cord and small repair kit.
- Trail permit, ID, and cash or cards in waterproof sleeve.
I once lost a small repair buckle and nearly lost my pack frame. A tiny multi-tool fixed it in minutes. It earned its place.

Packing tips and weight management
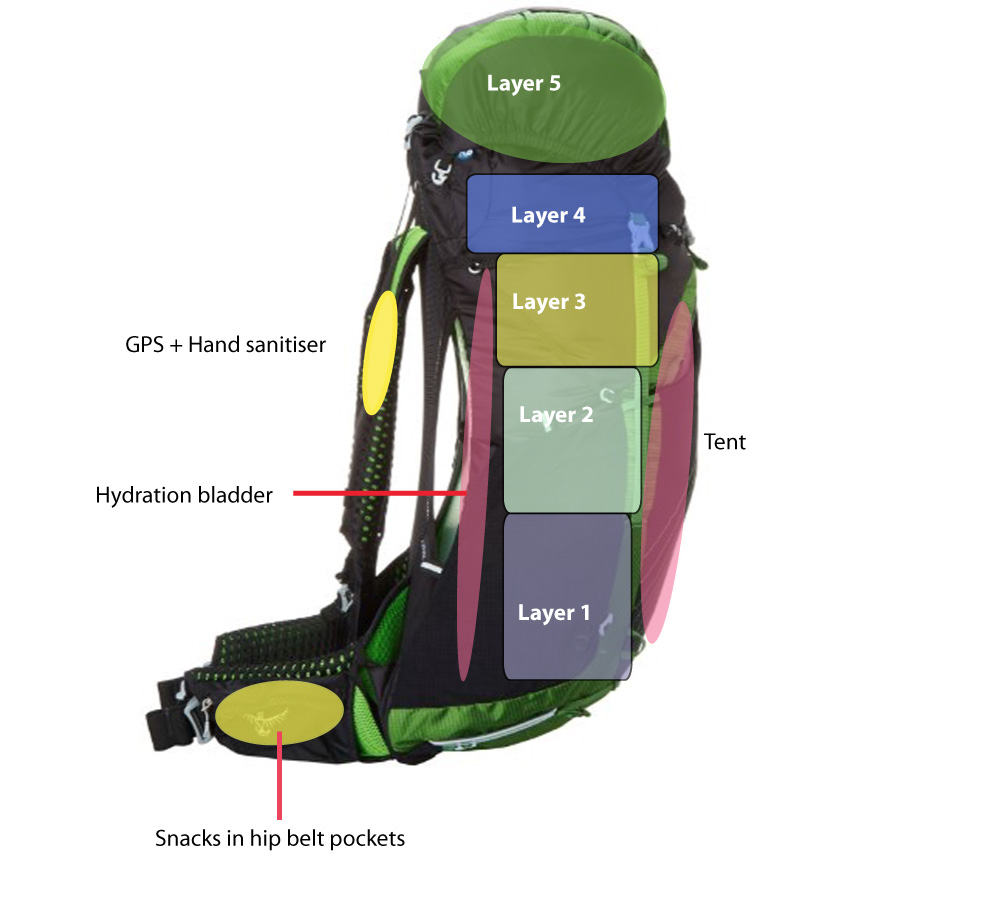
How you pack matters as much as what you pack. Balance weight, accessibility, and safety.
Pack organization
- Heaviest items close to your back and centered.
- Sleeping system at the bottom, frequently used items accessible at top.
- Use stuff sacks and compression sacks to control volume.
Weight-saving strategies
- Share group gear like tents and stoves for multi-person trips.
- Replace heavy items with lighter alternatives if possible.
- Cut unnecessary items after a gear shakedown at home.
Final checklist before you go
- Test pack fit with weight at home.
- Check weather and update clothing choices.
- Reconfirm permits and trail conditions.
On long hikes I weigh everything once. It helps to know the exact weight and remove items I don’t truly need.
Seasonal and trip-specific packing
Seasons and regions change priorities for what to pack for backpacking. Adjust accordingly.
Hot weather
- Extra water and sun protection.
- Lighter fabrics and venting options.
- Night shelter for cooler sleeping.
Cold weather
- Warmer sleeping bag and insulated pad.
- Extra insulating layers and a reliable stove for hot drinks.
- Snow-specific gear like crampons and ice axe if needed.
Wet weather
- Waterproof pack cover and dry sacks.
- Quick-drying clothing and extra socks.
- Tarp shelter options for emergencies.
Trip type
- Thru-hike: Emphasize durability and resupply planning.
- Weekend: Keep weight low and packing simple.
- Technical terrain: Add rope, harness, or specialized gear.
I did a spring trip in the mountains once and underestimated snow depth. I now treat early-season trips as cold-weather trips for packing.

Frequently Asked Questions of what to pack for backpacking
What are the absolute essentials to pack for backpacking?
Essentials include shelter, sleeping system, water treatment, food, navigation, first-aid, and a properly sized backpack. Tailor item weight and quantity to trip length and remoteness.
How much clothing should I pack for a multi-day trip?
Pack a layering system with one hiking outfit, one sleep outfit, and a lightweight insulating layer. Add extra socks and a waterproof shell.
How do I keep my pack weight down?
Choose multi-use gear, share group items, and avoid duplicate tools. Prioritize essential safety items and cut nonessential luxuries.
Should I bring a tent on every trip?
Not always; a tarp or hammock can work in suitable environments. Use a tent for wet, cold, or exposed conditions.
How much food should I pack per day?
Plan for 2,500–4,500 calories per person per day depending on effort and body size. Bring high-calorie snacks for energy boosts.
Is it okay to rely on my phone for navigation?
Phones work well as a primary tool only if you have offline maps and extra battery; always carry a map and compass as reliable backups.
Conclusion
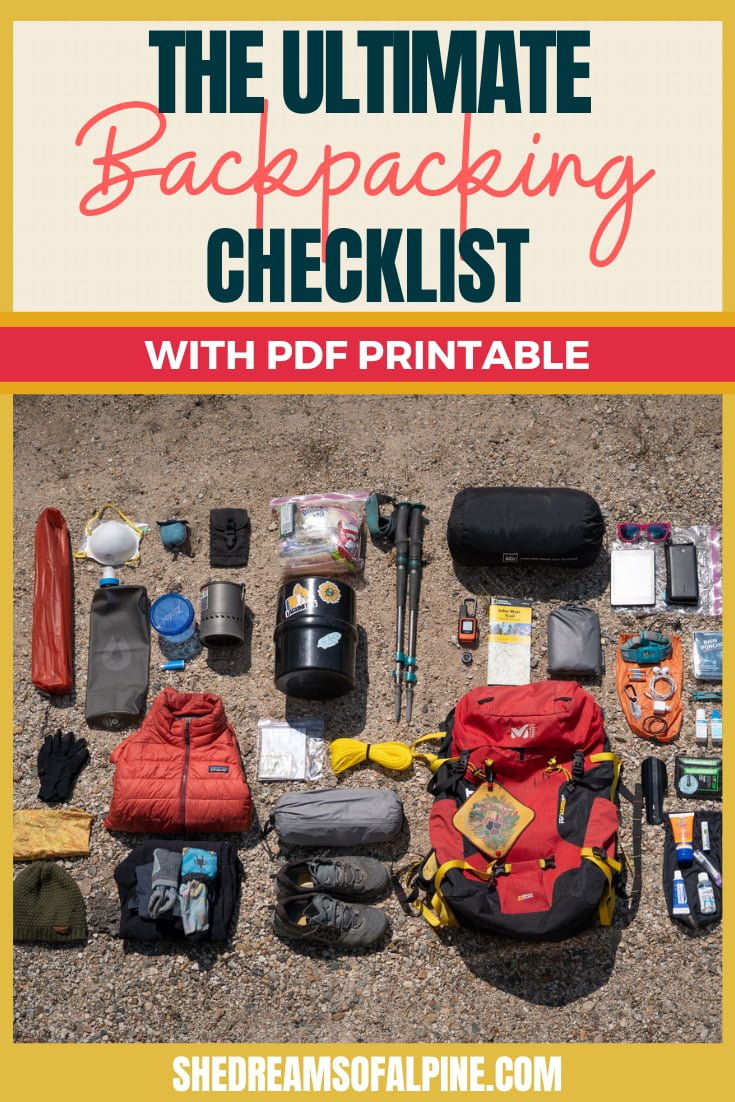
Packing well for backpacking means matching gear to the trip, prioritizing safety, and keeping weight sensible. Use the checklists and tips here to build your kit, test it at home, and adjust for weather and terrain. Take one small step today: lay out gear, weigh it, and remove anything you don’t need. If this guide helped, share your packing wins, subscribe for more tips, or leave a comment with your best lightweight hack.

Zayden Halbrook is a travel enthusiast and gear researcher passionate about making every journey smoother and more enjoyable. With a keen eye for practical travel essentials and real-world tips, he helps readers choose the right gear and travel smarter. When he’s not testing travel kits or exploring new destinations, Zayden shares simple, reliable advice to make every trip stress-free.