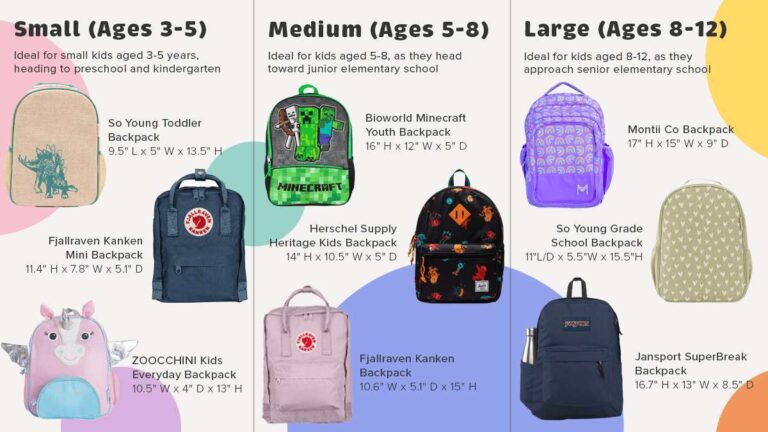
Make a rucksack backpack by choosing materials, drafting a pattern, cutting, sewing, and adding straps.
I’ve built dozens of packs and walked miles with them. In this guide I’ll show how to make a rucksack backpack from first stitch to finished straps. You’ll get clear, proven steps, tool lists, pattern tips, and real-world fixes so you can make a durable, comfortable rucksack backpack that fits your needs.
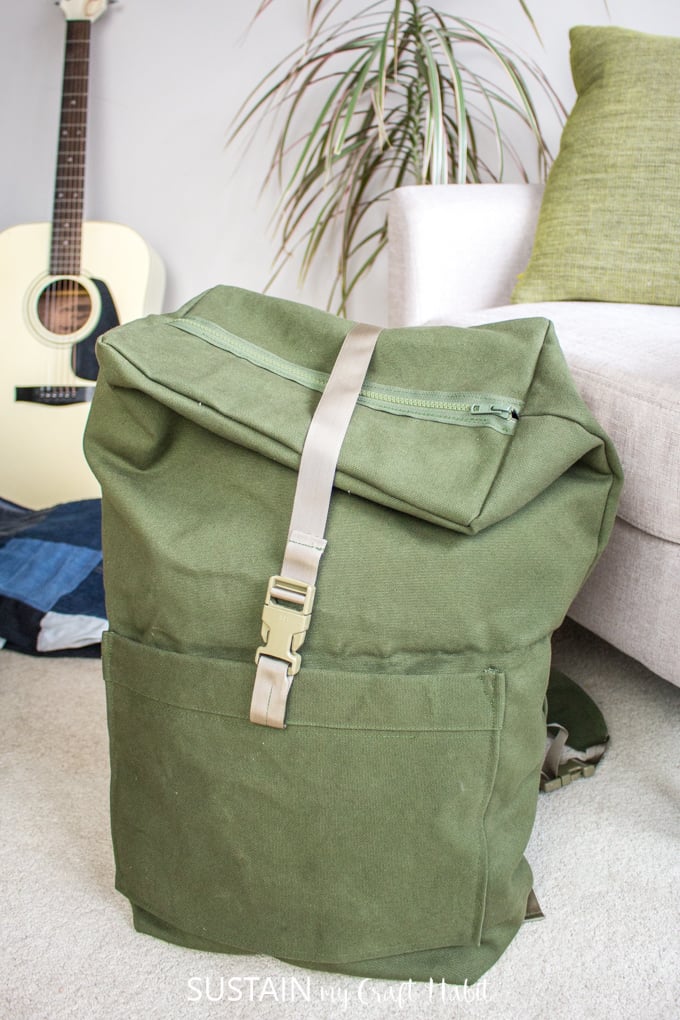
Materials and tools you’ll need
Choosing the right materials makes or breaks a project. Below are reliable choices for a handcrafted rucksack backpack.
- Fabric options and yardage
- 600–1000D Cordura or heavy canvas for exterior. Strong and abrasion resistant.
- Lightweight ripstop nylon or cotton for lining.
- 1–2 yards total for a daypack; more for a large pack.
- Reinforcement and padding
- Medium-weight interfacing for pocket panels.
- Closed-cell foam or 6–10mm foam for back panel and shoulder padding.
- Hardware and closures
- Durable buckles and ladder locks.
- 1–1.5 inch webbing for straps.
- D-rings and grommets as needed.
- Fasteners and stitch supplies
- Heavy-duty polyester thread.
- Bar-tack or heavy-duty sewing needle (size 16/100 or thicker).
- Topstitch needles for home machines or walking foot.
- Tools
- Sharp shears, rotary cutter, cutting mat.
- Ruler, measuring tape, tailor’s chalk.
- Sewing machine capable of heavy materials. Optional: hammer, awl, pliers for rivets.
I recommend investing in quality hardware. Cheap buckles fail on long hikes. A reliable sewing machine saves time. I use a mixed setup of home machine and hand-finishing for small details.

Choose a design and draft your pattern
Start with a clear design plan. Small choices change function and comfort.
- Pick a style
- Roll-top: great for weather and volume control.
- Flap-top with buckles: classic rucksack look.
- Drawstring plus flap: simple and quick to sew.
- Decide capacity and dimensions
- Daypack: 18–25 liters; roughly 18" tall, 10–12" wide.
- Weekend pack: 30–40 liters; increase height and depth.
- Make a pattern
- Draw the front/back body panels on paper.
- Add seam allowance (usually 3/8"–1/2").
- Pattern the base as a rectangle matching body circumference.
- Pattern internal pockets and external lash points.
Test your pattern by making a muslin mockup in cheap fabric. This reveals fit and balance. I always tweak strap placement on a mockup before cutting my good fabric.
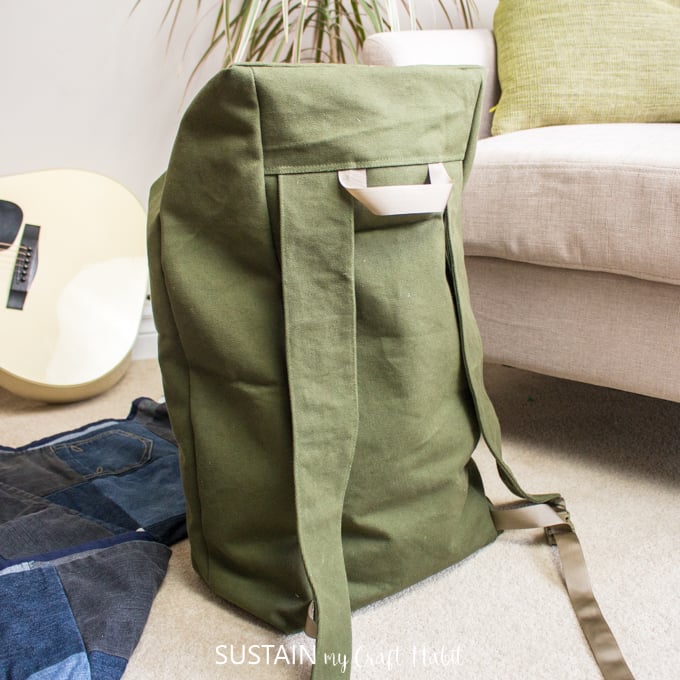
Cutting and prepping fabric
Clean cutting and good prep speed up sewing and improve finish.
- Lay fabric flat and square the weave or nap.
- Pin patterns and mark notches, zipper lines, and seam allowances.
- Cut carefully with a rotary cutter or sharp shears.
- Apply interfacing to pocket and flap panels as needed.
- Finish raw edges on lining pieces with a serger or zigzag stitch.
Label pieces with chalk. Keep matching panels in piles. When I don’t label pieces, I lose time matching hidden linings later.

Assembling the rucksack backpack: step-by-step
Follow this order for a clean build and fewer surprises.
- Make pockets and attachments
– Sew patch pockets first. Topstitch edges for strength.- Install zippers into pocket openings before attaching pockets to body.
- Sew the main body
- Join front and back panels to base with right sides together.
- Use a 3/8"–1/2" seam allowance and reinforce corners.
- Install the lining
- Construct the lining the same way as the shell.
- Leave a small opening to turn the pack right side out if you sew shell and lining together.
- Add closure system
- For roll-top, top-stitch the top tube and insert webbing for buckles.
- For drawstring, sew the casing and add a cord lock.
- Topstitch and reinforce
- Topstitch around openings and stress points.
- Bar-tack or box-stitch strap anchors for extra strength.
Sew slowly when joining heavy layers. I often shorten stitch length and increase presser foot pressure. That helps stitch through foam and thick fabric.

Straps, padding, and hardware installation
Comfort comes from good straps and smart hardware placement.
- Make shoulder straps
- Cut two strap layers. Insert foam and topstitch edges.
- Fold webbing into the bottom ends and secure with box stitches.
- Add sternum and hip belts (optional)
- Attach ladder locks to adjust sternum strap height.
- Add a removable hip belt for heavy loads.
- Anchor hardware
- Sew D-rings and webbing tabs before final topstitching.
- Use rivets or bartacks at high-stress points.
Test fit straps on your body shape. Adjust pad position so the weight sits on your hips, not the shoulders. I tweak strap angles using a wear test before finalizing anchors.
Finishing touches and weatherproofing
Small finishes make a big difference in durability and look.
- Trim excess threads and fuse interfacing where needed.
- Edge bind exposed seams with nylon tape for neatness.
- Apply seam sealer along stitched areas for water resistance.
- Add leather or synthetic reinforcements at wear points.
- Polish hardware and test buckles for smooth action.
If you expect rain, install a removable rain flap or use waterproof zippers. My everyday rucksack backpack gets seam tape and a silicone spray to stay dry on wet walks.

Troubleshooting and common mistakes
Anticipate these issues and fix them quickly.
- Uneven seams or puckering
- Reduce stitch length and increase presser foot tension.
- Straps that twist
- Align webbing layers before stitching and use stay tape.
- Weak anchor points
- Add bar-tacks or rivets and increase overlap.
- Bag sits poorly on back
- Move straps up or down; test with a weight similar to your load.
When something goes wrong, stop and inspect. Fix small errors immediately; they compound later. I once resewed an entire base because I ignored a 1/8" mismatch early on.
Personal insights and lessons learned
I’ve sewn backpacks for friends and for myself. These lessons cut build time and boost reliability.
- Test with real loads. A 10-pound weight reveals balance issues.
- Invest in a good needle and thread. Broken needles ruin materials.
- Make the straps adjustable. Better fit saves your shoulders.
- Keep simple decorative elements minimal. Function matters more.
- Expect to redo small parts. That’s part of learning.
I built a roll-top rucksack backpack that lasted five years. Regularly checking and replacing worn webbing extended its life by two more years.
Quick user questions (PAA-style)
What fabric is best for a homemade rucksack backpack?
For durability choose 600–1000D Cordura or heavy canvas. Use a lighter ripstop for the lining.
How do I make straps comfortable?
Use closed-cell foam sandwiched between fabric and topstitch. Shape the foam to fit your shoulder curve.
Can I sew a rucksack backpack on a home machine?
Yes, with the right needle and a strong thread. Go slow and adjust stitch length for heavy layers.
Frequently Asked Questions of how to make a rucksack backpack
What is the simplest rucksack backpack design for beginners?
A drawstring body with a flap is easiest. It uses few hardware parts and straightforward seams.
How do I size a rucksack backpack for day hikes?
Aim for 18–25 liters. Use about 18" height and 10–12" width for a comfortable daypack.
Which seams need reinforcement on a rucksack backpack?
Strap anchors, base joins, and pocket edges need bar-tacks or rivets. Reinforce all stress points.
How do I waterproof a homemade rucksack backpack?
Use seam tape, seam sealant, and a waterproof coating or spray on the exterior fabric.
How long does it take to make a rucksack backpack?
A simple pack can take a weekend. A complex, fully featured pack may take several weekends.
Conclusion
You now have a step-by-step path to make a rucksack backpack that works and lasts. Start small, test as you go, and focus on strong anchors and comfortable straps. Try a muslin mockup first and expect to learn by doing. Share your finished pack, subscribe for more patterns, or leave a comment with questions — I’d love to hear how your rucksack backpack turns out.

Zayden Halbrook is a travel enthusiast and gear researcher passionate about making every journey smoother and more enjoyable. With a keen eye for practical travel essentials and real-world tips, he helps readers choose the right gear and travel smarter. When he’s not testing travel kits or exploring new destinations, Zayden shares simple, reliable advice to make every trip stress-free.