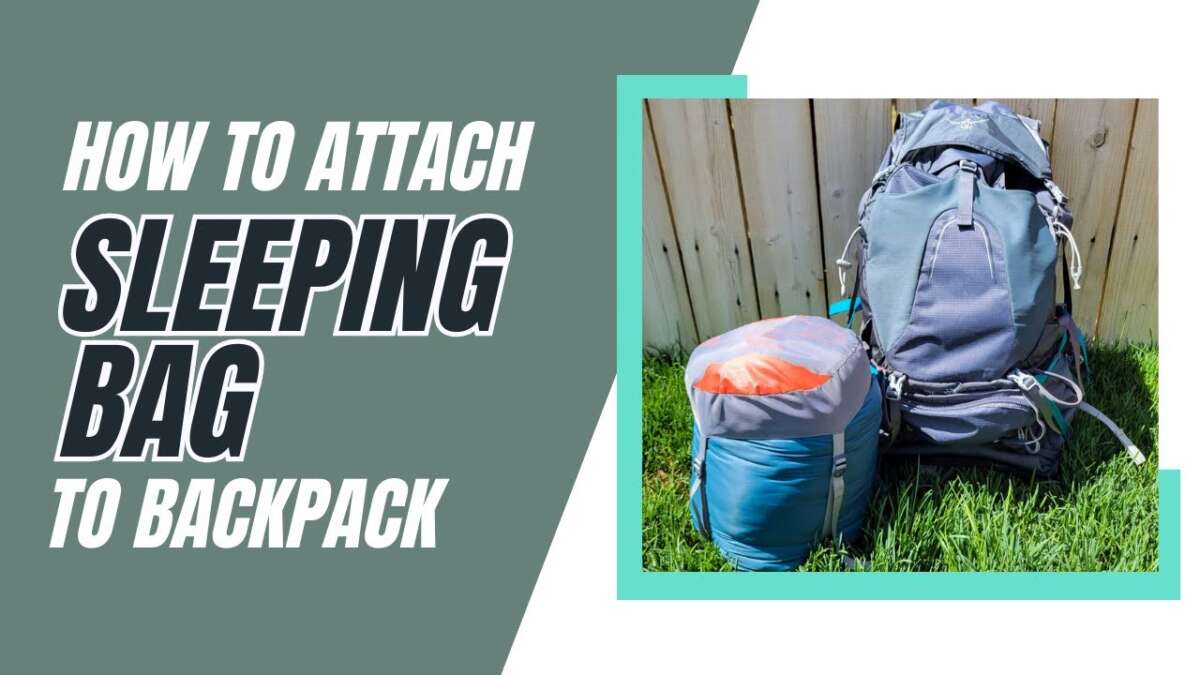
Attach your sleeping bag to a backpack using compression straps, a sleeping bag compartment, or a waterproof pack liner.
Knowing how to attach sleeping bag to backpack can make a long hike feel far easier. A secure setup protects your sleeping bag from rain, keeps your pack balanced, and frees space for food, water, and warm layers. This guide explains the best methods for different backpack designs, along with simple field tips that help prevent common mistakes.
Why Proper Sleeping Bag Attachment Matters
A sleeping bag is light, soft, and bulky. That makes it awkward to pack unless you give it a clear place in or on your backpack. If it shifts during a hike, it can pull your body backward or make the pack sway from side to side.
Learning how to attach sleeping bag to backpack also protects your insulation. Down and synthetic fill both lose warmth when wet. Down is especially sensitive to moisture, while synthetic fill usually dries faster and keeps more warmth when damp.
A good setup should meet four goals:
• Keep the sleeping bag dry
• Keep the load close to your back
• Prevent movement while walking
• Avoid damage to the bag or backpack
The safest option is often to carry the sleeping bag inside the backpack. External attachment works well when your pack has limited space, but it needs extra care in rain, brush, and rough terrain.

Best Places to Carry a Sleeping Bag
Most backpacks offer three practical storage areas: the main compartment, a bottom compartment, or external straps. Each choice has benefits and limits.
Inside the main compartment
This is the most secure location. Place the sleeping bag near the bottom of the pack, below items you may need during the day.
This method protects the bag from branches and helps keep the load stable. Use a waterproof stuff sack or pack liner, especially when carrying a down sleeping bag.
In the bottom sleeping bag compartment
Many hiking backpacks have a separate lower compartment. It often includes a zipper and a fabric divider. This design makes it easy to access your sleeping bag at camp.
Check the divider before loading the bag. Some dividers are strong enough for daily use, while others may not support a tightly compressed load for many seasons.
Under the backpack
Some packs have webbing straps or loops beneath the main compartment. These straps are made for lightweight gear, such as a sleeping bag, tent body, or foam pad.
This position keeps the interior open. However, the sleeping bag sits close to wet ground, mud, and sharp rocks. It must be sealed in a waterproof bag before you attach it.
On top of the backpack
The top area works for short trips or very light sleeping bags. Use the pack’s top lid or external compression straps.
Avoid placing a heavy sleeping bag high on the pack. A high load can make you feel unstable, especially when walking downhill or crossing uneven ground.
How to Attach Sleeping Bag to Backpack Step by Step
The best method depends on your backpack, but the basic process stays the same. Follow these steps before you leave home.
1. Choose a protective bag
Place the sleeping bag in a waterproof stuff sack or a large waterproof pack liner. A standard stuff sack keeps the bag compact, but it does not always provide a perfect seal.
For wet trips, use a dry bag with a roll-top closure. Make sure the bag is not so small that it crushes the insulation for long periods.
Compression sacks can save space, but do not over-compress a sleeping bag for days or weeks. Long-term compression can reduce loft and affect warmth. Store the bag loosely at home.
2. Compress the sleeping bag evenly
Push the sleeping bag into the sack foot first. Do not roll it into a tight cylinder each time. Stuffing spreads the stress across different parts of the insulation and fabric.
Press air out as you fill the sack. Stop when the bag is compact but not forced. A sleeping bag that looks like a hard brick may be compressed too much.
3. Place the bag in the best position
Put the sleeping bag at the bottom of the pack if you will carry it inside. Keep heavier items, such as food and cookware, close to your back and around shoulder height.
If you carry it outside, place it under the pack rather than on the side. A centered bottom position creates less balance trouble than one-sided attachment.
4. Connect the straps
Thread each compression strap through the sleeping bag sack. Pull the straps until the bag cannot slide, but leave enough space to avoid crushing the sack or cutting into it.
Use both straps when possible. One strap may allow the bag to twist or drop during movement.
5. Check for movement
Lift the backpack by its shoulder straps. Gently shake it from side to side. The sleeping bag should stay in place.
Walk around your home for five minutes. Bend, step up stairs, and lean forward. If the bag swings, adjust the straps before your trip.
6. Protect the attachment points
Keep buckles and straps away from sharp rocks and tree limbs. If the pack has metal hooks, place a small cloth or spare sock between the hook and the sleeping bag sack.
This small step can prevent a tear that ruins your sleep system.

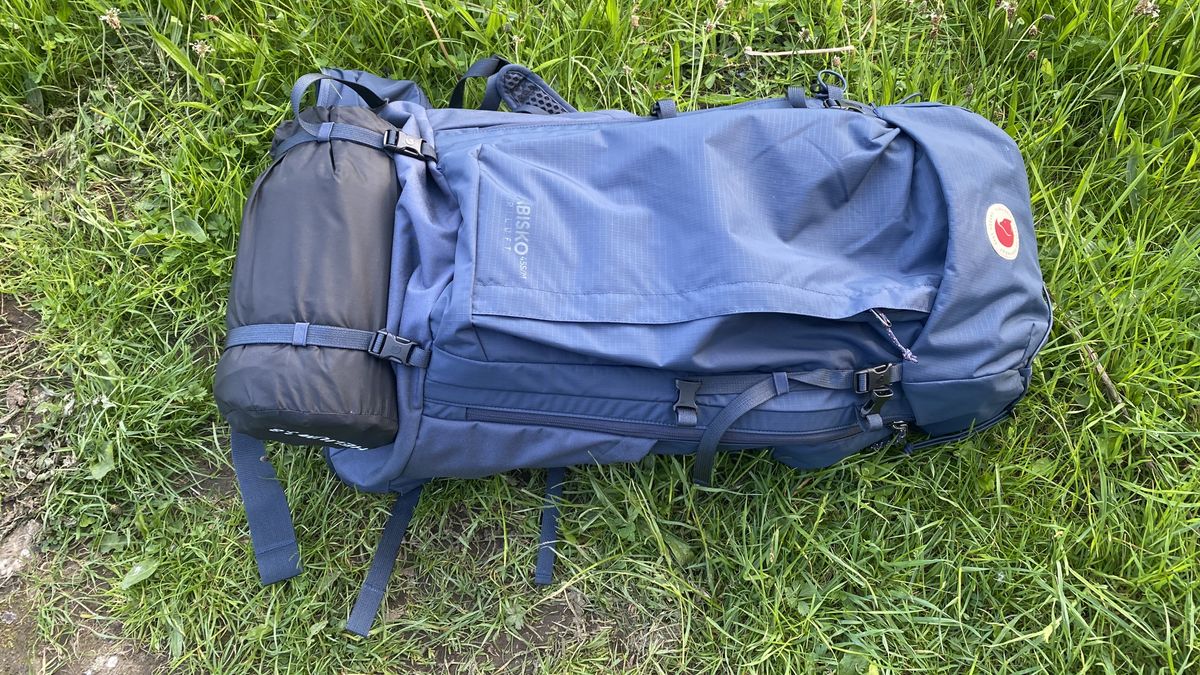
How to Attach a Sleeping Bag Under a Backpack
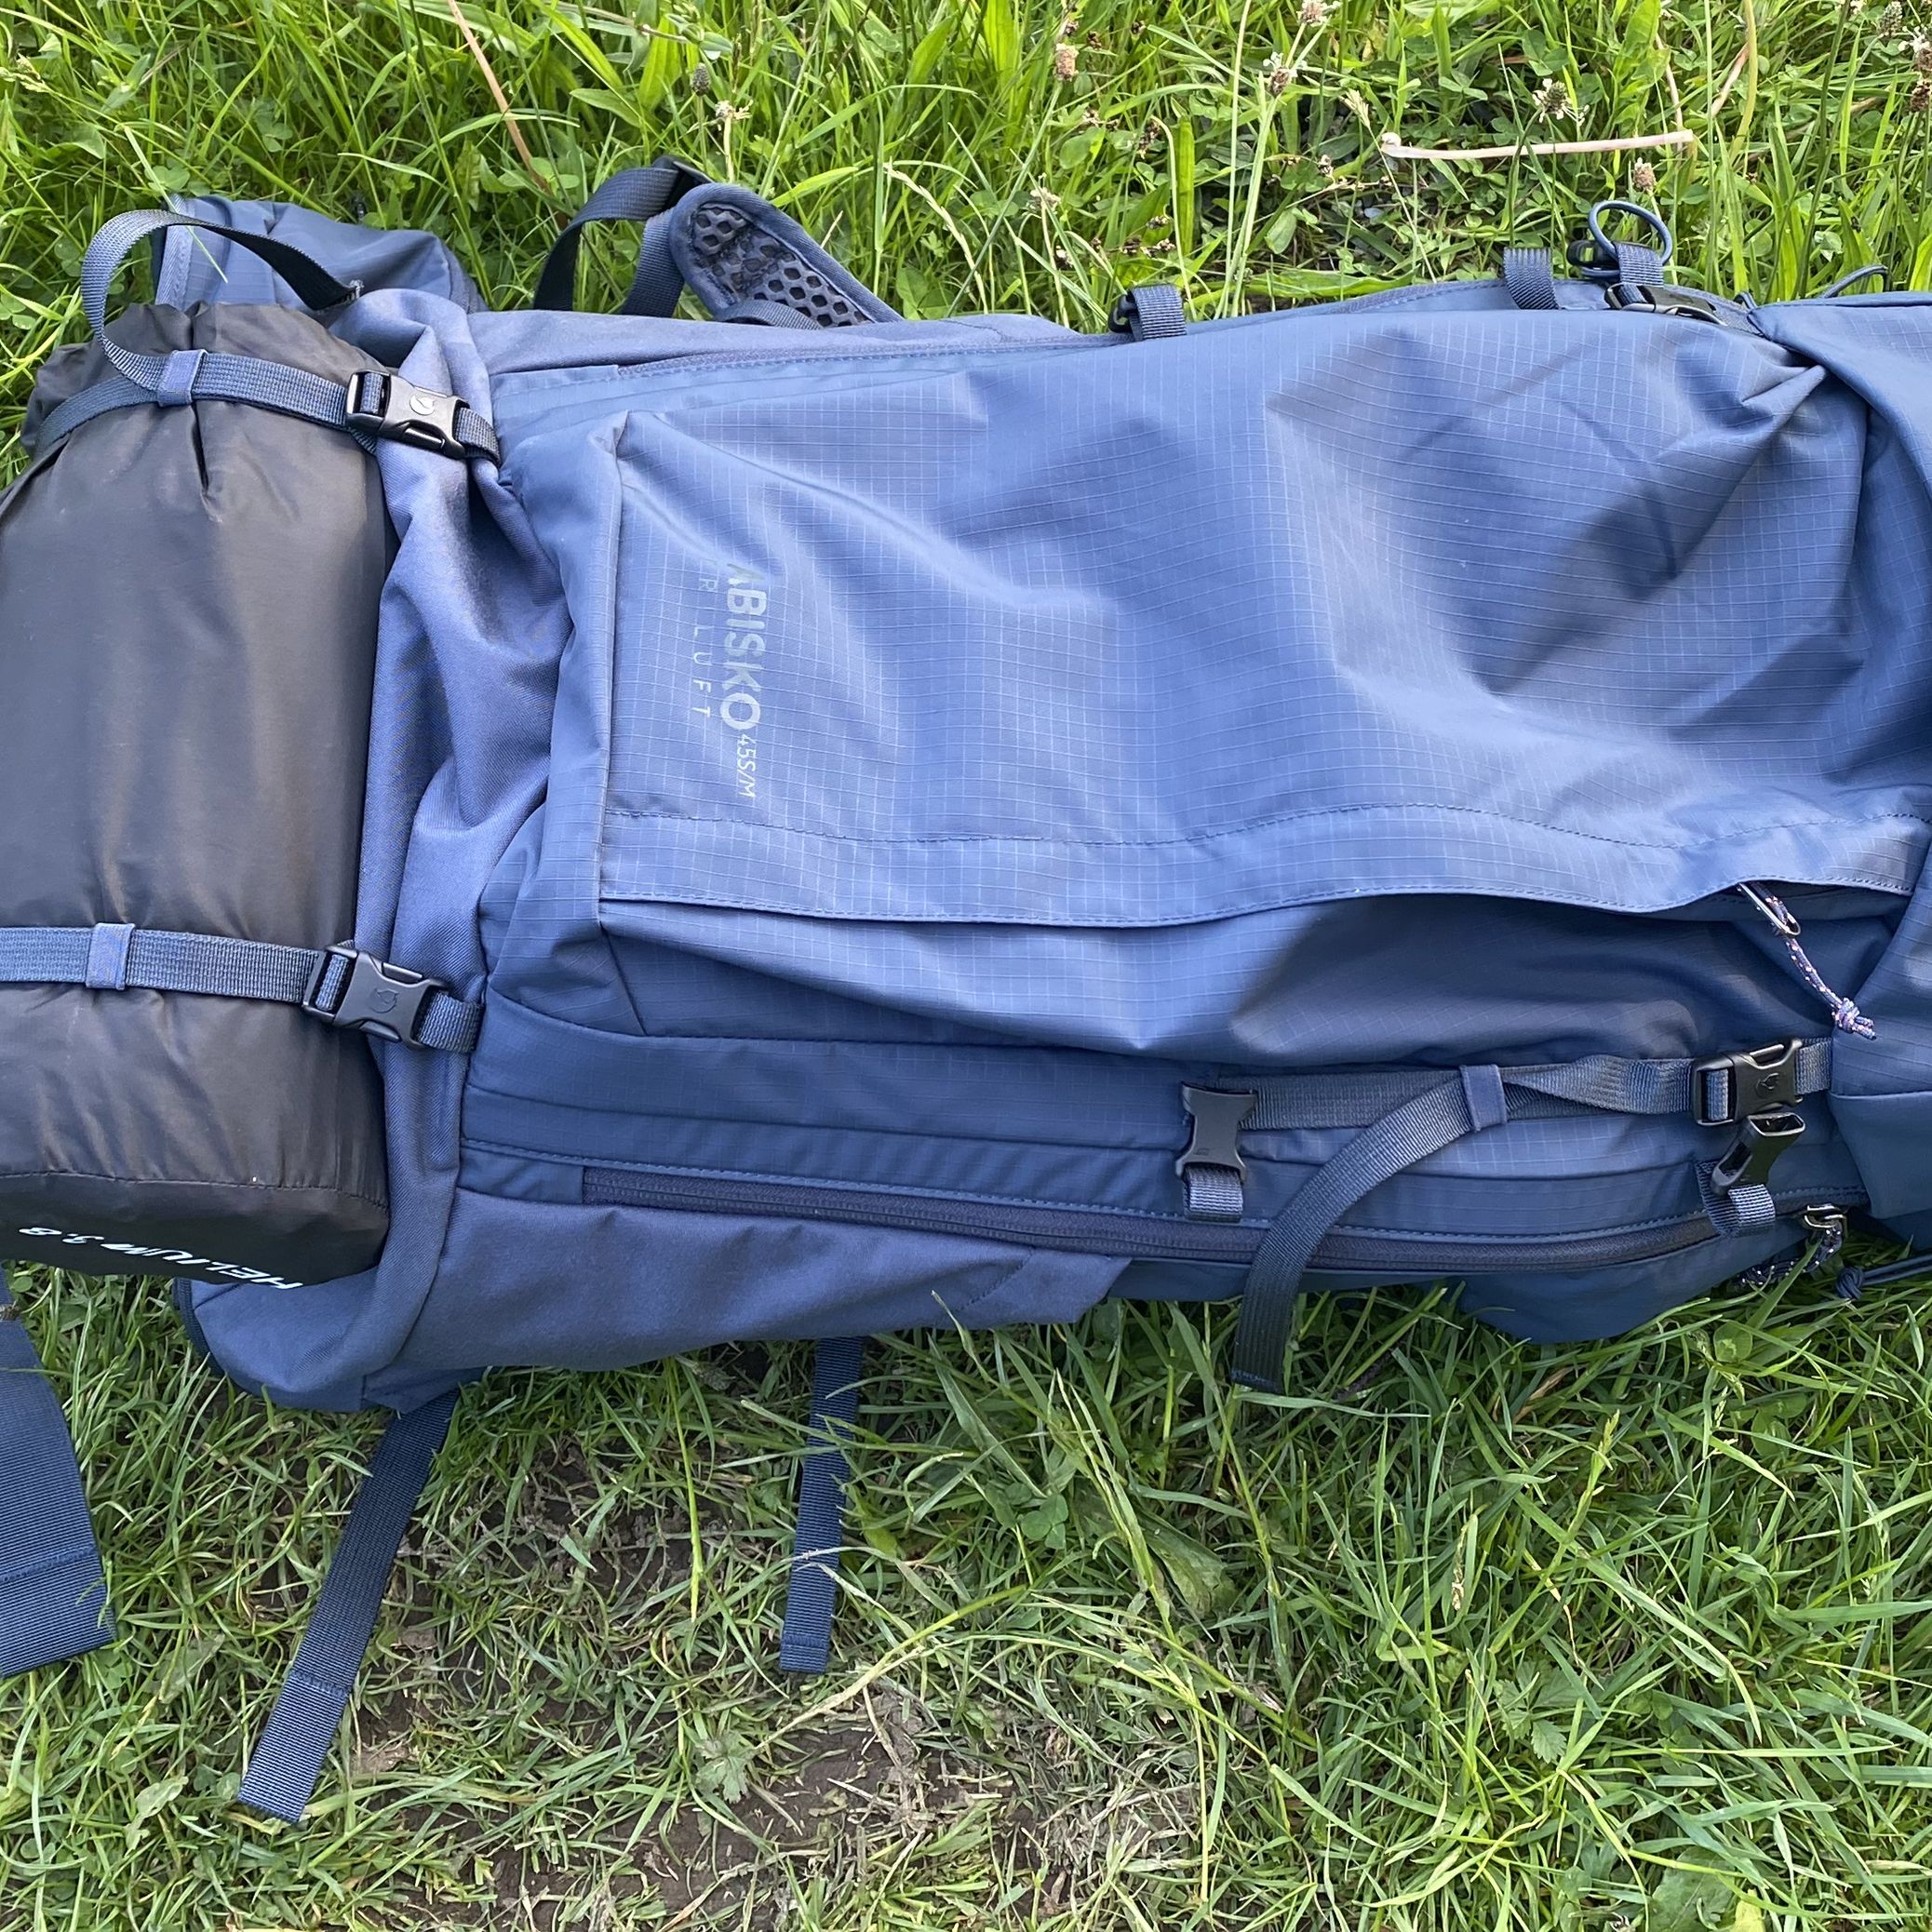
Attaching the sleeping bag under the backpack is popular among backpackers who need more interior space. It works best with a pack that has two strong horizontal straps.
First, place the sleeping bag inside a waterproof compression sack. Put the sack lengthwise under the backpack. Center it so the weight sits directly below the pack.
Next, thread the straps over the sack. Tighten the front strap first, then the rear strap. Check that no part of the sleeping bag hangs lower than the bottom of the pack.
Leave enough clearance for walking over logs and rocks. If the sack drags on the ground, move it into the pack or place it higher on the back panel.
This method has clear advantages:
• It saves space inside the backpack
• It keeps the sleeping bag easy to reach
• It works well with bulky synthetic bags
• It leaves room for food and extra clothing
It also has drawbacks:
• The bag may get wet in rain or wet grass
• Branches can catch the sack
• The pack may feel less stable if the bag is very large
• Dirt can collect around the bottom of the sack
For these reasons, under-pack storage is best for dry weather, well-kept trails, and waterproof gear.
How to Attach Sleeping Bag to Backpack Without External Straps
Some backpacks lack bottom straps. You still have several options.
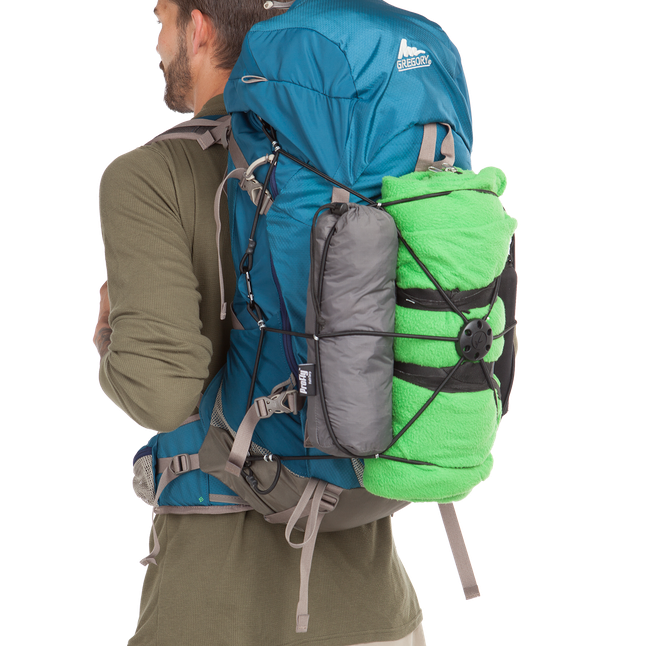
Use the backpack’s side compression straps
Place the sleeping bag vertically along the back panel. Run the side compression straps around the sack and tighten them evenly.
Do not place the bag on only one side. A lopsided load can cause shoulder and hip discomfort.
Use accessory loops
Many backpacks include small webbing loops. You can connect lightweight straps, shock cord, or a gear carrier to these loops.
Check the loop stitching before loading the bag. Small loops may hold light equipment but may not support a heavy, wet sleeping bag.
Use a separate gear strap
A wide webbing strap with a secure buckle is safer than thin cord. Wrap it around the sleeping bag sack and connect it to two strong points on the backpack.
Avoid relying on a single carabiner. One connection point allows the bag to swing, while two points create a more stable attachment.
Use a pack liner system
If the sleeping bag is small enough, keep it inside a waterproof liner in the main compartment. This is often better than using an improvised external setup.
When there is no safe attachment point, do not force the issue. A secure interior fit is better than a loose bag dangling from the outside.

How to Attach Sleeping Bag to Backpack for Rain
Rain changes the priority from space to protection. Even a water-resistant outer shell may not protect the insulation during hours of heavy rain.
Use two layers of protection:
• A waterproof liner inside the backpack
• A waterproof stuff sack around the sleeping bag
If you attach the bag outside, add a pack cover and place the sleeping bag in a roll-top dry bag. A pack cover alone may not protect the bottom of the backpack because rain can run down the back panel.
Keep the opening of the dry bag facing upward. Tighten the straps around the dry bag, not directly around the sleeping bag. This reduces pressure on the insulation.
Before leaving camp, check the bag after rain. If it feels damp, air it out at the next safe break. Never store a wet sleeping bag for long periods.
Outdoor safety guidance also supports keeping essential shelter and sleep gear dry. A wet sleeping bag can become more than an inconvenience in cold weather. It can reduce sleep quality and increase the risk of cold stress.

How to Attach Sleeping Bag to Backpack for Air Travel
Air travel requires a different approach. Do not attach the sleeping bag loosely to the outside of a hiking backpack when checking the pack.
External straps can catch on airport conveyor systems. Buckles may break, and the sleeping bag may become separated from the pack.
Instead, use one of these options:
• Pack the sleeping bag inside the backpack
• Place the backpack inside a large travel duffel
• Use a protective backpack flight cover
• Secure every loose strap before checking the bag
If you carry the backpack onto the plane, confirm the airline’s size and weight rules. A compressed sleeping bag can fit in a carry-on, but the sack may still take up valuable space.
For air travel, a large duffel is often the simplest choice. It protects the pack and keeps straps from catching during handling.
Common Mistakes to Avoid
Even experienced hikers make packing errors. These mistakes are easy to prevent once you know what to watch for.
Attaching the bag to one side
One-sided storage pulls the pack off balance. It may seem fine at first, but the strain becomes clear after several miles.
Keep the sleeping bag centered whenever possible.
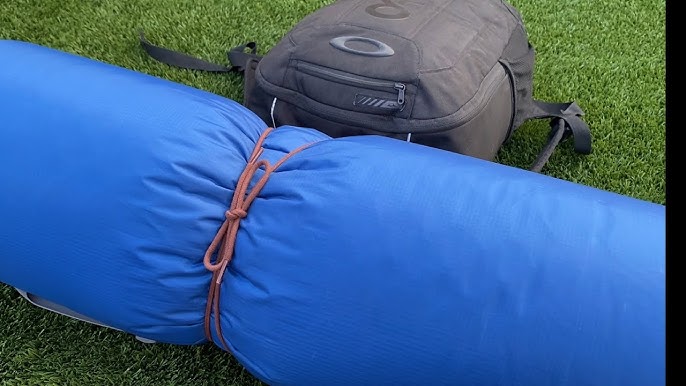
Using a nonwaterproof sack
A regular nylon stuff sack can protect against dirt but not heavy rain. Use a liner or dry bag when weather may change.
Over-tightening the straps
Tight straps do not always create a better setup. They can damage the sack, compress insulation, or break a buckle.
Tighten until the bag stays still. That is enough.
Placing the sleeping bag near sharp gear
Tent poles, stove parts, and trekking pole tips can tear the fabric. Keep hard gear in separate sleeves or away from the sleeping bag.
Carrying the bag too high
A high sleeping bag can make the backpack feel top-heavy. Keep bulky items low and heavy items close to your back.
Ignoring the manufacturer’s instructions
Some sleeping bags have special storage or compression advice. Follow the care instructions from the manufacturer, especially for down insulation and delicate shell fabrics.
Leaving the bag compressed after the trip
Remove the sleeping bag from its stuff sack when you get home. Let it dry fully, then store it in a large storage sack or hang it loosely.
How to Balance the Backpack After Attachment
A sleeping bag usually weighs less than food, water, and cooking equipment. Still, its size affects how the pack carries.
Place heavy items close to your spine. Keep lighter items toward the outer edges and bottom. Use the sleeping bag as soft padding around hard gear when you carry it inside.
A useful packing order is:
-
Sleeping bag or soft sleep gear at the bottom
-
Spare clothing and shelter fabric around the sides
-
Food and cooking equipment near the back
-
Water close to the center of your back
-
Rain jacket, snacks, map, and first-aid kit in easy-access pockets
After loading the pack, adjust the hip belt first. The belt should sit above the hip bones and carry much of the weight. Then tighten the shoulder straps and load lifters.
A well-balanced pack should feel close to your body. If it pulls backward, move bulky gear lower or closer to your back.
External Attachment vs. Internal Packing
Neither method is perfect for every trip. Choose based on weather, terrain, pack size, and sleeping bag type.
| Method | Main benefit | Main limitation |
|---|---|---|
| Inside main compartment | Best protection and balance | Uses interior space |
| Bottom compartment | Easy camp access | May expose the bag to moisture |
| Under the pack | Saves room | Vulnerable to dirt and branches |
| Top attachment | Easy to reach | Can make the pack top-heavy |
| Side attachment | Works with some packs | Can create uneven balance |
For most hikers, internal packing is the safest default. External attachment makes sense when the bag is bulky and the weather is dry.
Down sleeping bags deserve extra protection because moisture can reduce loft. Synthetic bags are more forgiving, but they still need protection from soaking rain and rough surfaces.
A Simple Trail-Test Checklist
Test the setup before your first trip. A short walk can reveal problems that are hard to notice indoors.
Use this checklist:
• Is the sleeping bag waterproof?
• Is it centered on the backpack?
• Are at least two straps holding it?
• Can any part touch the ground?
• Does the pack stay balanced when you bend?
• Are buckles protected from sharp rocks?
• Can you reach your rain gear and water?
• Does the sleeping bag shift when you walk?
• Can you remove it without unpacking the entire bag?
A common lesson from pack checks is that small movements become big problems over time. A loose sack may seem harmless at the trailhead, but hours of swinging can cause rubbing, noise, and fatigue.
Walk with the fully loaded pack before your trip. Adjust the setup while you still have a clean floor, good light, and patience.
Frequently Asked Questions About How to Attach Sleeping Bag to Backpack
Should I put my sleeping bag inside or outside my backpack?
Place it inside when possible because this offers the best protection from rain, dirt, and branches. Attach it outside only when the pack lacks space and you can use secure, waterproof straps.
Can I attach a sleeping bag to the bottom of a backpack?
Yes, if the backpack has strong bottom straps or gear loops. Keep the bag centered, place it in a waterproof sack, and make sure it does not hang low enough to hit the ground.
How do I attach sleeping bag to backpack without compression straps?
Use a separate webbing strap connected to two strong attachment points. If the backpack has no reliable points, carry the sleeping bag inside a waterproof liner instead of using loose cord.
Is it safe to use a regular stuff sack in the rain?
A regular stuff sack helps reduce size but may not stop rain. Use a waterproof liner or dry bag around the sleeping bag during wet trips.
Can I attach a sleeping bag to the side of my backpack?
You can, but side attachment may create an uneven load. If you use this method, balance the opposite side with similar weight and tighten the straps well.
Should I roll or stuff my sleeping bag?
Stuffing is usually better for regular packing because it spreads pressure across the insulation. Avoid keeping the bag tightly compressed after the trip, and store it loosely at home.
How tight should the backpack straps be?
The straps should hold the sleeping bag firmly without crushing it. Tighten until the sack does not slide or swing, then test the pack by walking and bending.
Conclusion
Learning how to attach sleeping bag to backpack is mostly about balance, dryness, and secure straps. Carry the bag inside when you can, or use a centered bottom attachment with a waterproof sack when space is limited.
Test the full setup before your hike. A few minutes of adjustment can prevent wet insulation, sore shoulders, and a frustrating day on the trail. Choose the method that fits your backpack, weather, and terrain, then explore more backpacking skills and share your own trail tips in the comments.

Zayden Halbrook is a travel enthusiast and gear researcher passionate about making every journey smoother and more enjoyable. With a keen eye for practical travel essentials and real-world tips, he helps readers choose the right gear and travel smarter. When he’s not testing travel kits or exploring new destinations, Zayden shares simple, reliable advice to make every trip stress-free.