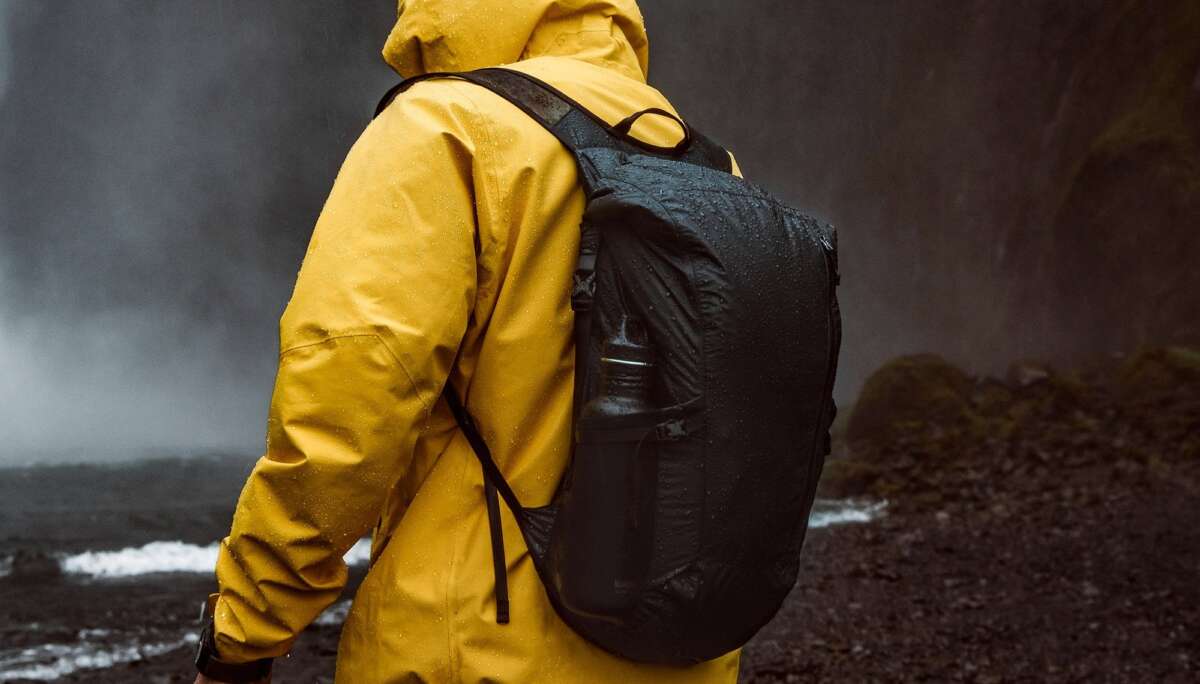
To waterproof a backpack, start by checking its fabric and care label, then use the right mix of a pack liner, dry bags, seam sealer, rain cover, or water-repellent spray. Most backpacks cannot become fully waterproof after purchase, but you can make them highly water-resistant and protect the gear inside.
This guide is written for people in the United States, whether you are hiking in the Pacific Northwest, commuting through a Midwest storm, traveling during hurricane season, or carrying a laptop across a wet city street. The best method depends on the bag’s material, construction, and how much rain it must handle.

Waterproof vs. Water-Resistant: Know the Difference
A water-resistant backpack can shed light rain for a short time. A waterproof backpack can keep water out during heavy rain or brief immersion, provided its seams, zippers, and openings are also sealed.
Many backpacks use coated nylon or polyester. These fabrics may stop water well, but the stitching can still let water through. Zippers, seams, pockets, and the opening at the top are often the weakest points.
A backpack is not truly waterproof just because its fabric feels smooth or has a shiny coating. Waterproof performance depends on the whole design:
- Fabric: The base material and its waterproof coating.
- Seams: The stitched areas where fabric panels meet.
- Zippers: Standard zippers may leak unless protected or specially designed.
- Closures: Roll-top closures usually resist water better than open drawstring tops.
- Pockets: Exterior pockets can collect water and direct it into the bag.
- Wear: Scrapes, washing, sunlight, and age can reduce water resistance.
For most day hikes and commutes, a water-resistant backpack plus internal protection is enough. For prolonged storms, river crossings, or wet camping trips, use a pack liner or dry bags even if the backpack is labeled waterproof.

What You Need Before Waterproofing a Backpack
Gather the supplies that match your backpack and the level of protection you need. You do not need every item listed below.
Basic supplies
- Mild soap or backpack cleaner
- Soft sponge or cloth
- Clean water
- Towel
- A well-ventilated drying area
- Pack liner or heavy-duty waterproof liner
- Small dry bags or waterproof pouches
Supplies for added protection
- Water-repellent spray made for the backpack’s fabric
- Seam sealer compatible with nylon, polyester, or the existing coating
- Rain cover sized for your backpack
- Small brush for cleaning seams
- Masking tape for neat seam-sealer lines
Check the material first
Read the care label or the maker’s instructions before applying any product. A spray made for canvas may not work on coated nylon. A silicone-based product may not bond well to a polyurethane-coated fabric. Some products can stain light-colored fabric or affect breathability.
Do not apply wax, oil, or household waterproofing chemicals unless the manufacturer specifically approves them. These products may add weight, block airflow, weaken coatings, or damage the fabric.
Empty and inspect the backpack
Remove all items, including objects hidden in small pockets. Open every zipper and turn the pack upside down to remove dust and grit.
Look for:
- Torn fabric
- Peeling coating
- Loose stitching
- Damaged zipper teeth
- Cracked plastic parts
- Holes near the base
- Worn areas where the pack rubs against your back or a vehicle
waterproofing spray will not repair a hole. Seam sealer may help with a small stitch leak, but a large tear may need a patch or professional repair.

The Best Way to Waterproof a Backpack: Use Layers
The most dependable approach is layered protection. Treat the backpack’s outer fabric, seams, opening, and contents as separate parts of the water problem.
Layer 1: Clean the backpack
Dirt and body oils can stop a water-repellent treatment from spreading evenly.
- Empty every pocket.
- Brush away dry dirt.
- Mix mild soap with cool or lukewarm water.
- Wipe the fabric with a soft sponge.
- Rinse away soap with a clean damp cloth.
- Hang the backpack open until it is fully dry.
Avoid a washing machine unless the care label allows it. Agitation, heat, and strong detergent can damage foam, coatings, frames, and adhesives.
Do not place the backpack in a clothes dryer unless the manufacturer says it is safe. High heat can warp plastic parts and cause waterproof coatings to peel.
Layer 2: Restore the outer water repellency
If water no longer beads on the outside, the backpack may need a fabric-safe water-repellent treatment.
Apply the product as directed on the label. In general:
- Test the spray on a hidden area.
- Protect nearby floors and surfaces.
- Place the dry, clean backpack in a well-ventilated area.
- Apply a light, even coat.
- Pay attention to the top, bottom, shoulder straps, and exposed panels.
- Wipe away runs or heavy buildup.
- Let the pack dry for the full time listed by the product maker.
A light coat is usually safer than soaking the fabric. Too much product can leave a sticky surface, create dark marks, or reduce breathability.
Water-repellent spray helps water roll off the fabric. It does not automatically seal seams or make zippers waterproof.
Layer 3: Seal leaking seams
Seam sealer can reduce water entry through stitch holes and fabric joins. Choose a product that matches the backpack material.
Apply it only to clean, dry seams. Use masking tape to create straight edges if needed. Spread a thin layer over the stitched line, then allow it to cure according to the product instructions.
Focus on:
- The bottom panel
- Side-panel joins
- Shoulder-strap attachment points
- Zipper seams
- Areas where the lining meets the shell
- Any seam that leaks during testing
Do not cover every part of the bag with thick sealant. A heavy layer may crack, peel, or add unnecessary weight. If the coating is already flaking, adding new sealant over loose material may not last.
Layer 4: Protect the opening
The top opening often lets in more water than the fabric.
For a roll-top bag, roll the closure down several times and fasten it firmly. For a drawstring pack, pull the cord tight and cover the opening with a rain cover or liner. A standard zipper should not be treated as fully waterproof unless the maker designed it that way.
Keep the opening facing away from direct rain when possible. A simple change in how you carry the pack can reduce water entry.
Layer 5: Protect the contents from inside
The most reliable step is to place a waterproof liner inside the backpack.
You can use:
- A purpose-made pack liner
- Waterproof dry bags
- A waterproof laptop sleeve
- A sealed pouch for electronics
- A thick plastic liner as a temporary backup
Place the liner inside the empty backpack. Fold or roll the top closed before you fill the bag. Keep items that must stay dry, such as phones, maps, medication, cameras, and spare clothing, in separate waterproof pouches.
A liner works even when rain gets through the outer fabric. It also protects your gear if a bottle leaks inside the pack.
Do not rely on a thin grocery bag for important electronics or medication. It may tear at seams or around sharp objects. Use a proper dry bag or sealed waterproof pouch when the contents are valuable or safety-critical.
Layer 6: Add a rain cover when useful
A rain cover fits over the outside of the backpack. It can protect the fabric, zippers, and pockets during steady rain.
A cover works best when:
- It fits tightly around the pack
- It has a drawcord or elastic edge
- It covers the bottom
- It does not block access to important straps
- You secure it against wind
Rain covers have limits. Wind can lift them, and water can still reach the back panel or shoulder straps. Water may also run under the cover from the wearer’s shoulders.
For severe weather, use both a rain cover and an internal liner. The cover protects the pack; the liner protects the contents.

How to Waterproof Different Backpack Materials
The correct method changes with the fabric. Check the care label first because similar-looking materials can use different coatings.
Nylon and polyester backpacks
Nylon and polyester are common in school, travel, hiking, and work backpacks. A fabric-safe water-repellent spray may help restore surface beading.
Use seam sealer only if it is compatible with the coating. Test all treatments on a hidden section before applying them to the full bag.
Canvas backpacks
Canvas may absorb more water than coated synthetic fabric. A suitable fabric treatment can improve resistance, but heavy wax or oil may make the pack stiff and affect its appearance.
Follow the product instructions closely. Some canvas treatments change the color of the fabric.
Leather backpacks
Leather needs a leather conditioner or water protector made for leather. Do not use a standard nylon spray unless the label specifically says it is safe for leather.
Leather can stain, darken, crack, or lose its finish after the wrong treatment. Keep leather away from soaking rain when possible, and dry it naturally if it becomes wet.
Waxed canvas
Waxed canvas already has a water-resistant finish. Do not wash it like ordinary fabric or coat it with a random waterproofing spray.
Clean it according to the maker’s instructions. Some waxed canvas bags need re-waxing after long use, but the correct wax and method depend on the fabric and finish.
Mesh and lightweight technical fabric
Mesh panels and thin technical fabrics often improve airflow but may allow water through. Do not block them with a thick coating unless the manufacturer approves it.
Use a rain cover and internal liner instead. This protects the contents without changing the pack’s ventilation or stretch.

How to Test Whether Your Backpack Is Waterproof
Test the backpack before using it in a storm. A simple home test can reveal weak areas, but it cannot prove that the pack is safe for full submersion.
Step 1: Test the fabric
Fill the clean, dry backpack with towels or scrap paper. Close all openings. Sprinkle or gently spray water over the outside.
Look for:
- Water beading on the fabric
- Dark wet patches
- Moisture inside the bag
- Water entering through pockets
- Damp seams or the base
Do not use a high-pressure hose. Pressure can force water through places that would not leak during ordinary rain.
Step 2: Check the seams and base
Dry the outside. Place dry paper towels inside the pack, especially near the bottom and side seams. Repeat the light water test.
If a towel becomes damp, mark the location. Let the backpack dry, then inspect that seam for a hole, loose stitch, peeling coating, or damaged zipper.
Step 3: Test the liner
Put dry paper inside the liner or dry bags. Close them as you would during a trip. Wipe or lightly spray the outside.
If water enters, check the closure first. Roll-top bags need enough rolls to create a tight seal. Zip pouches must be fully closed, with no fabric caught in the zipper.