Sewing a drawstring backpack takes basic fabric, simple seams, and about one hour of focused work.
Learning how to sew a drawstring backpack is a useful first sewing project because it teaches straight seams, pressing, casing, and sturdy finishing. This guide uses clear measurements, tested construction methods, and practical tips to help you make a bag that looks neat and holds up to daily use.
What You Need to Sew a Drawstring Backpack
A drawstring backpack has a simple shape: two fabric panels, a folded top casing, and two cords that act as shoulder straps. Because the design has few pieces, small details such as pressing and backstitching make a big difference.
For one small to medium backpack, gather:
- 1/2 yard of medium-weight cotton fabric
- 1/2 yard of lining fabric, optional
- Two fabric pieces measuring 15 by 17 inches
- Two cord pieces, each 60 to อย่าง 70 inches long
- Coordinating all-purpose thread
- Sewing machine
- Sharp fabric scissors or a rotary cutter
- Measuring tape or quilting ruler
- Fabric clips or sewing pins
- Safety pin or bodkin
- Iron and ironing board
- Seam ripper
- Fabric marker or chalk
Cotton canvas, quilting cotton, denim, and lightweight twill all work well. Very thin fabric may sag, while very thick fabric can make the casing hard to sew.
If the backpack will carry books or sports gear, choose canvas or twill. For a soft everyday bag, quilting cotton is easier to sew and offers more color choices.
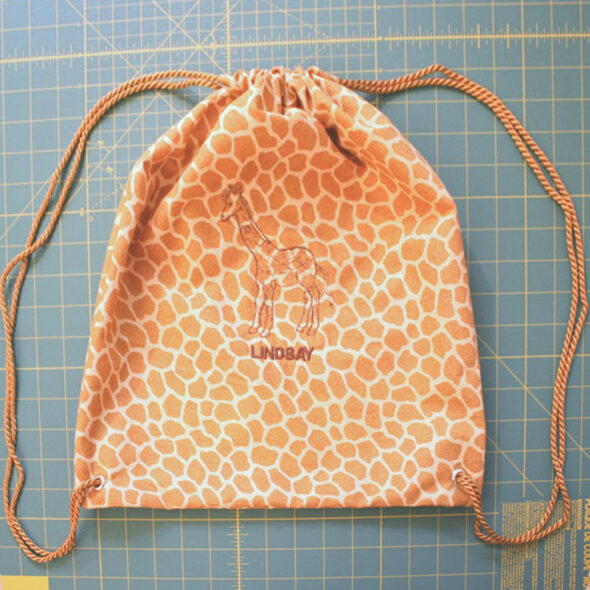
Choose the Right Size and Fabric
The measurements in this tutorial create a practical backpack for a child, teenager, or adult carrying light items. You can change the size by adjusting the width and height of both main panels.
A good starting size is:
- Finished width: about 14 inches
- Finished height: about 15 inches
- Seam allowance: 1/2 inch
- Top casing depth: about 2 inches
The finished size will be smaller than the cut size because seams take up fabric. This is normal. Always measure from the cut edge, not the finished edge, when following the steps.
Fabric choices
Use fabric that matches the bag’s purpose:
- Quilting cotton is easy to cut and sew.
- Canvas creates a stronger backpack.
- Denim adds weight and structure.
- Ripstop nylon makes a light, water-resistant bag but may need a different needle.
- Corduroy gives texture but can be bulky at the seams.
Prewash washable fabric before cutting. Fabric can shrink during its first wash, and prewashing helps prevent a finished bag from becoming misshapen.
For most cotton fabrics, use a universal size 80/12 needle. A size 90/14 needle is better for canvas or denim. Test your stitch on a scrap first, since the right needle depends on fabric weight and thread.
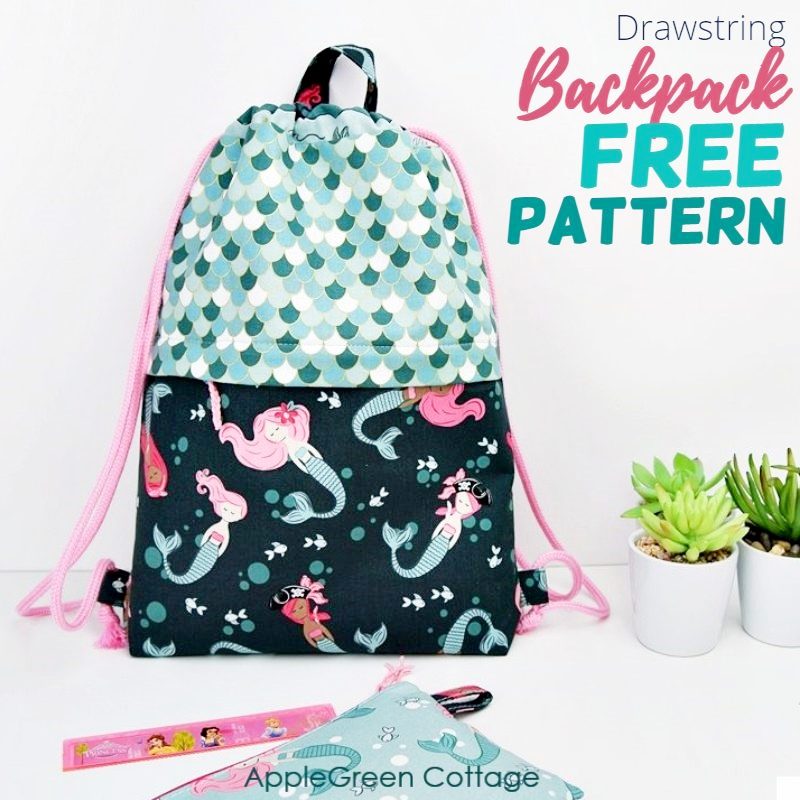
Prepare the Backpack Pattern
You do not need a printed pattern for how to sew a drawstring backpack. A ruler and a rectangle are enough.
Cut the following pieces:
- Cut two outer fabric rectangles measuring 15 by 17 inches.
- Cut two lining rectangles of the same size if you want a lined bag.
- Cut two cord pieces, each 60 to 70 inches long.
- If using fabric straps, cut four strips measuring 2 by 18 inches.
Mark the top edge of each fabric rectangle. This small step prevents a common mistake: sewing the casing onto the bottom edge.
If you want a boxed bottom, mark a 1 1/2-inch square at both lower corners. This creates extra depth. A flat-bottom backpack is simpler and works well for lightweight items.
Optional design changes
You can personalize the bag without changing the basic construction:
- Add an outer pocket before sewing the side seams.
- Use contrasting fabric for the casing.
- Add a small fabric loop at the top.
- Apply an iron-on patch before assembling the bag.
- Add interfacing to thin fabric for more body.
- Use reflective tape for better visibility at night.
Avoid adding heavy decorations to the cord area. Extra weight can pull on the casing and weaken the top edge.

Sew the Main Backpack Pieces
The first sewing stage joins the front and back panels. Take your time here because straight, even seams help the entire backpack look professional.
Place the two outer fabric pieces right sides together. The printed sides should face each other. Clip or pin the side edges and bottom edge.
Sew along both sides and across the bottom with a 1/2-inch seam allowance. Leave the top edge open. Backstitch at the beginning and end of every seam.
If you are using unlined fabric, finish the raw seams. You can use a zigzag stitch, overlock stitch, or pinking shears. Finished seams reduce fraying and help the backpack last longer.
For a lined drawstring backpack, sew the lining pieces in the same way. Leave a 3-inch opening in the bottom seam of the lining. You will use this opening to turn the bag right side out later.
Create a boxed bottom
To give the backpack more depth, match each lower corner seam to the side seam. Flatten the corner so the seams meet.
Measure 1 1/2 inches from the point and draw a line across the corner. Sew over the line, then trim the excess fabric. Repeat on the other corner.
A boxed bottom is useful for lunch containers, shoes, or small books. A flat bottom uses less fabric and is faster, so choose the style that fits your needs.

Make the Drawstring Casing
The casing is the fabric tunnel that holds the cord. It must be wide enough for the cord to move freely but firm enough to support the bag.
At the top edge of the outer bag, fold the fabric down 1/2 inch and press. Fold it down again by 1 1/2 inches and press once more.
Sew close to the lower folded edge. This creates a casing that is about 1 1/2 inches deep. Do not sew across the opening of the casing. The cord needs a clear path from one side to the other.
Repeat the process on the lining if you are making a lined backpack. Keep the casing folds even on both sides.
Add cord openings
You need two openings on each side of the bag. These openings allow the cord to pass through the casing and attach to the lower corners.
There are two simple methods:
- Leave small gaps in the casing seam near each side seam.
- Make small buttonholes on the front and back casing.
For a neat finish, use buttonholes. Mark two openings about 1 inch from each side seam. Each buttonhole should be slightly wider than the cord.
If you leave gaps, reinforce the edges with a short zigzag stitch. Weak openings can stretch during use.
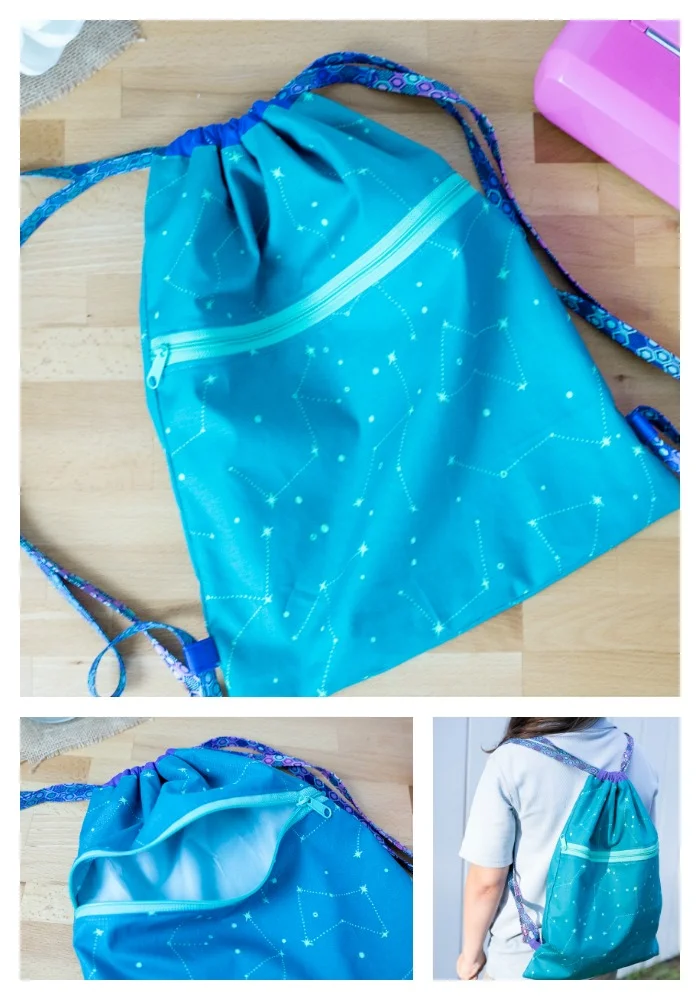
Attach the Lining
A lining gives the backpack a cleaner inside and covers raw seams. It also makes the bag more comfortable to use.
Turn the outer bag right side out. Leave the lining wrong side out. Place the outer bag inside the lining so the right sides of both fabrics face each other.
Match the side seams and top edges. Clip around the entire top edge, then sew around it with a 1/2-inch seam allowance.
Pull the outer bag through the opening in the lining. The bag will slowly turn right side out, much like pulling a pillow through a small opening.
Push the lining inside the backpack. Press the top edge carefully. Close the opening in the lining with a machine stitch or a ladder stitch by hand.
Topstitch around the upper edge if you want a crisp finish. Keep the stitching below the casing so the cord can still move freely.
A useful lining tip
Do not make the lining smaller unless the pattern calls for it. A same-size lining is easier for beginners and usually fits well when you use a consistent seam allowance.
If your lining looks too loose, press it flat rather than trimming it immediately. Many fitting problems come from an uneven seam or an unpressed corner.
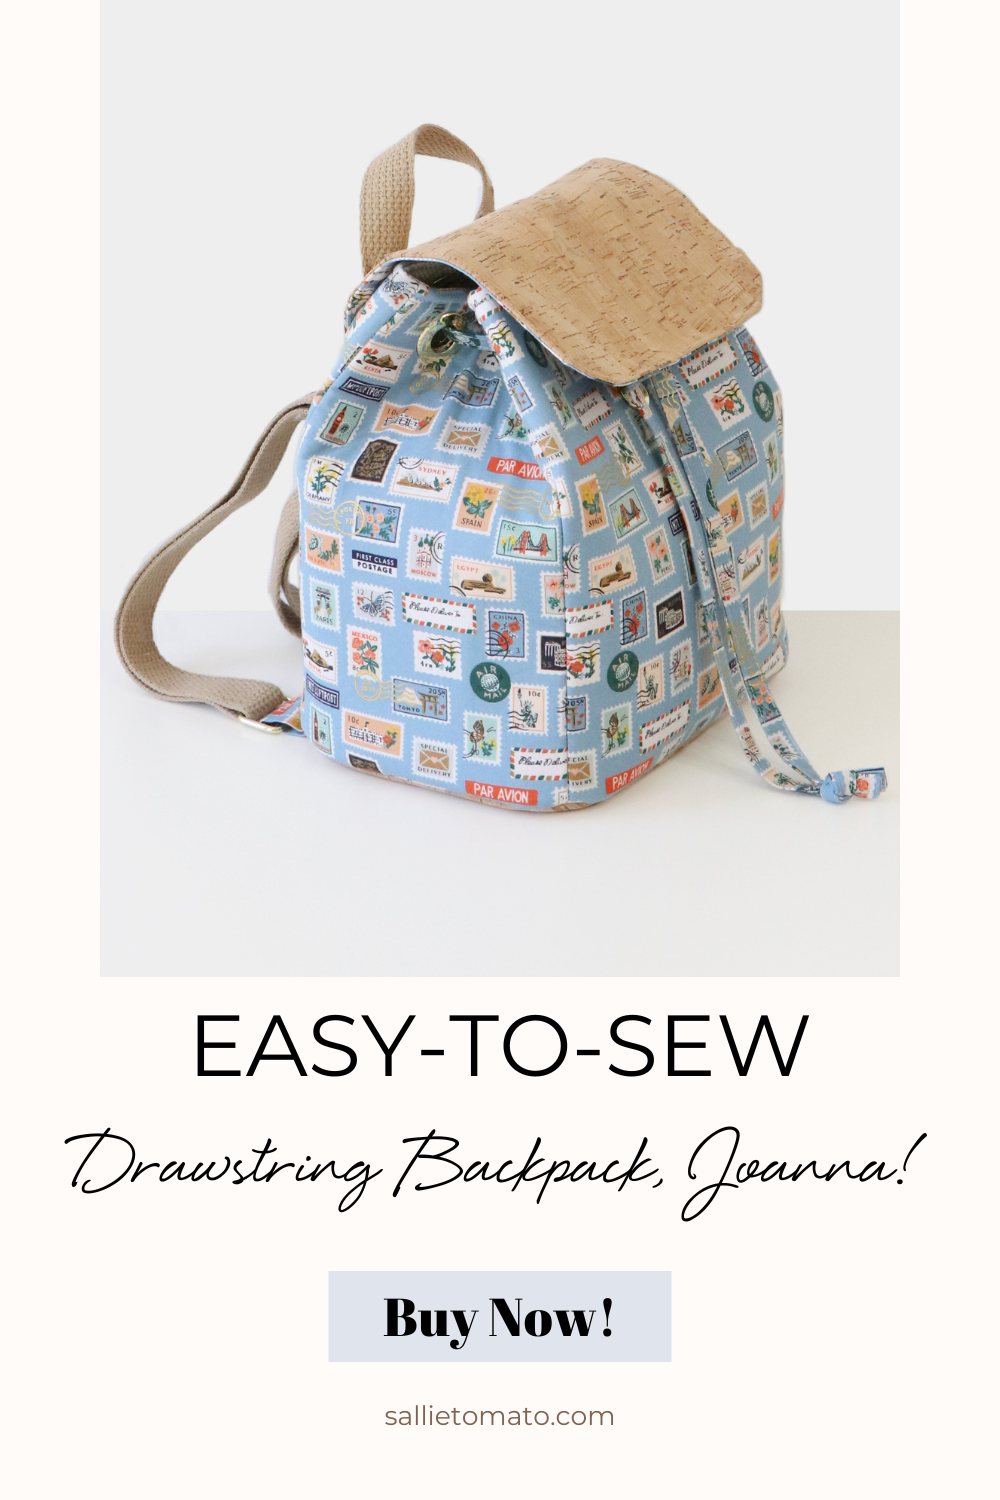
Thread the Cords and Form the Straps
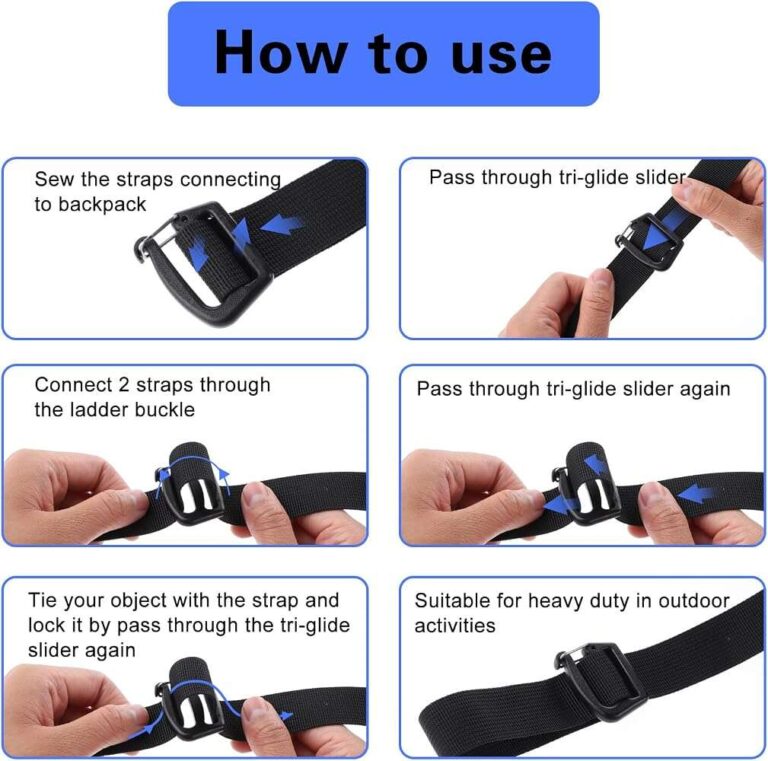
Threading the cords is the final construction step. A safety pin works well, but a bodkin is faster if you sew bags often.
Follow this path for the first cord:
- Attach the safety pin to one end of the cord.
- Feed the cord through the casing from the left opening.
- Bring it through the casing and out of the right opening on the same side.
- Continue down the outside of the bag.
- Thread the cord through the lower loop or corner attachment on the opposite side.
- Tie a firm knot.
Repeat the process with the second cord. Start at the opposite side so both cords cross through the casing and form two shoulder straps.
For corner attachments, fold a small strip of fabric into a loop. Sew the loop securely into each lower side seam before closing the main bag. Use a square with an X-shaped stitch for extra strength.
Pull both cords evenly. The top should gather without twisting. If one strap is longer, untie the knot and adjust it before trimming the cord ends.
Seal synthetic cord ends with careful heat from an adult-supervised lighter. For cotton cord, wrap the ends with thread or add a small knot to stop fraying.
Strengthen the Backpack for Daily Use
Knowing how to sew a drawstring backpack is only part of the process. Strength matters if the bag will be used every day.
Reinforce these areas:
- The top casing openings
- The lower cord loops
- The side seams
- The bottom corners
- Any pocket corners
A short bar tack works well at stress points. You can also sew a small rectangle with an X through it. These stitches spread the pulling force over a wider area.
Do not rely on a single knot at the lower corners. The cord moves every time the backpack opens, so the fabric needs both a secure loop and reinforced stitching.
For children, check the cord length and fit carefully. Long cords can create a safety risk, especially around playground equipment, doors, or moving parts. Use shorter straps when appropriate, and inspect the bag often for loose cords or damaged seams.