You can replace luggage wheels by buying matching wheels and swapping them with basic tools.
I’ve repaired dozens of suitcases and carry-ons, so I’ll walk you through exactly how to replace luggage wheels with clear, tested steps. This guide covers tools, parts, step-by-step repair, troubleshooting tips, cost expectations, and maintenance advice so you can fix wheels fast and avoid a costly replacement.

Tools and materials you’ll need
Start with the right tools and parts to make how to replace luggage wheels easy and safe. Gather simple hand tools and a clean workspace before you begin.
- Phillips and flathead screwdrivers of various sizes for removing covers and screws.
- Socket or nut driver set for axle nuts and bolts.
- Replacement wheels that match your luggage model or universal spinner wheels.
- Pliers, needle-nose pliers, and a small hammer for stubborn pins.
- Thread-lock or nylon lock nuts if the original fasteners seem loose.
- Cleaning cloth and mild lubricant for wheel bearings and axles.
- Small tray or magnetic dish to hold screws and small parts.
Personal tip: keep a photo of the wheel assembly before disassembly. It saves time when reassembling. I once reassembled a spinner upside down until I checked my reference photo.

When to replace luggage wheels
Knowing when to replace wheels prevents travel hassles and damaged luggage. Replace wheels if they wobble, lock up, crack, or make grinding noises.
- If the wheel shell is split or the axle is bent, replacement is safer than repair.
- Worn bearings or melted plastic on the wheel tread mean the wheel will fail soon.
- If repairs need more than cosmetic fixes or the frame is damaged, consider replacing rather than patching.
I’ve seen wheels fail two flights into a trip. Replacing them before travel saved me from dragging heavy bags through terminals.

Step-by-step guide: how to replace luggage wheels
Follow these concise steps to replace luggage wheels on most hard-shell and soft-sided suitcases. Read each step before you work, and take pictures as you go.
- Prepare and clear space
- Empty the suitcase and lay it flat on a clean surface. Protect shell finishes with a towel.
- Locate and remove wheel housing cover
- Look for screws or snap clips near the wheel hub. Remove screws and set them aside in order.
- Remove the old wheel
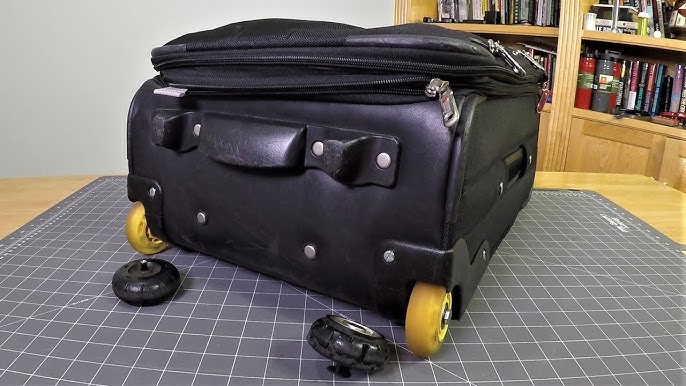
- Unscrew bolts or remove retaining clips that hold the axle. Pull the wheel assembly free. If the axle is bent, wiggle it gently while using pliers.
- Inspect axle and housing
- Clean the axle area and check for cracks or wear. If the housing is damaged, note whether a housing replacement is needed.
- Match replacement parts
- Compare new wheels with old ones. Check diameter, mounting style, and axle thickness to ensure fit.
- Install new wheel
- Place wheel on the axle and secure with the original bolt, nut, or clip. Use a thread-lock if needed and tighten snugly without over-torquing.
- Test rotation and clearance
- Spin the wheel to ensure smooth rotation and that it clears the shell. Make sure the wheel alignment matches other wheels.
- Reattach cover and repeat
- Replace the cover and screws. Repeat for each wheel that needs replacement.
- Final test
- Roll the suitcase across different surfaces and check for noise or wobble. Make micro-adjustments as needed.
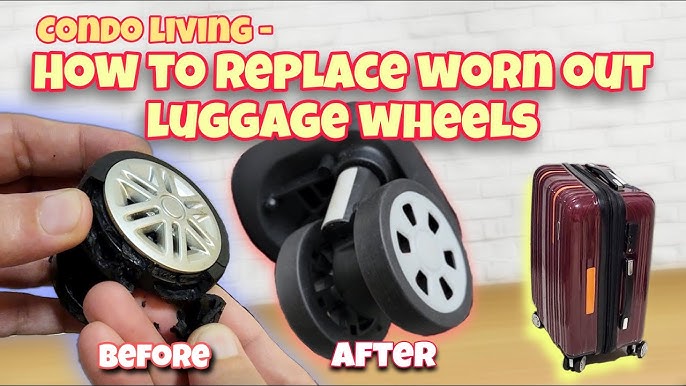
How to replace luggage wheels can vary slightly by brand, but these steps cover most spinner and inline skate-style wheels. If you encounter glued parts or rivets, consider a professional repair to avoid breaking the shell.
Types of replacement wheels and how to choose
Choosing the right wheel matters for performance and fit. Know the common wheel types and pick the best match.
- Spinner wheels
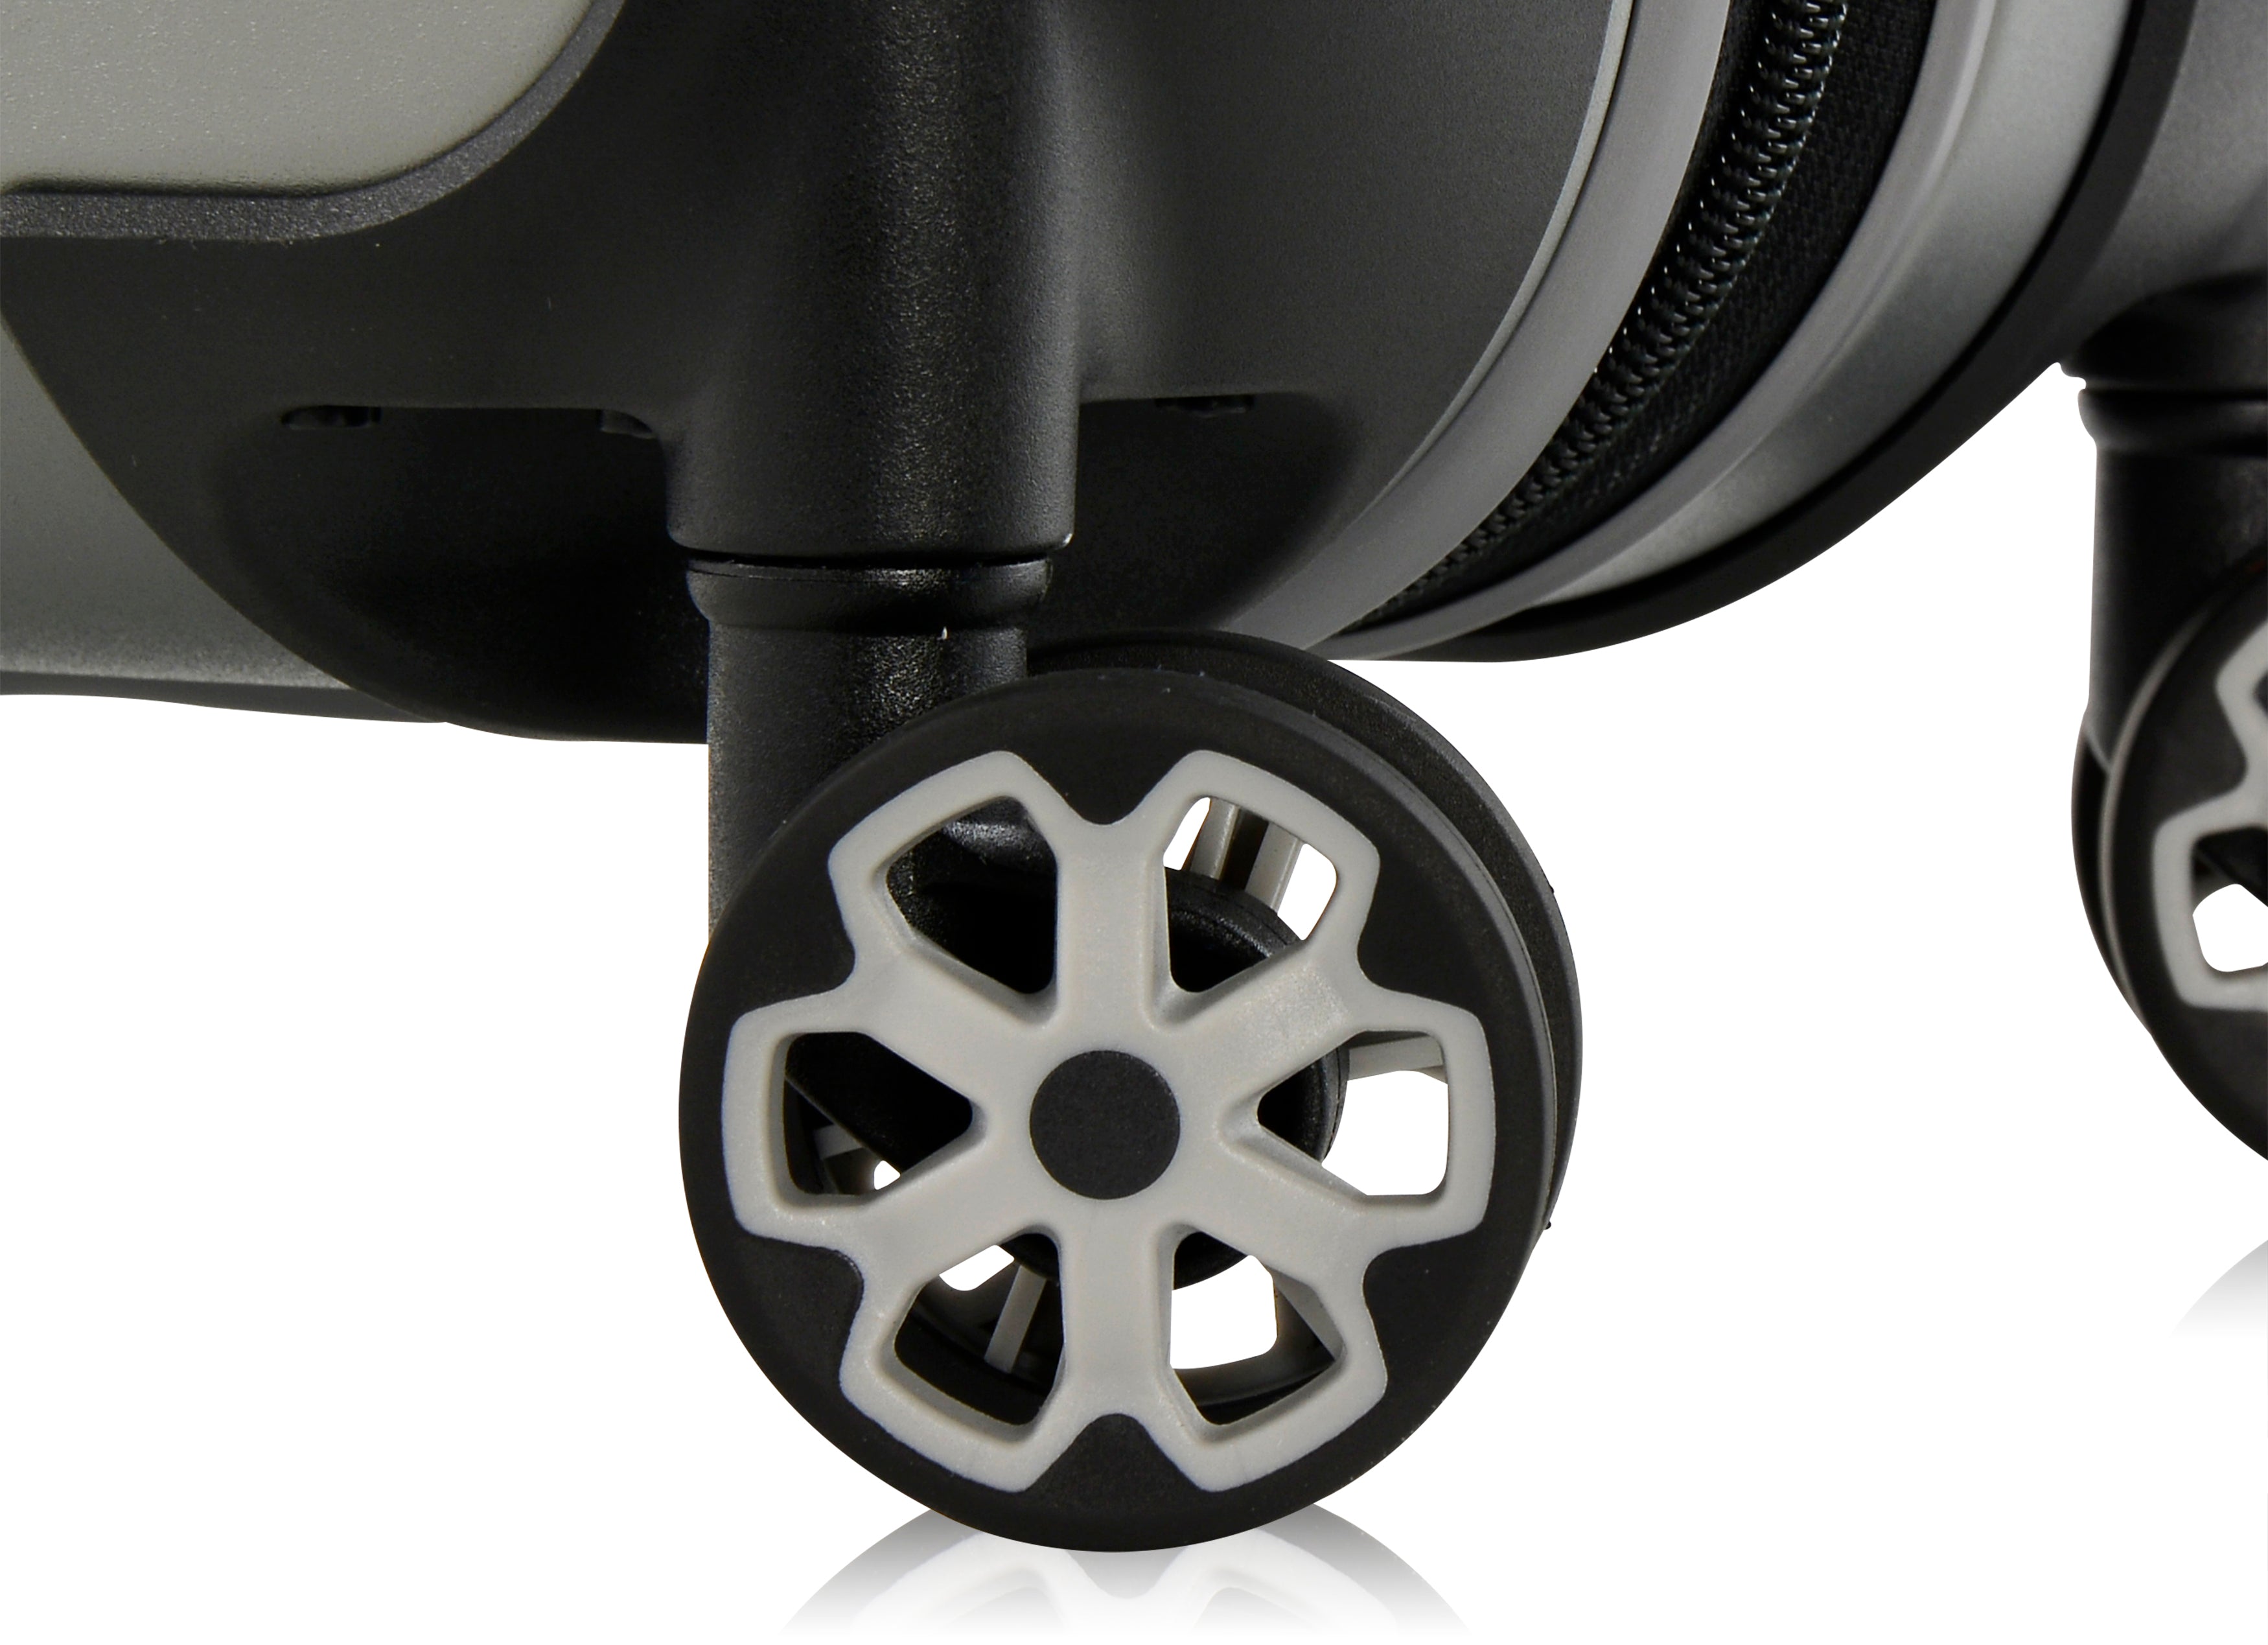
- Four-wheel set that rotates 360 degrees. Choose spinner wheels to restore full mobility.
- Inline skate-style wheels
- Two or four wheels in a fixed direction. These are common on soft-sided bags and are rugged for rough surfaces.
- Single-wheel casters and double-wheel casters
- Double wheels spread weight and roll better on smooth floors. Single wheels are simpler and cheaper.
Match by these specs:
- Wheel diameter and width
- Axle diameter and mounting style (bolt, rivet, clip)
- Material (TPR, polyurethane, rubber) for noise and durability
I prefer polyurethane wheels for airport travel. They stay quiet and resist flat spots better than cheaper plastic wheels.

Common problems and troubleshooting
If something goes wrong while you learn how to replace luggage wheels, these quick fixes help.
- Wheel won’t spin smoothly
- Check for debris, clean bearings, and add a small drop of lubricant. Replace the bearing if the noise continues.
- Wheel wobbles after reassembly
- Tighten the axle nut and check for worn bearings or a bent axle. Replace the axle if needed.
- Replacement wheel doesn’t fit
- Measure axle diameter and wheel hub. You may need a bushing or a different wheel model. Don’t force a wheel onto a wrong-size axle.
- Screws strip or threads are damaged
- Use a slightly larger screw, or install a nylon-insert lock nut for a secure fit.
Experience note: I once forced a universal wheel and stripped the housing screws. The fix was to install a small metal bracket to spread load and then use slightly bigger screws.
Cost and where to get replacement wheels
Replace wheels cheaply or pay for high-end upgrades. Know the options and likely costs.
- DIY replacement parts
- Universal wheel kits cost between $10 and $40 per wheel. Kits include bearings and mounting hardware.
- Manufacturer parts
- Brand-specific wheels can cost $25 to $75 per wheel but fit precisely and keep warranty coverage.
- Repair shops
- Luggage repair shops charge $30 to $100 per wheel installed, depending on parts and labor.
Where to shop
- Online marketplaces for universal and brand parts.
- Luggage manufacturer parts pages for exact matches.
- Local hardware stores for basic fasteners and common axle sizes.
Being realistic: buying a whole new suitcase might be better if the shell or handle is badly damaged. If only wheels fail, replacement typically saves money.
Maintenance tips to extend wheel life
Good care means fewer repairs. Use these simple tips to reduce how often you need to replace luggage wheels.
- Clean wheels after travel
- Remove sand and dirt that jam bearings and cause wear.
- Lubricate bearings lightly
- Use a small drop of silicone or light oil to keep wheels spinning smoothly. Avoid heavy greases that collect dirt.
- Avoid dragging the suitcase on rough surfaces
- Lift or carry if you need to cross gravel or curbs to protect wheels.
- Check fasteners periodically
- Tighten loose bolts and replace worn nuts before they cause wobble.
I check wheel tightness after each long trip. That small habit has kept my bags rolling for years.

Frequently Asked Questions of how to replace luggage wheels
How long does it take to replace a luggage wheel?
Most single-wheel replacements take 15 to 45 minutes, depending on access and how the wheel is mounted. Complex assemblies or riveted housings take longer or need a shop.
Can I use universal wheels for any suitcase?
Universal wheels work for many suitcases but require matching axle size and mounting style. Measure carefully and use adapters if needed.
Are replacement wheels durable compared to original wheels?
Quality replacement wheels, especially polyurethane, can match or exceed factory wheels. Cheaper plastic wheels wear faster and may need another replacement.
Will replacing wheels void my luggage warranty?
Replacing wheels yourself can void some warranties, especially if you damage the shell. Check the manufacturer’s warranty terms before DIY fixes.
When should I choose professional repair over DIY replacement?
Choose a pro if parts are riveted, the shell is cracked, or the axle is bent. A repair shop has tools to replace housings and rivets safely.
Conclusion
You now know how to replace luggage wheels step by step, how to pick the right parts, common fixes, and ways to keep wheels working longer. Start by gathering tools, matching wheel specs, and taking photos during disassembly to make the job smooth and fast. Take action: check your suitcase wheels today, fix minor issues before travel, and consider keeping a small repair kit for the road. If this guide helped, leave a comment with your wheel type or subscribe for more practical repair tips.

Zayden Halbrook is a travel enthusiast and gear researcher passionate about making every journey smoother and more enjoyable. With a keen eye for practical travel essentials and real-world tips, he helps readers choose the right gear and travel smarter. When he’s not testing travel kits or exploring new destinations, Zayden shares simple, reliable advice to make every trip stress-free.