
To make luggage tags, choose durable materials, add clear contact details, seal the tag, and attach it firmly to your bag.
Learning how to make luggage tags is a simple way to protect your bags and add a personal touch. A well-made tag should be easy to spot, hard to tear, and private enough to keep your information safe. This guide explains the best materials, simple designs, useful safety tips, and tested methods for making luggage tags at home.
Why Make Your Own Luggage Tags?
Store-bought luggage tags are easy to find, but homemade tags offer more control. You can choose the size, color, shape, and information shown on the tag.
Learning how to make luggage tags also helps you create tags for every type of bag. You can make one for a suitcase, backpack, duffel bag, sports bag, or child’s travel case.
Homemade luggage tags can also save money. Basic supplies such as cardstock, clear tape, plastic sleeves, and ribbon are often already at home.
The main benefits include:
• Easy identification at baggage claim
• A design that matches your style
• Low material cost
• Custom sizes and shapes
• Simple replacement when a tag wears out
• Better organization for family travel
A bright tag works like a small flag on a crowded carousel. It helps you find your bag before someone else picks up a similar one.
Materials You Need to Make Luggage Tags
The best materials depend on how often you travel. A paper tag may work for a short road trip, while a plastic or laminated tag is better for air travel.
For a basic luggage tag, gather:
• Cardstock or thick paper
• Scissors or a craft knife
• A ruler
• A pencil
• A hole punch
• Clear packing tape or self-sealing laminate
• A ribbon, zip tie, or metal luggage loop
• A pen or printer
• A small plastic sleeve, if available
For a stronger luggage tag, use:
• Laminating sheets
• Waterproof vinyl
• Faux leather
• Cotton canvas
• Flexible plastic
• Metal eyelets
• A heavy-duty strap
Avoid thin printer paper. It bends, tears, and becomes unreadable when exposed to rain or rough handling.
When deciding how to make luggage tags, think about the trip first. A paper tag may be enough for a school bag. A laminated tag or vinyl tag is a better choice for checked luggage.

How to Make Luggage Tags With Cardstock
Cardstock is one of the easiest materials for a homemade luggage tag. It is cheap, easy to cut, and simple to decorate.
Follow these steps:
- Cut a piece of cardstock to about 2.5 by 4 inches. This size is large enough to read but small enough to attach to most bags.
- Round the corners with scissors. Rounded corners are less likely to catch on belts or clothing.
- Write or print your contact details on one side.
- Add a short label, such as “This bag belongs to.”
- Cover both sides with clear packing tape.
- Press out air bubbles with a ruler or flat card.
- Trim the extra tape around the edges.
- Punch one hole near the top.
- Attach the tag with a strong loop or zip tie.
Do not punch the hole too close to the edge. Leave at least one-quarter inch of material around the hole. This small detail prevents the tag from ripping away.
For better protection, place the cardstock inside a clear badge holder before attaching it. This method is useful when you want to change the information later.

How to Make Luggage Tags With a Printer
A printer can make your luggage tags neat and easy to read. It also helps when you need several matching tags for a family.
Start by creating a simple design in a word processor or design app. Use a large, clear font. Dark text on a light background is usually easiest to read.
Include these details:
• Full name or first name and last initial
• Email address
• Phone number with country code
• A backup contact number
• A general destination or home city
Avoid placing your full home address on the outside of the tag. A stranger does not need to know that your home is empty while you travel.
Print the design on heavy cardstock. Cut it to size, then cover it with laminate or clear tape. If you use an inkjet printer, allow the ink to dry fully before sealing the tag. Wet ink can smear under adhesive film.
One practical lesson in how to make luggage tags is to test the print first. A phone number with one wrong digit can make the tag useless. Call the number or check it twice before sealing the design.
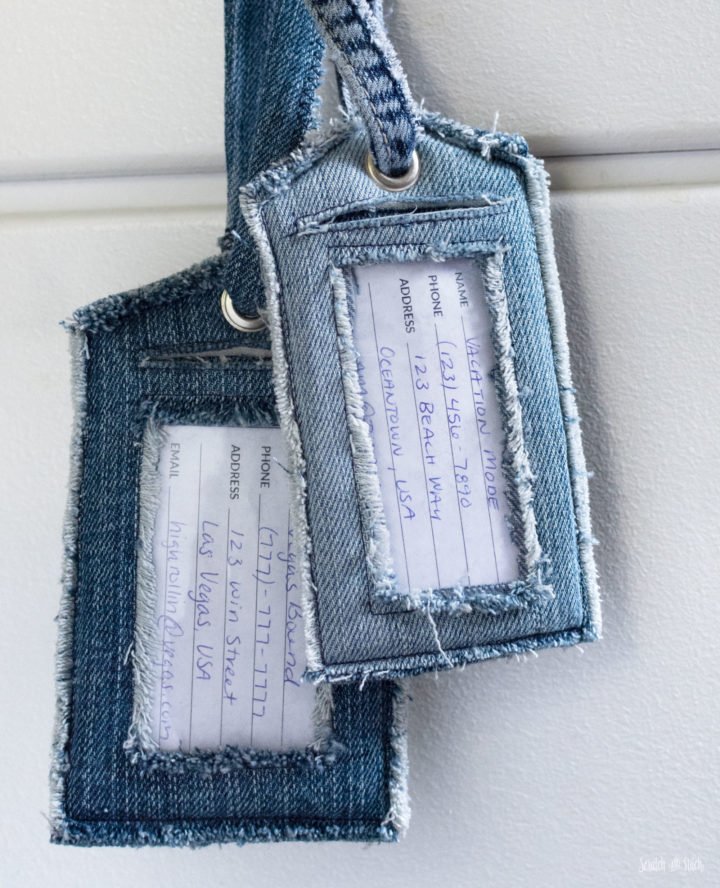
How to Make Luggage Tags Without a Printer
You do not need a printer to make useful luggage tags. Handwritten tags can work well if the writing is large and clear.
Use a permanent marker on cardstock, plastic, or fabric. Write slowly and leave space between each line.
A simple layout may look like this:
JORDAN L.

Email: jordan@email.com
Phone: +1 555 123 4567
Backup: +1 555 987 6543
You can add a colorful border or a simple symbol. A large star, stripe, or circle can help you spot the bag quickly.
For extra privacy, write only your first name and last initial. Put more contact information on the back of the tag. This gives helpful information to airline staff without displaying too much personal data.
If your handwriting is hard to read, ask someone else to write the tag or use stick-on printed labels. Clear information matters more than artistic style.
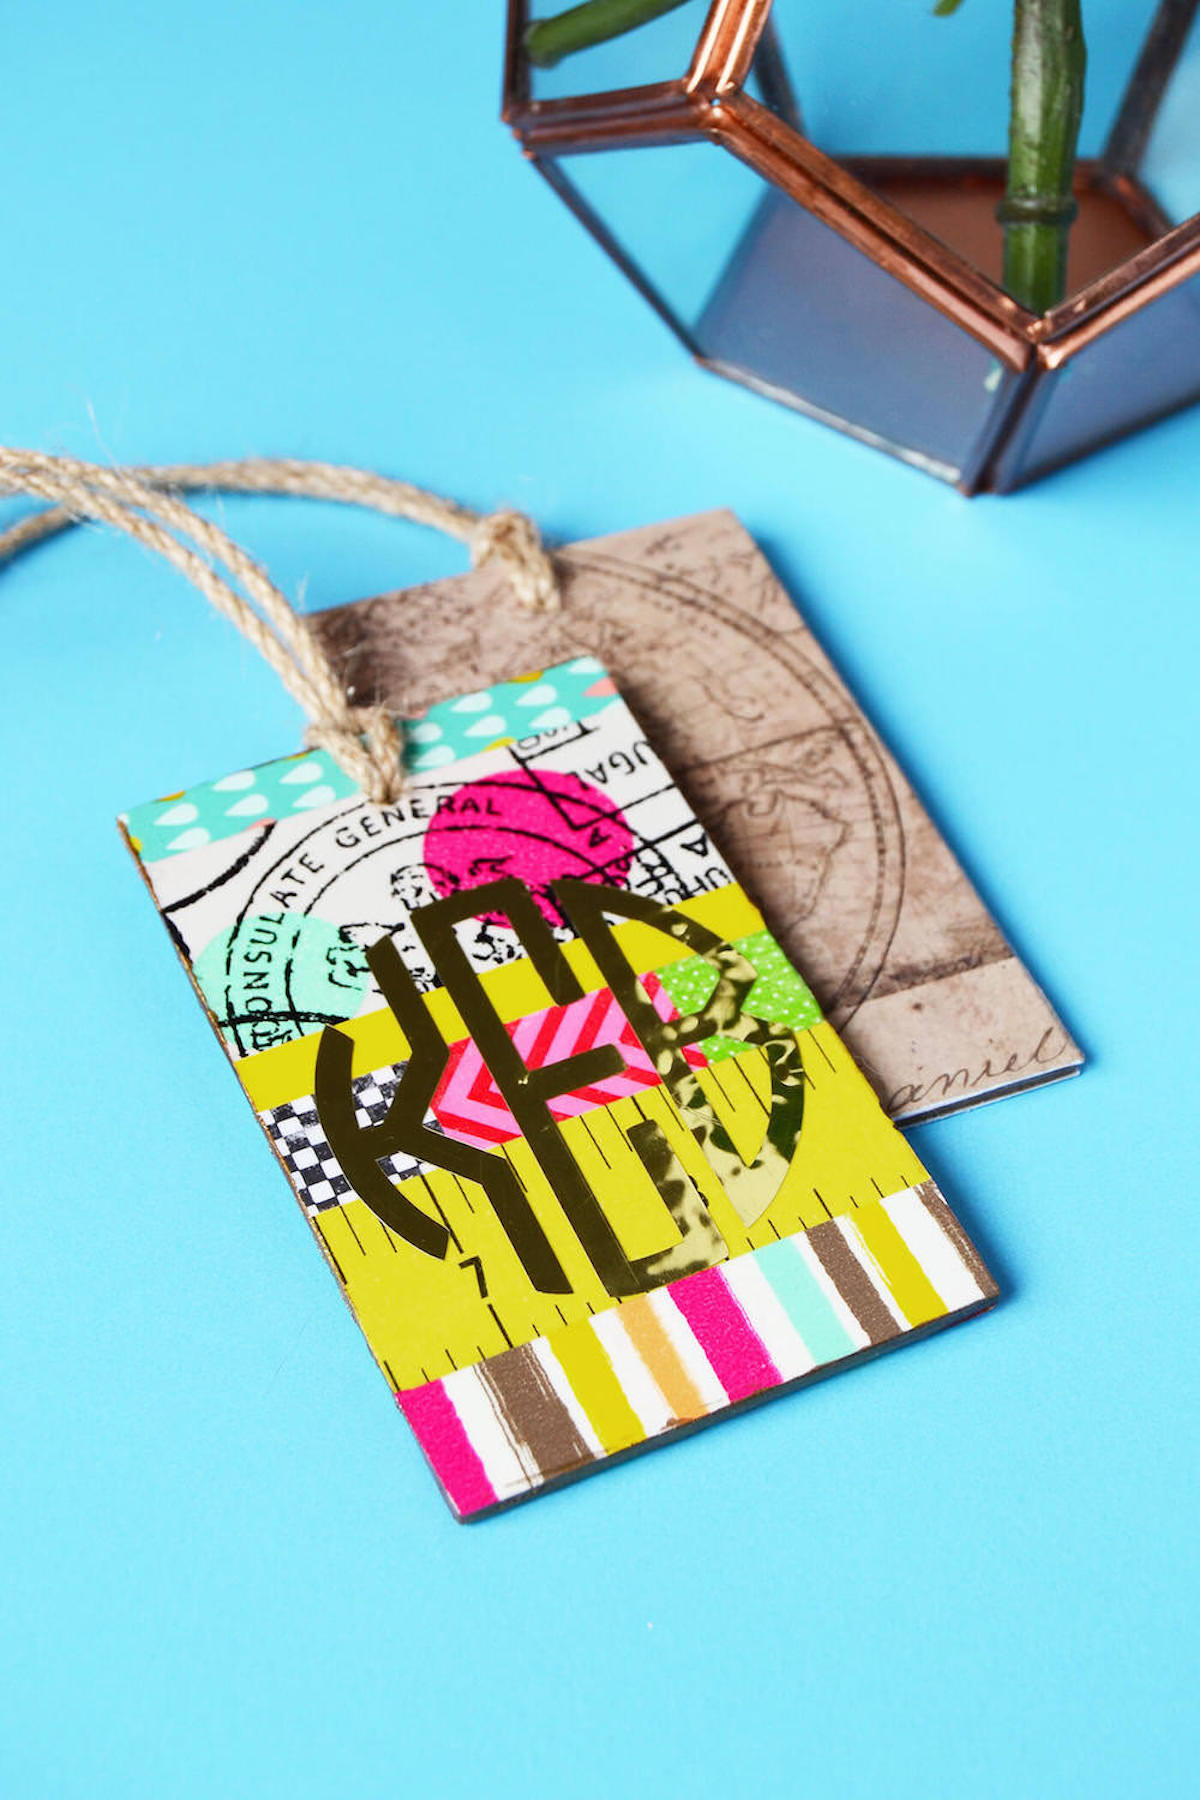
How to Make Luggage Tags Waterproof
Water can damage paper, ink, and glue. A waterproof luggage tag is especially useful for checked bags, outdoor trips, cruises, and rainy destinations.
The easiest waterproofing methods are:
• Cover the tag with clear packing tape
• Use self-sealing laminating pouches
• Place the insert inside a waterproof plastic sleeve
• Print on waterproof synthetic paper
• Use vinyl and permanent ink
When using clear tape, overlap each strip slightly. Seal the front, back, and all edges. Water often enters through an open edge, not through the middle of the tag.
Lamination gives better protection, but it can make the tag stiff. Leave a narrow sealed border around the paper. Do not cut directly against the printed insert.
For a fabric luggage tag, use canvas and sew the edges. Add a waterproof label inside the fabric sleeve. Fabric looks attractive, but it may absorb water and take longer to dry.
No homemade tag is completely indestructible. Check it before every trip and replace it when the edges split, the print fades, or the attachment loop becomes weak.
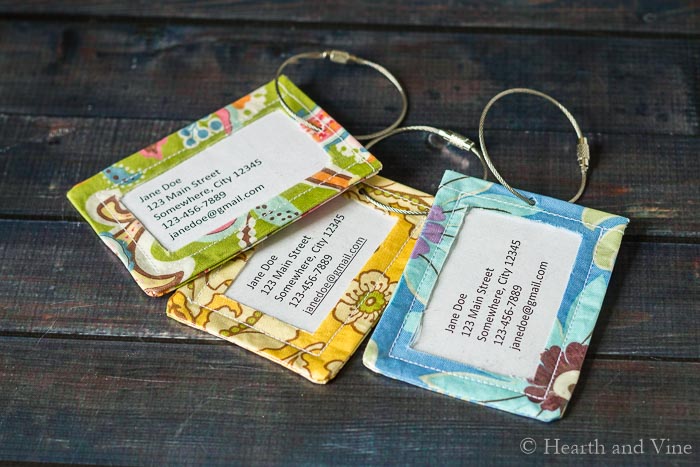
How to Make Luggage Tags From Recycled Materials
Recycled materials can create strong and creative luggage tags. They also reduce waste from packaging and old household items.
Try using:
• An old plastic gift card
• A clean shampoo bottle
• A cereal box
• A worn leather belt
• A sturdy envelope
• A used folder
• A piece of a plastic storage container
To reuse a plastic bottle, cut a flat section from the side. Wash it well, remove sharp edges, and write on it with a permanent marker. Punch a hole with a strong hole punch.
For a cereal box tag, cut two matching pieces and glue them together with the printed sides facing inward. Cover the finished tag with clear tape or laminate.
Old gift cards make excellent luggage tags because they are thin and water-resistant. You can attach a paper information panel to the back and seal it with tape.
Check recycled materials for sharp edges, cracking, or weak spots. A material that feels strong at home may break after repeated bending.

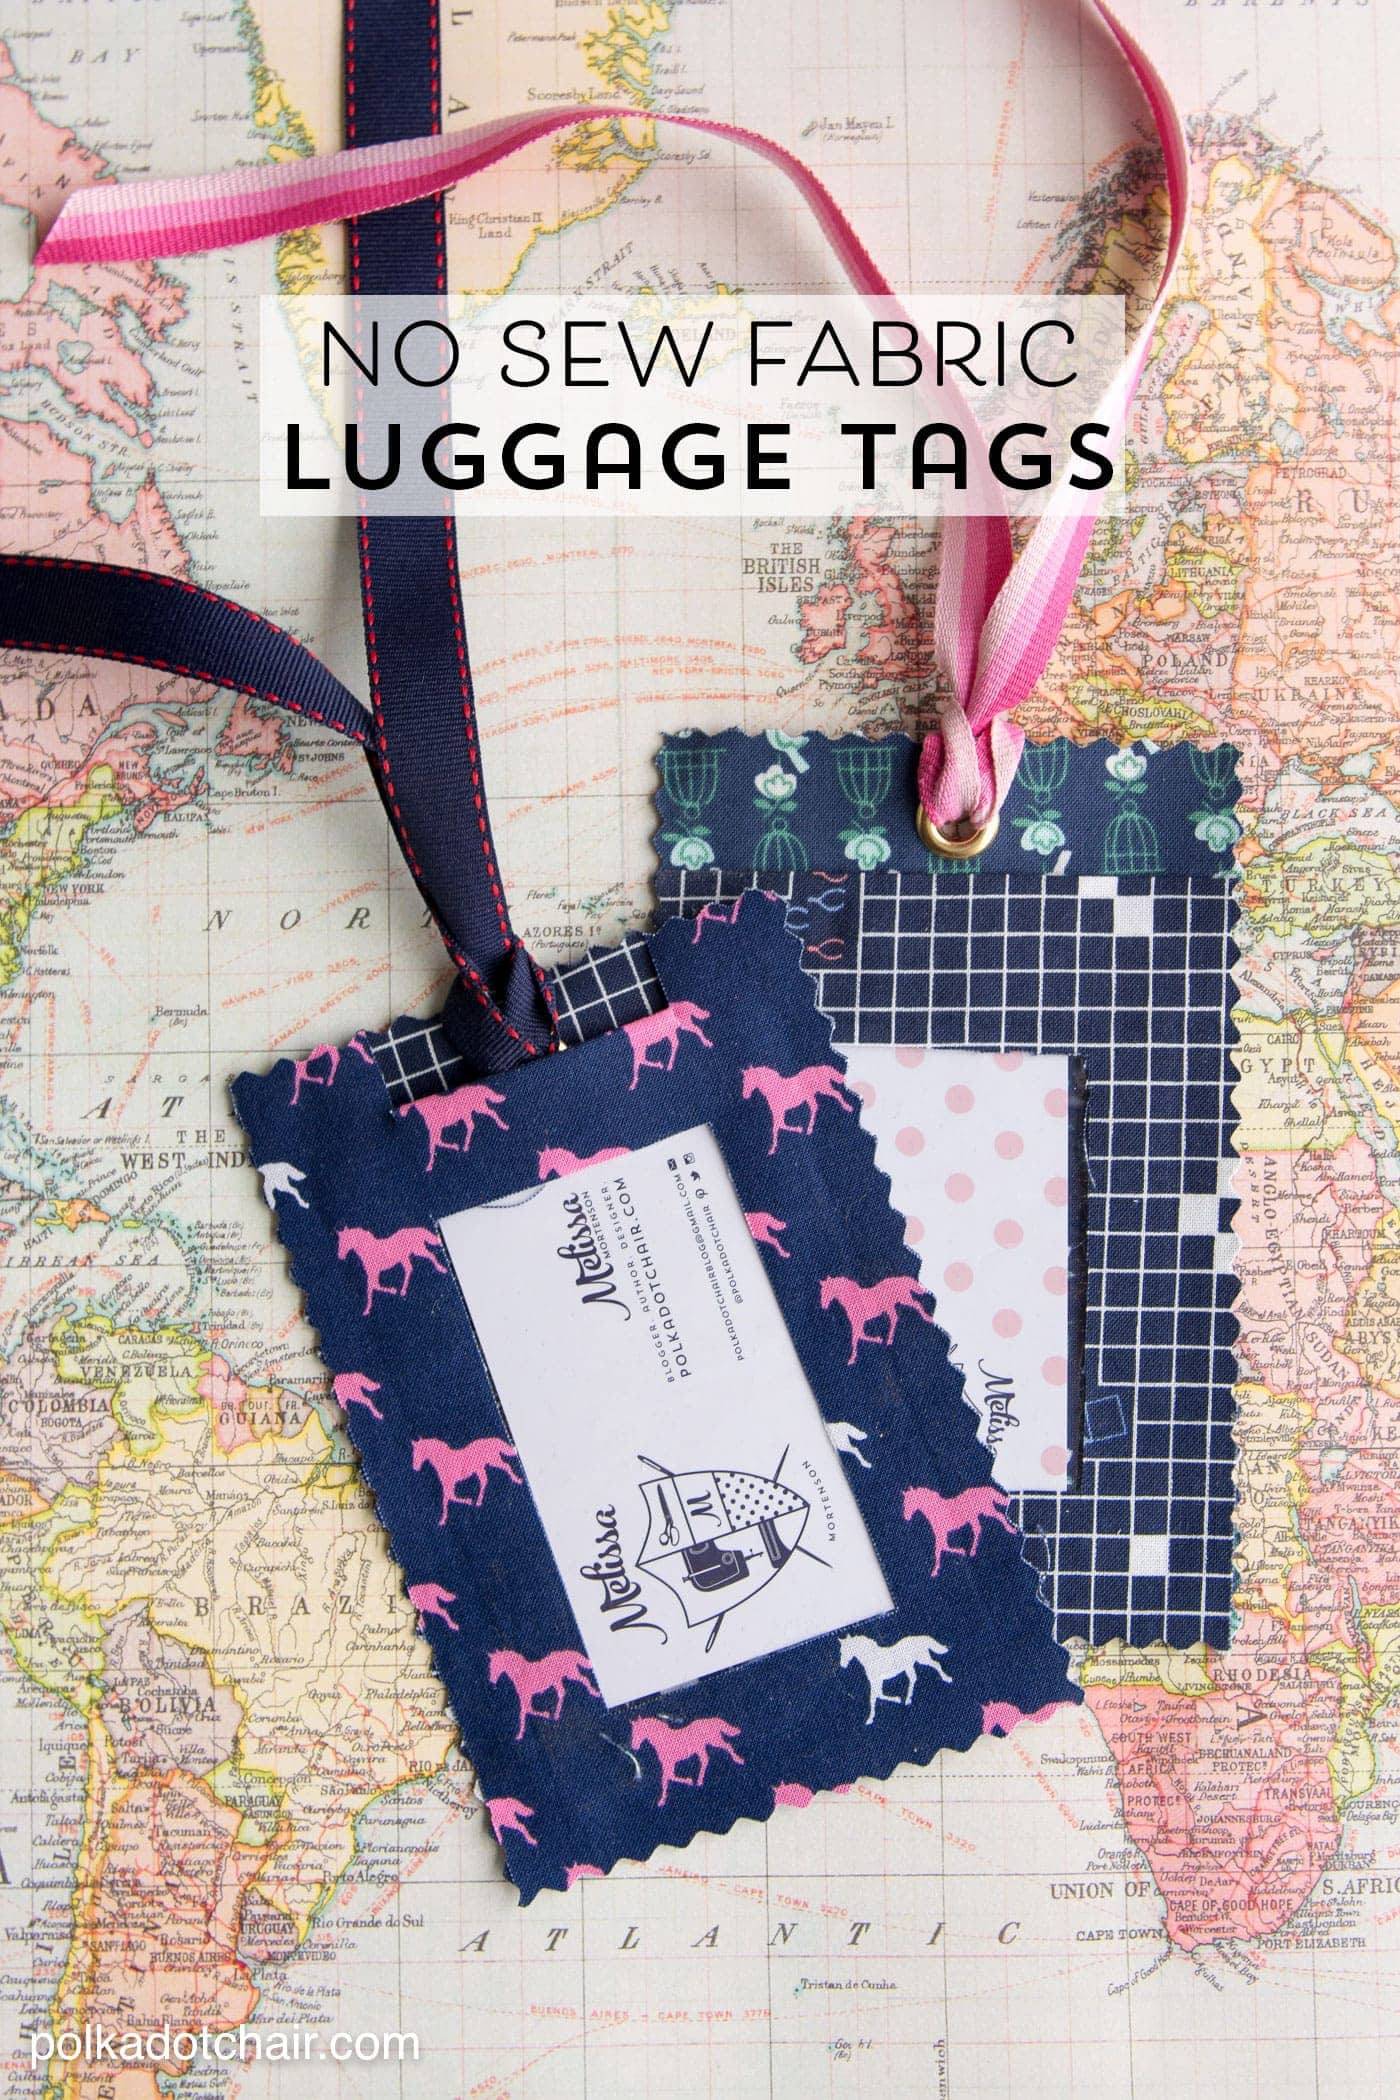
How to Make Luggage Tags With Fabric
Fabric luggage tags are soft, colorful, and less likely to scratch nearby items. They work well for carry-on bags, backpacks, and children’s luggage.
You will need:
• Two pieces of cotton canvas
• Fabric scissors
• A needle and strong thread, or a sewing machine
• Fabric glue, if sewing is not possible
• A clear vinyl window
• A strap or ribbon
Cut two matching rectangles. Sew three sides together, leaving one side open for the information card. Turn the fabric right side out, then add a clear vinyl window to the front.
Sew or glue the final edge closed. Add a strong strap at the top. Test the strap by pulling it firmly several times.
Fabric tags are attractive, but they need more care than plastic tags. Keep the information card removable so you can replace it when your phone number or email changes.
A useful design choice is to use a different color for each family member. This makes it easier to sort bags at the airport or hotel.