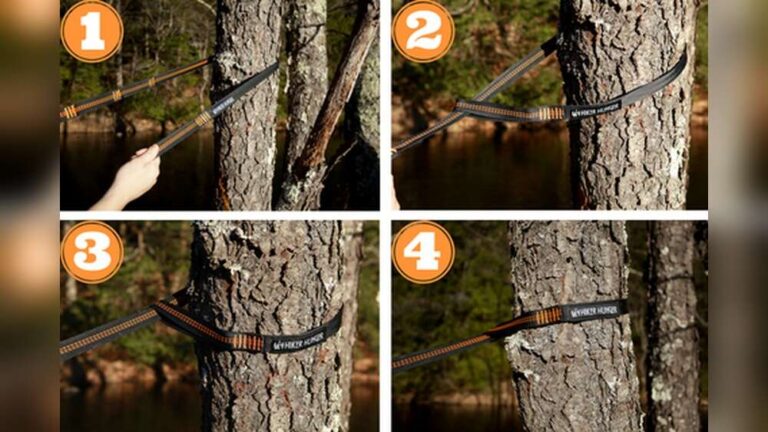
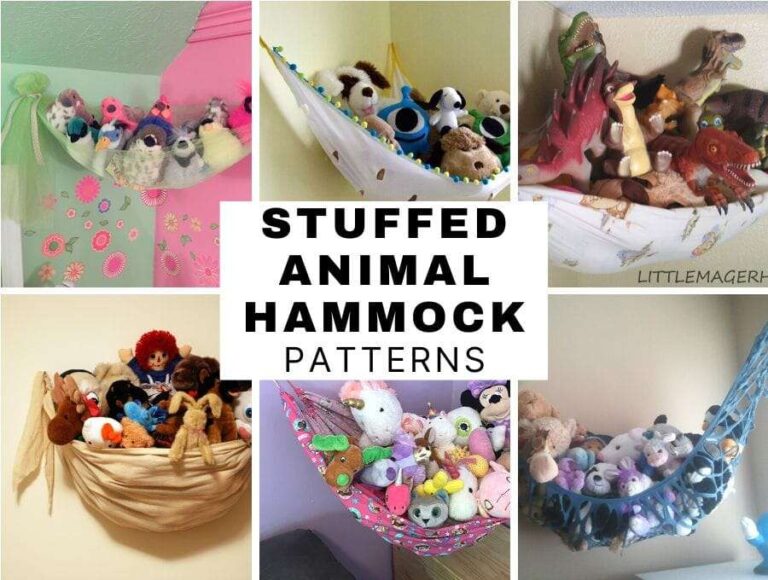
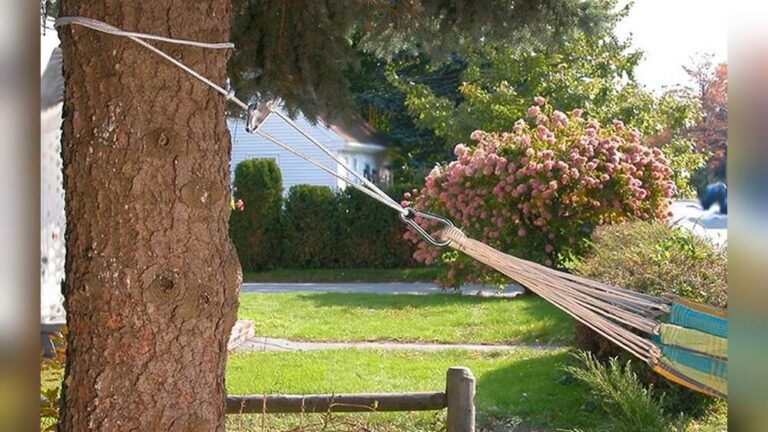
Crochet a hammock by joining strong yarn or rope into a net, then securing both ends to reinforced hanging loops.
Learning how to crochet a hammock is part pattern, part engineering, and part patience. A well-made hammock should spread weight across many connected stitches, use strong attachment points, and hang from supports rated for the load. This guide explains the safest approach, from choosing materials and sizing the net to crocheting the body, adding suspension ropes, and checking the finished piece.
Before You Crochet a Hammock
A crocheted hammock is a flexible net made from linked loops. Unlike a solid chair or bench, it spreads pressure across the stitches and the two end supports. That design makes it comfortable, but it also means one weak loop can affect nearby stitches.
For this reason, beginners should start with a small hammock for a toy, plant, or light decorative use. A full-size hammock for an adult needs more than a pretty crochet pattern. It needs strong rope, secure hardware, tested anchor points, and careful load testing.
When learning how to crochet a hammock, keep these safety rules in mind:
• Never hang a hammock from a weak tree branch, drywall anchor, curtain rod, or indoor hook that is not load-rated.
• Do not use ordinary acrylic yarn for a weight-bearing adult hammock.
• Inspect every stitch, knot, loop, and attachment point before use.
• Keep children and pets away from a hammock that has not been tested for their weight.
• Stop using the hammock if you see stretched fibers, broken strands, loose knots, or torn stitches.
A useful rule is to treat the crochet body as a textile project and the suspension system as safety equipment. Both parts must work together.

Choose the Right Materials
The materials you choose will decide whether your hammock is decorative, lightly functional, or suitable for serious use. Crochet cotton, acrylic yarn, and soft wool are easy to work with, but they are not equal in strength or weather resistance.
For a small indoor hammock, you can use:
• Heavy cotton cord
• Braided cotton rope
• T-shirt yarn
• Strong recycled fabric strips
• A large crochet hook that matches the cord
For an outdoor hammock, look for rope made from polyester or another fiber designed for outdoor exposure. Outdoor fibers resist moisture and sunlight better than many natural fibers. Even then, sunlight can weaken materials over time, so store the hammock indoors when you are not using it.
For the suspension system, use separate rope rather than relying only on crocheted yarn. Choose rope with a clear working load from the manufacturer. Also select rated carabiners, rings, or hammock straps that match the rope and anchor points.
A practical supply list includes:
• 150 to 300 yards of strong cord for a small or medium net
• One crochet hook suited to the cord size
• Two end ropes or webbing straps
• Two rated metal rings or carabiners
• Measuring tape
• Scissors
• A yarn needle
• Fabric tape or scrap cloth for temporary marks
Do not judge strength by thickness alone. A thin climbing-rated rope may be stronger than a thick decorative cord. Read the product label and follow the maker’s working-load instructions.

Plan the Hammock Size
Before learning how to crochet a hammock, decide who or what will use it. A doll hammock may be only 12 inches long. A cat hammock may need a firm base and extra support. An adult hammock often measures about 9 to 12 feet long, but its final size depends on the user, fabric stretch, and suspension distance.
Write down these measurements:
• Finished hammock length
• Finished hammock width
• Distance between the two anchor points
• Desired height above the ground
• Expected user weight
• Extra length needed for stretch and end loops
A crochet net can stretch more than expected. To avoid a saggy result, make a sample square first. Crochet a section about 12 inches wide and 12 inches long. Measure it before and after gently pulling it lengthwise.
If the sample grows by 15 percent, a planned 60-inch body may become about 69 inches under light tension. That stretch is useful for comfort, but too much stretch can bring the user close to the ground.
For a first project, a narrow hammock is easier to control than a wide one. You can also crochet a small test version before buying enough cord for a full-size design.
Use a Strong Crochet Stitch Pattern
The simplest way to crochet a hammock is to make an open mesh. Chain spaces create the holes, while single crochet or slip stitches form the connecting bars. A small mesh gives more support, but it uses more material and takes longer.
A basic mesh pattern can use this repeat:
-
Make a foundation chain with an even number of stitches.
-
Add one extra chain for turning.
-
Single crochet in the second chain from the hook.
-
Chain five stitches.
-
Skip five foundation chains.
-
Single crochet into the next chain.
-
Repeat across the row.
-
Turn, then place each single crochet into the next mesh space.
-
Continue until the hammock reaches the planned length.
This pattern creates large openings. For a firmer hammock, use chain-three or chain-four spaces instead of chain-five spaces. Smaller openings also reduce the chance of a hand, foot, or pet paw becoming trapped.
Keep your tension even. If some mesh spaces are tight and others are loose, the net will pull unevenly. Think of each row as a group of small bridges. Each bridge should have a similar span.
For added strength, you can use a double strand of cord. This creates a thicker fabric and reduces stretch, but it also makes the project heavier and harder on your hands. Test the cord and hook together before committing to the full hammock.

Crochet the Main Hammock Body
Once your swatch looks even, make the foundation chain for the body. The foundation chain should match the desired width, not the length. The rows will run from one end of the hammock to the other.
Work slowly through the first few rows. This is where mistakes are easiest to spot. Count the mesh spaces after every row and mark the first and last space with small clips if needed.
Use these steps:
-
Crochet the foundation chain.
-
Work the first mesh row without twisting the chain.
-
Check that the number of mesh spaces matches from one side to the other.
-
Continue the open-mesh pattern for the planned length.
-
Lay the work flat every few rows to check its shape.
-
Replace a missed chain space as soon as you find it.
-
Stop when the body is slightly shorter than the desired final length if your cord has noticeable stretch.
A common beginner mistake is making the end rows too narrow. The center may be wide, but the hammock can pinch at both ends. Keep the same number of mesh spaces across every row unless the pattern intentionally changes.
Another common mistake is pulling the turning chain too tightly. Tight turning chains can curl the edge and place extra stress on the first mesh space. Keep the turning chain loose enough to match the height of the row.
Reinforce Both Ends
The ends carry more force than the center. A hammock may look strong in the middle but fail where the net joins the suspension rope. Reinforcement is therefore one of the most important parts of learning how to crochet a hammock.
Work several firm rows at each end. You can replace the open mesh with single crochet, half-double crochet, or tightly spaced slip stitches. Then add a reinforced end band across the full width.
For a small hammock, create a row of strong loops along each end. These loops can connect to a separate rope or a wooden dowel. For a full-size hammock, do not trust a single strand of crochet cord to hold the entire load.
A safer end structure may include:
• Three to five dense crochet rows
• A separate braided rope running across the end
• Evenly spaced attachment loops
• A second row of stitches that captures the rope
• Knots or hardware placed outside the main crochet fabric
Spread the attachment points across the width. If all the force lands on one center loop, that loop may tear through the net. Several attachment points act like many small hands sharing one heavy bag.
When sewing or crocheting around the end rope, use a blunt yarn needle and pass through several stitches. Do not simply tie the cord to one chain space. That creates a weak point.

Add Suspension Ropes and Hardware
The crochet body should connect to a suspension system made for the intended load. You can use two long ropes, webbing straps, or a spreader-bar design. Webbing straps are often easier to inspect because they have a flat surface and fewer hidden knots.
For a simple setup, attach one suspension rope to each reinforced end. Use a knot suited to the rope type, or use rated hardware according to the manufacturer’s instructions. If you are not confident in your knot work, ask an experienced climber, sailor, arborist, or outdoor instructor to check it.
Do not create sharp bends in the rope. Sharp bends can reduce rope strength. Keep the rope free from rough bark, sharp metal, and hot surfaces.
The anchor points matter just as much as the hammock. Outdoor anchors should be healthy trees or engineered posts. Indoor installations should use structural framing, not just drywall or plaster.
A basic safety check includes:
• Confirming that both anchors are at the same general height
• Checking the anchor hardware for rust, cracks, or movement
• Ensuring that the rope does not rub against a sharp edge
• Keeping the suspension angle moderate rather than extremely flat
• Placing the hammock low enough for a safe exit
A very tight, flat suspension can create greater force at the anchors than many people expect. A gentle curve is usually more comfortable and places less stress on the system than pulling the hammock tight like a clothesline.
Test the Hammock Safely
Never climb into a newly finished hammock without testing it first. Testing should happen in stages, with the hammock close to the ground and a soft surface below it.
Begin with a visual inspection. Look for uneven stitches, loose ends, stretched loops, and areas where the rope cuts into the crochet fabric.
Then test it in this order:
-
Hang the hammock only a few inches above the floor or ground.
-
Place a soft mat below it.
-
Add a light object, such as a bag of books, without standing over the hammock.
-
Leave the weight in place for several minutes.
-
Inspect the stitches and end connections.
-
Increase the weight in small steps if the system remains stable.
-
Apply gentle side-to-side movement.
-
Recheck every knot, loop, and anchor.
Do not jump into the hammock. Sudden impact creates far more stress than a slow, controlled load. If the hammock is for an adult, professional review and properly rated components are wise. A handmade crochet pattern alone cannot prove that a complete suspension system is safe.
For a decorative or pet hammock, keep the test appropriate to the user. A small hammock can still cause injury if it falls from a high shelf or window.
Prevent Common Crochet Hammock Problems
Most problems come from weak materials, uneven tension, or poor end construction. Fixing these issues early is easier than repairing a finished hammock.
Watch for these common problems:
• The hammock curls at the edges: Loosen the turning chain or add a firm border.
• The body stretches too much: Use stronger cord, a smaller mesh, or a double strand.
• The end loops look thin: Add dense rows and a separate rope support.
• The net becomes wider in the middle: Count spaces and keep the same stitch pattern.
• The cord frays: Stop using it and replace the damaged section.
• The hammock twists: Check that the foundation chain was not twisted and that both ends have equal support.
• The hammock hangs too low: Shorten the suspension system only after checking the anchor height and safe clearance.
One lesson that applies to nearly every crochet hammock project is this: the prettiest stitch is not always the best stitch. A plain, even mesh with strong ends is usually better than a delicate lace design for anything that will carry weight.
Wash the hammock according to the fiber label. Avoid bleach unless the manufacturer approves it. Dry it fully before storage, and keep it away from rodents, insects, damp floors, and direct sun when it is not in use.
Crochet Hammock Ideas for Beginners
If a full-size hammock feels too ambitious, start with a smaller project. These designs let you practice mesh stitches, borders, and reinforced loops without using large amounts of cord.
Good beginner projects include:
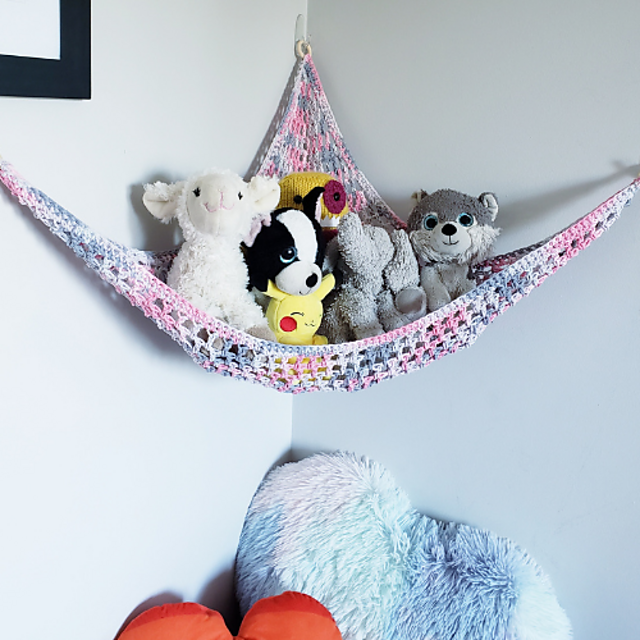
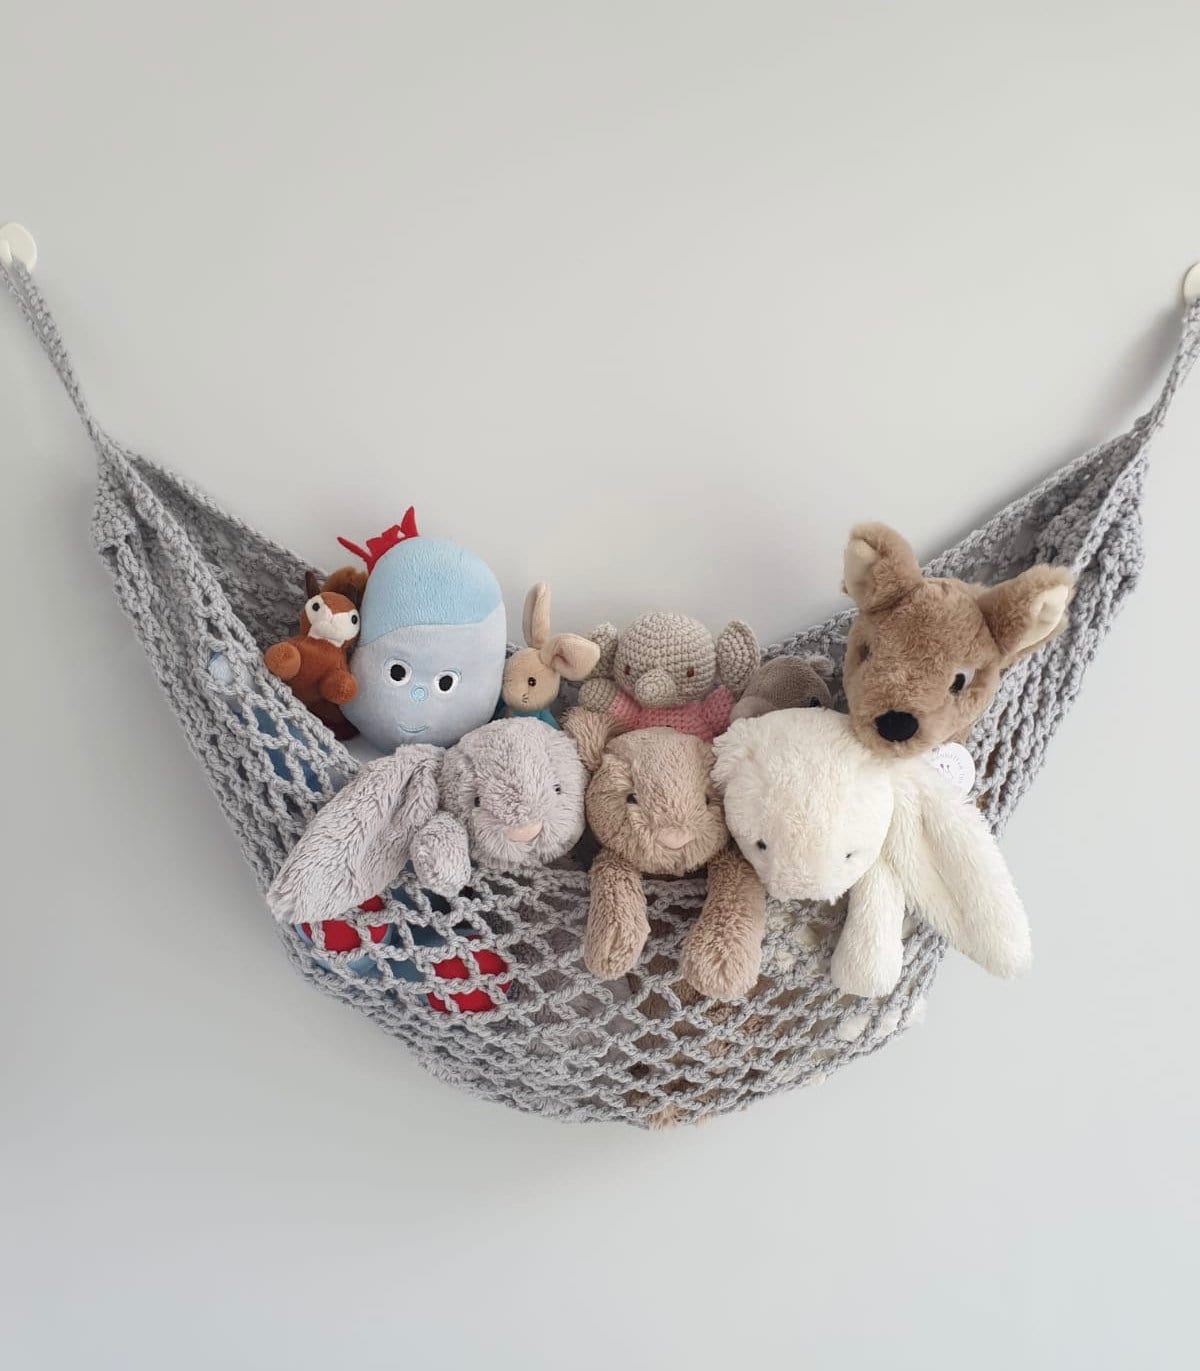
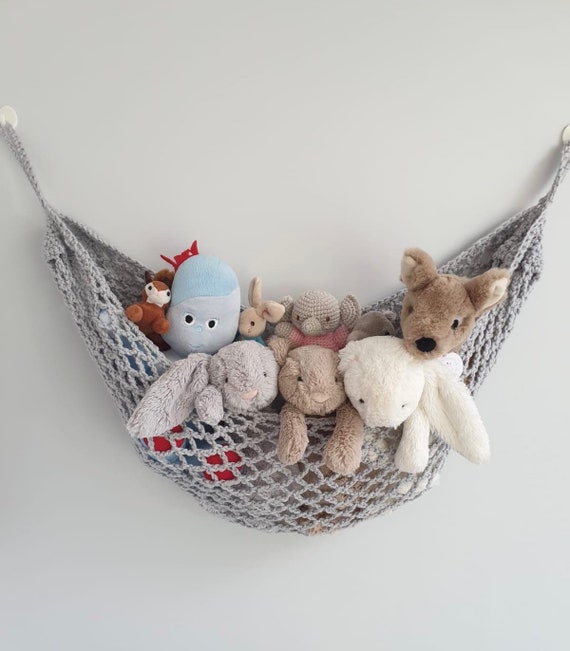
• A stuffed-animal hammock for a child’s room
• A lightweight plant sling
• A cat hammock attached to a sturdy frame
• A wall-mounted toy net
• A small footrest under a desk
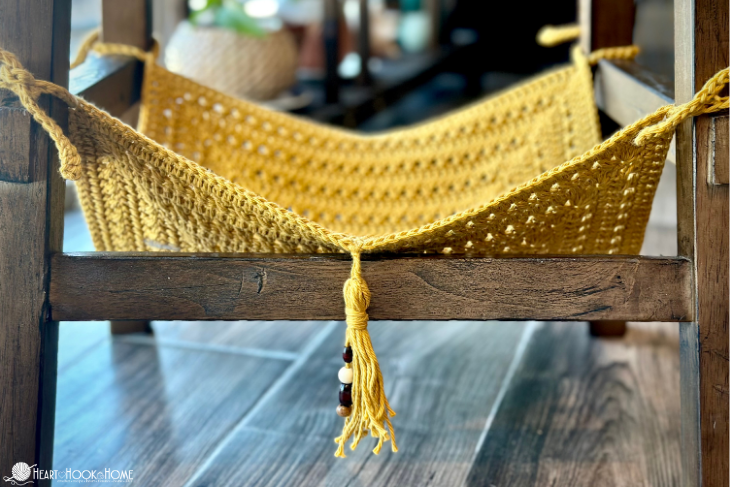
• A decorative hammock for blankets or pillows
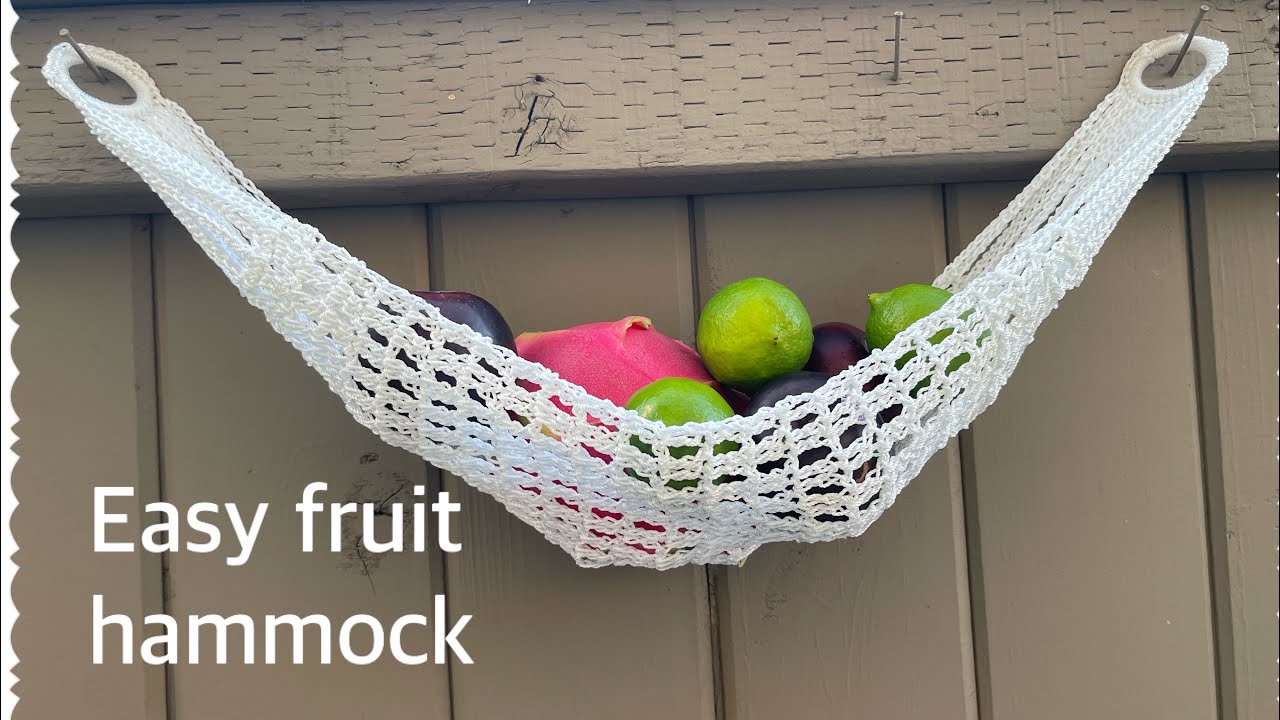
A plant hammock should use a washable cord and a secure wall hook. Keep the plant’s total weight, including wet soil and the pot, below the hardware’s rated limit. Water can make a pot much heavier than it feels when dry.
For a pet hammock, inspect the fabric often. Cats and small dogs may scratch or chew the cord. Use a dense mesh with openings that cannot trap claws or legs, and provide another safe resting place in case the hammock fails.
These smaller projects are also useful for testing color combinations. A striped hammock can use two or more colors, while a solid neutral cord gives a simple, calm look.
Frequently Asked Questions About How to Crochet a Hammock
Can a beginner crochet a hammock?
Yes, a beginner can crochet a small hammock with a basic mesh stitch. Start with a toy, plant, or light pet hammock before attempting a full-size design.
What is the best yarn for a crocheted hammock?
Strong cotton cord works well for small indoor hammocks, while outdoor polyester rope usually handles moisture and sunlight better. Ordinary soft yarn is often too stretchy or weak for a weight-bearing hammock.
How long does it take to crochet a hammock?
A small hammock may take a few hours, while a full-size hammock can take many days or weeks. The time depends on the cord thickness, hook size, mesh pattern, width, and your crochet speed.
How do I make a crochet hammock stronger?
Use strong cord, a smaller mesh, dense end rows, and a separate suspension rope. Reinforce the ends across the full width instead of attaching all the weight to one crochet loop.
Is a crochet hammock safe for adults?
It can be safe only when the entire system uses suitable materials, rated hardware, secure anchors, and careful testing. A crochet pattern by itself does not guarantee safety, so beginners should consider a commercially rated hammock for adult use.
How much cord do I need to crochet a hammock?
The amount varies widely by size, stitch pattern, cord thickness, and tension. Make a sample first, measure its cord use, and multiply that amount by the planned number of rows, then buy extra for reinforcement and suspension connections.
[CodeImg?]
We must not CodeImg FAQ. I accidentally included placeholder in draft thought. Remove. Need conclusion h2 no placeholder. Ensure no bold/italic elsewhere. Focus exact phrase count: intro, before, "When learning…", section heading, "way to crochet…" maybe exact phrase. Need 10+. We have perhaps 5. Need add exact phrase occurrences naturally. Count:
intro "Learning how to crochet a hammock"
before "When learning how to crochet a hammock"
stitch "The simplest way to crochet a hammock"
body "Once… learning how to crochet a hammock" maybe exact.
Could add in sections. Need 10+. Insert phrase in paragraphs. We'll ensure 10 total manually:
1 intro
2 before
3 materials "When you learn how…"
4 plan heading? exact phrase
5 stitch
6 body
7 reinforce
8 suspension
9 testing
10 problems
11 conclusion. Add.
Need no placeholder after FAQ. Conclusion. Let's continue from FAQ, but modify text mentally include occurrences. Current output can include prior, need final whole perhaps continue impossible edits? We can provide full final reconstructed. Token okay. Need CodeImg every h2 except FAQ/conclusion. We have sections each. Add phrase.
Let's generate final from start perhaps ~2500 tokens. Ensure no accidental h1. Conclusion CTA. Also cite credible sources without names? mention manufacturer specs, consensus. "Safety standards for playground etc" not relevant. We can say follow rated labels. Good.
Use no bold emphasis except intro. Let's craft concise.

Zayden Halbrook is a travel enthusiast and gear researcher passionate about making every journey smoother and more enjoyable. With a keen eye for practical travel essentials and real-world tips, he helps readers choose the right gear and travel smarter. When he’s not testing travel kits or exploring new destinations, Zayden shares simple, reliable advice to make every trip stress-free.