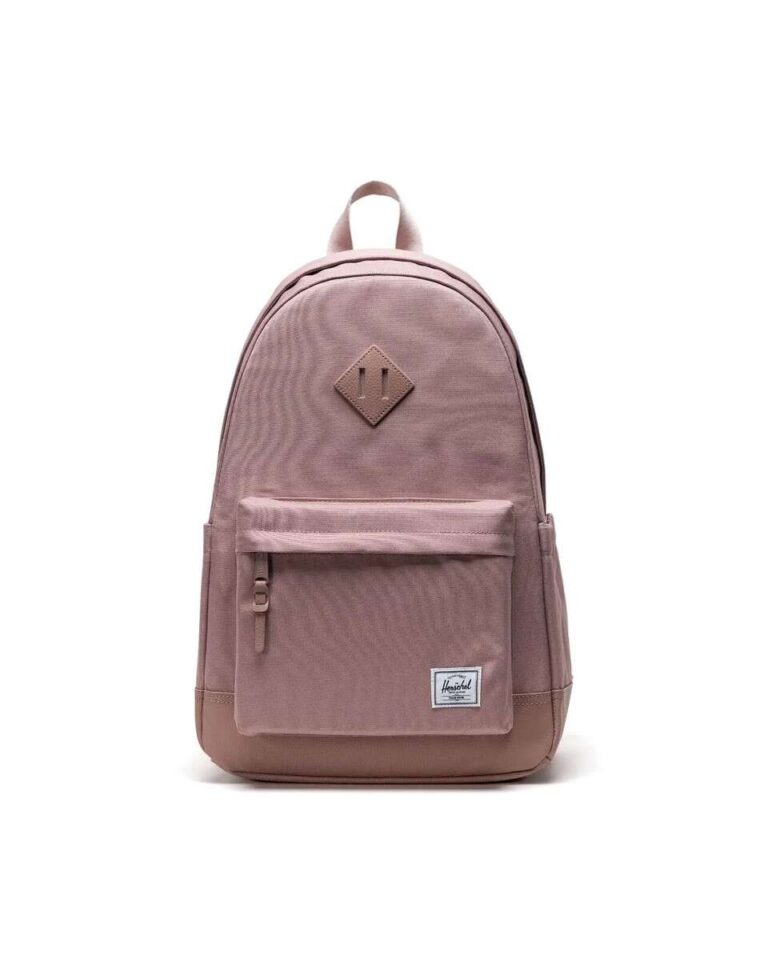
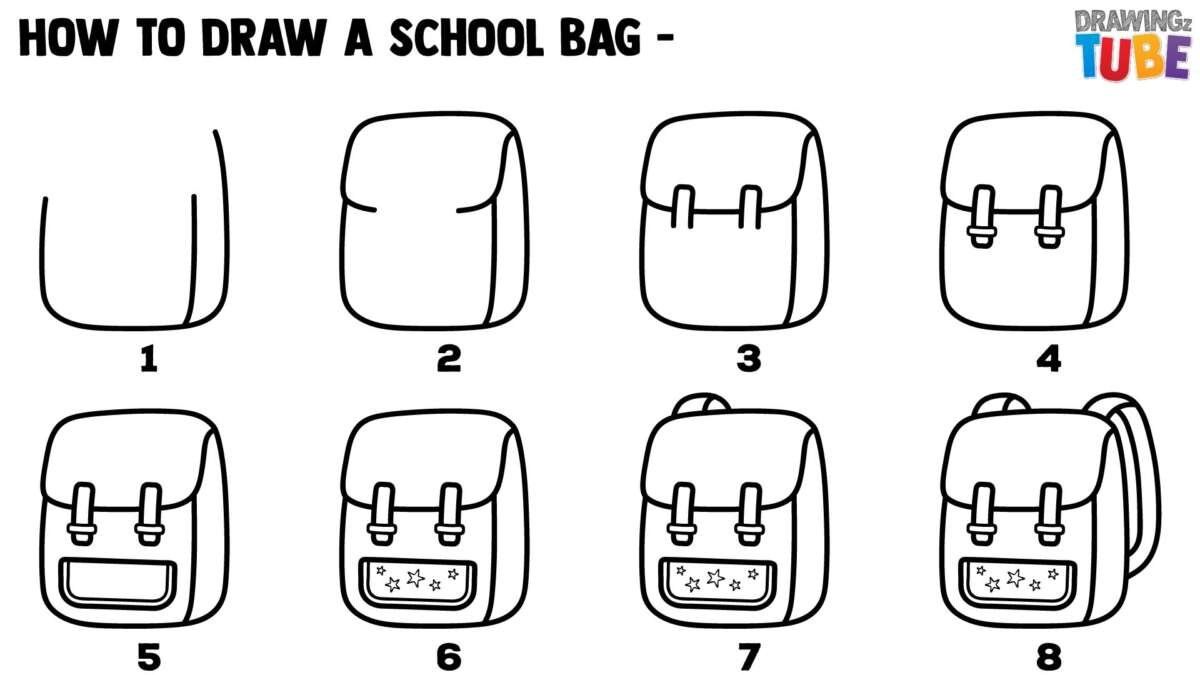
Drawing a backpack is easy when you break it into simple shapes. Start with a rounded rectangle for the main bag, add the front pocket, draw the shoulder straps, and finish with small details such as zippers and seams. This guide works well for kids, students, and beginner artists in the United States using a pencil and paper.
You do not need special art tools. A pencil, eraser, black pen, and colored pencils are enough. The key is to draw the large shapes first and add details only after the backpack’s form looks right.
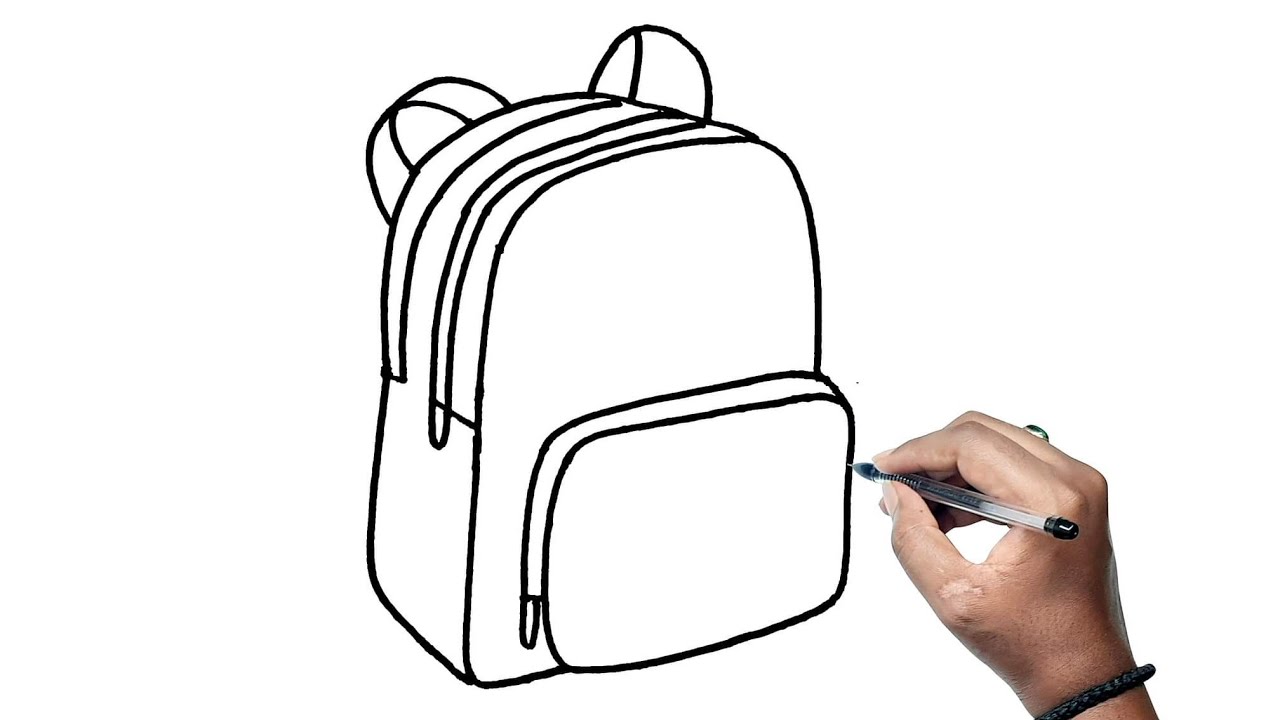
Materials You Need to Draw a Backpack
You can draw a simple backpack with common school or art supplies:
- Plain paper or a sketchbook
- A pencil
- An eraser
- A black pen or fine marker
- Colored pencils, crayons, or markers
- A ruler, if you want straight zipper lines
A pencil is best for the first sketch. It lets you fix the shape without leaving dark marks. Use a pen only after you are happy with the drawing.
Choose a paper size that gives your backpack room on every side. Standard US letter paper, which is 8.5 by 11 inches, works well. Place the paper vertically if you want to draw a tall school backpack.
A light pencil line is easier to erase. Press gently at the start. You can make the final outline darker later.
How to Draw a Backpack Easy: Step-by-Step
Follow these steps from the large shape to the small details. Do not worry about making both sides exactly equal. Small differences can make the drawing feel more natural.
Step 1: Draw the Main Backpack Shape
Begin with a large rounded rectangle. This shape is the body of the backpack.
Make the top slightly narrower than the middle. Round the bottom corners. Most backpacks are not flat boxes, so avoid sharp corners unless you are drawing a hard case.
Your first shape can look like this:
- A curved top
- Two slightly curved side lines
- A wider middle
- A rounded bottom
Keep the shape light. This is your guide, not your final outline.
Step 2: Add the Top Handle
Draw a small handle above the backpack.
The handle can look like a narrow upside-down U. Attach both ends to the top of the bag. Leave a small gap between the handle and the backpack so it looks raised.
For a simple handle:
- Start near the top-left area.
- Curve the line upward.
- Bring it down near the top-right area.
- Add a second line inside the handle.
The handle should be centered unless you are drawing the backpack from an angle.
Step 3: Draw the Front Pocket
Add a smaller rounded rectangle on the lower front of the backpack. This is the main front pocket.
Make the pocket about one-third to one-half the width of the bag. Keep it lower than the center. A pocket that is too large can make the backpack look flat.
Give the pocket a curved top. You can also make the bottom corners round. This matches the soft shape of the backpack body.
Step 4: Add the Pocket Zipper
Draw a short curved line near the top of the front pocket. This line represents the zipper.
Add a small zipper pull at one side. The pull can be a tiny rectangle, oval, or short loop.
Do not draw too many teeth. At a small size, one clean line looks clearer than many tiny marks.
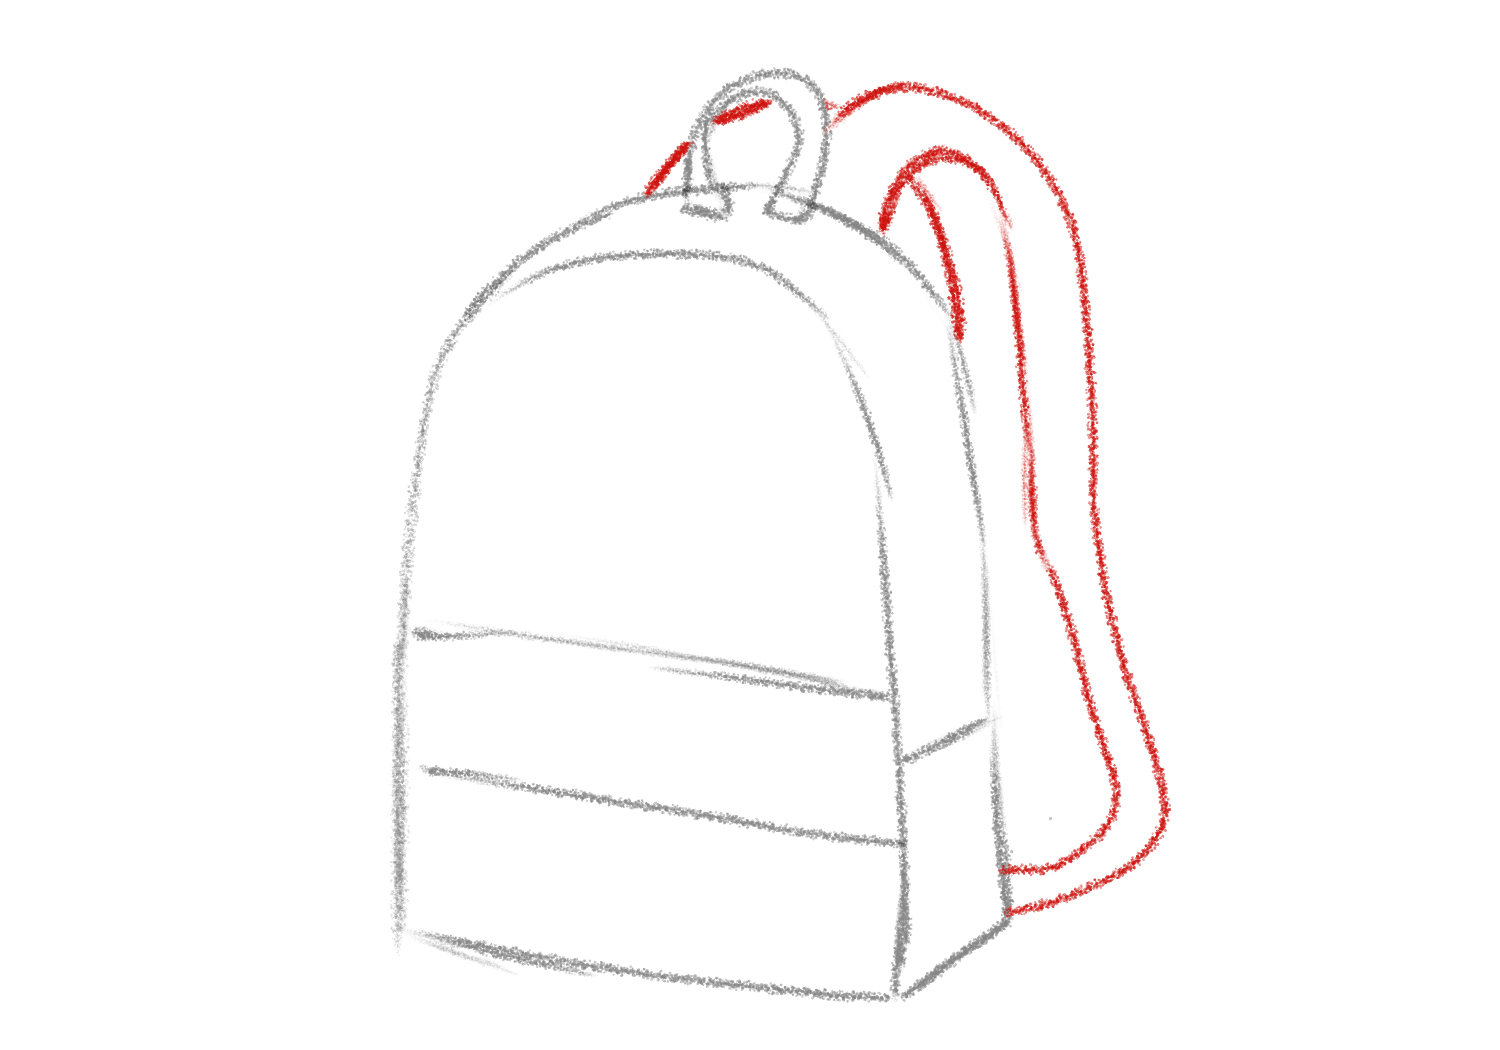
Step 5: Draw the Shoulder Straps
The shoulder straps sit behind the backpack.
Draw one strap on each side:
- Start near the upper back of the bag.
- Curve the strap outward.
- Bring it down behind the lower sides.
- Let part of each strap show beside the backpack.
The straps should be wider near the top and slightly narrower near the bottom. Keep them curved. Straight, stiff straps can make the backpack look like a box.
If you are drawing the backpack from the front, only part of each strap may be visible. This is normal.
Step 6: Add Side Pockets
Side pockets make the backpack easier to recognize.
Draw a small curved pocket on one or both sides. A water-bottle pocket may look like a half-oval or narrow pouch.
Keep side pockets close to the lower half of the backpack. Add a curved line at the top to show the opening.
You can leave them out if you want a very simple backpack drawing.
Step 7: Add Seams and Fabric Folds
Use a few curved lines to show how the backpack is made.
Useful seam lines include:
- A line around the front pocket
- A line near the top edge
- Short lines where the straps meet the bag
- A curved line near the bottom
- Small folds beside the zipper
Use only a few marks. Too many lines may make the backpack look messy.
Step 8: Add the Final Outline
Look over the sketch. Check the shape before you darken it.
Ask yourself:
- Is the backpack centered?
- Does the top handle connect to the bag?
- Do the straps sit behind the body?
- Does the front pocket follow the curve of the backpack?
- Are the details easy to see?
When the shape looks right, trace the important lines with a black pen or darker pencil. Erase extra guide lines after the ink dries.
Step 9: Color the Backpack
Choose one main color and one or two darker shades.
For example:
- Blue with dark blue straps
- Red with a dark red pocket
- Green with gray zippers
- Purple with black seams
- Yellow with orange side panels
Color in the same direction when possible. Leave a small white area near one side to create a simple highlight.
Use darker color under the pocket, near the bottom, and beside the straps. These areas would usually receive less light.

How to Make a Simple Backpack Look 3D
A backpack looks three-dimensional when its lines curve around the form. You do not need advanced shading. A few changes can help.
First, curve the top and bottom lines instead of drawing them perfectly straight. Next, make the side seams follow the outer shape. Finally, add a darker shade along one side.
Try this simple light plan:
- Keep the center of the backpack lighter.
- Darken the left or right edge.
- Add a shadow under the front pocket.
- Darken the inside of side pockets.
- Add a small highlight on the upper front.
Keep the light source on one side. If the light comes from the upper left, the lower right side can be darker.
Do not shade every section with the same dark tone. Even simple drawings look more realistic when the shadows change gradually.

Easy Backpack Drawing in Different Views
The front view is the easiest version. Once you understand the basic shape, you can try other views.
Front View
The front view shows:
- The full front panel
- The main pocket
- Both shoulder straps
- The top handle
- Side pockets, if included
This view works well for a school drawing, icon, worksheet, or beginner art project.
Side View
For a side view, draw a thinner shape.
The body may look like a curved vertical oval or a narrow rounded rectangle. Show one shoulder strap and the side pocket. The front pocket may be hidden or shown as a thin edge.
Three-Quarter View
A three-quarter view shows the front and one side.
To draw it:
- Make one side wider than the other.
- Place the center zipper slightly off-center.
- Draw the front pocket with a slanted top.
- Show one side pocket more clearly.
- Curve the straps around the back.
This view gives the backpack more depth, but it requires closer attention to proportion.
Open Backpack
To draw an open backpack, add a flap or zipper opening at the top. Show a dark interior shape inside the opening.
Keep the inside simple. A dark curved area is enough to suggest depth. You can add a notebook, lunch box, or water bottle sticking out of the bag.

Common Backpack Drawing Mistakes
Most beginner mistakes are easy to fix. Look for these problems before adding color.