
To make blind bags, choose a surprise item, wrap it in an opaque pouch, seal it, and add a fun label.
Learning how to make blind bags is a simple craft project with endless uses. You can create mystery toys, party favors, classroom prizes, collectible cards, or handmade gifts with common supplies. This guide explains the full process, from choosing safe items to designing packaging that feels exciting without wasting money.
What Are Blind Bags?
Blind bags are small, sealed packages that hide their contents until opened. The surprise may be a toy, charm, sticker, card, eraser, figure, or handmade item.
The word “blind” means the buyer cannot see which item is inside. Many blind bags use a collection theme, such as animals, food, fantasy characters, or cute mini objects.
You can make blind bags at home with paper, foil, small envelopes, or approved plastic pouches. The best method depends on your budget, the item size, and whether the bags are for children or adults.

What You Need to Make Blind Bags
You do not need expensive tools to make blind bags. Start with basic craft supplies, then add special materials as your designs improve.
Basic supplies
• Small toys, charms, stickers, cards, or other surprise items
• Opaque paper, cardstock, tissue paper, or small paper envelopes
• Scissors
• Glue stick or double-sided tape
• Ruler
• Pencil
• Markers, crayons, or colored pencils
• Stickers or printed labels
• A small bowl or tray for sorting items
Optional supplies
• A paper trimmer for straight cuts
• A small heat sealer for approved plastic packaging
• Clear plastic sleeves for display cards
• A printer
• Washi tape
• Ribbon or twine
• A hole punch
• A simple logo or collection symbol
For children’s projects, choose large items that cannot fit through a small-parts test cylinder. The U.S. Consumer Product Safety Commission treats small parts as a serious choking risk for young children, so always match the product to the intended age.
How to Make Blind Bags Step by Step
The easiest way to learn how to make blind bags is to complete one sample first. This lets you test the size, strength, and opening method before making a full collection.
1. Choose a theme
A clear theme makes your blind bags feel like part of a real collection. It also helps you choose matching colors and designs.
Good theme ideas include:
• Cute forest animals
• Mini desserts
• Space creatures
• Sea animals
• Fantasy pets
• School supplies
• Seasonal designs
• Positive message cards
Try to keep the theme narrow. “Animals” is broad, while “tiny woodland animals” gives you a stronger visual style.
2. Select the surprise items
Choose one item for each bag. You can use store-bought miniatures or make your own items from paper, felt, clay, or craft foam.
Before packing, check each item for sharp edges, loose parts, strong odors, and weak construction. If an item breaks during a simple drop test, replace it.
Make a list of every item in the collection. This prevents missing designs and helps you create a checklist for the back of the package.
3. Measure the item
Place the item on a flat surface. Measure its height, width, and depth.
Add about 1 inch to the width and height. This gives you enough room to fold and seal the pouch without crushing the surprise item.
For example, if a charm measures 2 inches wide and 2.5 inches tall, make the pouch about 3 inches wide and 3.5 inches tall.
4. Cut the wrapper
Cut two equal pieces of opaque paper. You can use colored paper, scrapbook paper, or cardstock.
For a quick pouch, cut one rectangle that is twice the height of the finished bag. Fold it in half, then seal the two side edges.
A paper wrapper is often the best choice for home crafts. It is easy to decorate, safer for many children’s activities, and simple to recycle.
5. Add the surprise item
Place one item in each wrapper. Keep the item near the center so it does not block the seal.
If the item is delicate, wrap it in a small piece of tissue paper first. Do not use too much padding, or the package may look bulky and become hard to close.
6. Seal the bag
Fold the wrapper and close the sides with glue or double-sided tape. Leave the top open until you confirm that the item fits.
Use a small amount of glue. Too much can soak through paper or make the wrapper look messy.
For a stronger seal, fold the top edge twice. You can secure it with a sticker that matches your theme.
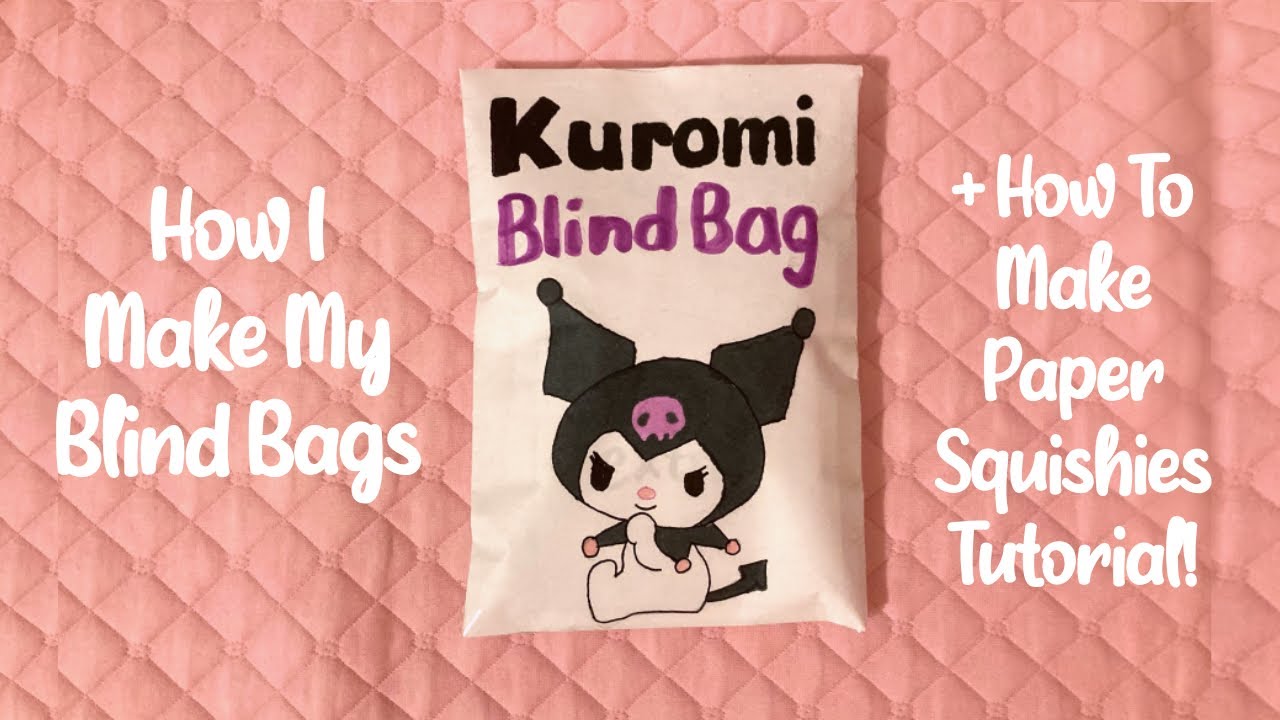
7. Decorate the outside
Add the collection name, logo, colors, and a small design. Keep the front simple so the package looks clean.
You can include phrases such as:
• “Which one will you get?”
• “Collect them all”
• “Mystery mini inside”
• “Series one”
Avoid claiming that a package contains a licensed character unless you have permission to use that character. Original art is safer and gives your collection its own identity.
8. Make a collector checklist
A checklist adds value and makes each blind bag feel like part of a series. Draw small boxes beside each item name.