Introduction
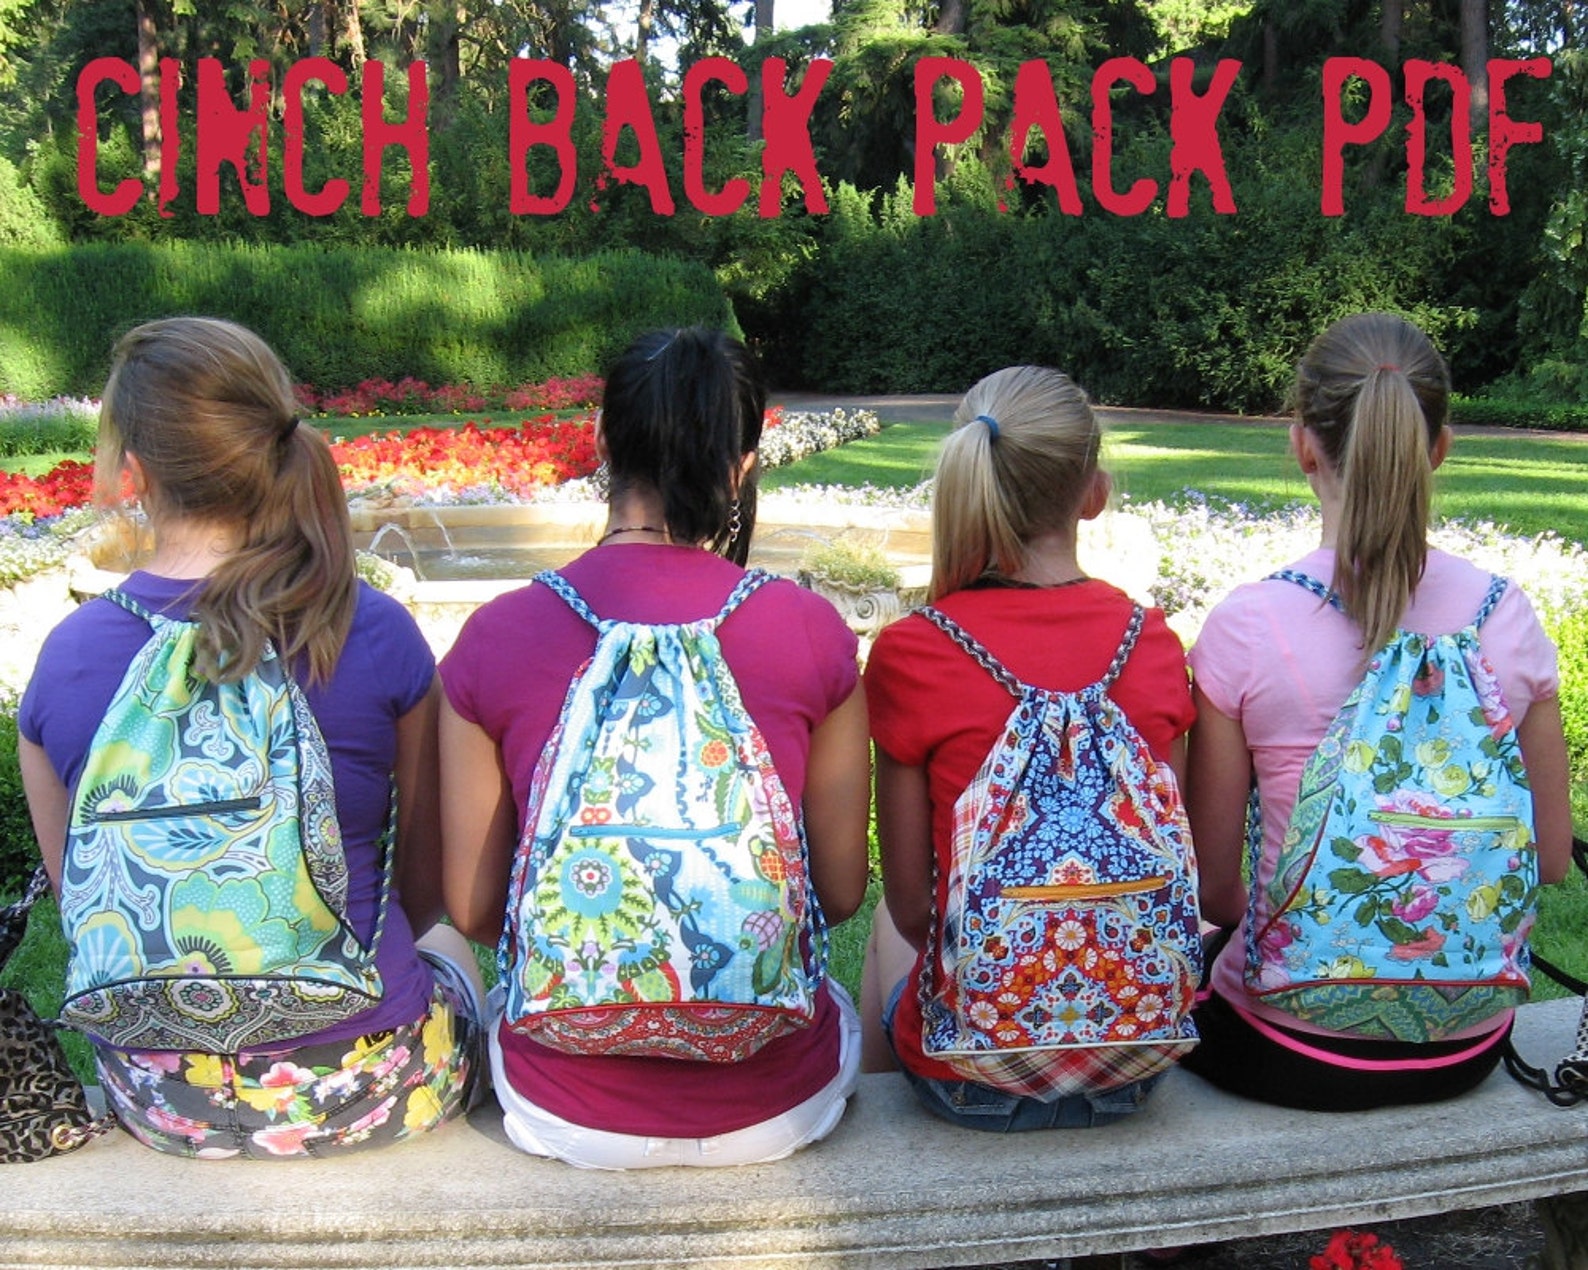
A cinch backpack is a light drawstring bag that works well for trips to a U.S. library, school, gym, park, or farmers market. You can sew one with basic tools, a small amount of fabric, and less than a yard of cord.
This guide shows how to make a simple cinch backpack with two fabric panels, a folded top channel, and reinforced cord tabs. The finished bag is about 14 inches wide by 16 inches tall, but you can change the size to fit your needs.
What Is a Cinch Backpack?
A cinch backpack is a soft bag that closes when two cords pull the top shut. The cords also act as shoulder straps. Unlike a zippered backpack, it has no stiff frame, complex pockets, or hard parts.
The design has four main parts:
- Front and back panels: The two large fabric pieces that form the bag.
- Top channels: Folded fabric sections that guide the cords.
- Cord tabs: Small fabric loops at the lower corners.
- Drawstrings: Cords that close the bag and form the straps.
This project is a good choice for a first sewing project because it uses mostly straight seams. The main skills are measuring, cutting, pressing, sewing, and threading cord.
Finished size
The sample measurements in this guide make a bag close to:
- 14 inches wide
- 16 inches tall
- About 1 to 2 inches deep, depending on the fabric and corner style
The size may vary slightly based on seam width and fabric thickness.
Supplies and Tools
You need common sewing supplies. You do not need a serger or a special backpack pattern.
| Supply | Suggested amount or size |
|---|---|
| Medium-weight woven fabric | Two pieces, 15 x 18 inches |
| Cotton cord or clothesline cord | Two pieces, 60 to 72 inches each |
| Fabric for cord tabs | Two pieces, 3 x 3 inches |
| Sewing thread | One matching spool |
| Sewing machine | Standard home machine |
| Fabric scissors or rotary cutter | One |
| Ruler or measuring tape | One |
| Fabric clips or pins | Several |
| Iron and ironing surface | One |
| Safety pin or bodkin | One |
| Seam ripper | Helpful |
| Fabric marker or chalk | Optional |
Choose the right fabric
Use a woven fabric that does not stretch much. Good choices include:
- Quilting cotton for a light bag
- Canvas for a stronger bag
- Denim for a firm bag
- Ripstop nylon for a light outdoor bag, if your machine handles it well
- Linen-cotton blends for a soft, casual bag
Avoid very loose fabric for your first attempt. It can stretch at the top and make the cord channel harder to sew.
If you use canvas or denim, choose a strong needle, such as a size made for medium or heavy fabric. Follow the needle maker’s guidance for your machine and fabric.
Pick a suitable cord
Cotton cord gives the bag a soft, natural look. Nylon cord slides well and resists moisture. Choose cord that fits through the top channel without bunching.
A cord that is too thin may cut into the fabric. A cord that is too thick may not slide freely. Test the cord through a folded strip of scrap fabric before you begin.

Plan the Size Before You cut
the finished bag will be smaller than the cut fabric because of seam allowances and the top fold.
For this guide:
- Cut each body panel 15 x 18 inches.
- Use a 1/2-inch seam allowance on the side and bottom seams.
- Fold the top edge down about 1 inch to form the cord channel.
- Expect a finished body near 14 x 16 inches.
Simple size formula
Use this formula if you want a different size:
- Panel width = finished width + 1 inch
- Panel height = finished height + 2 inches
The extra width allows for two 1/2-inch side seams. The extra height allows for the top channel and the bottom seam.
For example, to make a bag about 12 x 15 inches:
- Cut two panels at about 13 x 17 inches.
Cord length formula
A useful starting point is:
Cord length = two times the finished bag height, plus 12 to 18 inches
For a 16-inch-tall bag:
- 16 x 2 = 32 inches
- 32 + 12 to 18 inches = 44 to 50 inches
However, longer cords give more room for shoulder straps and knots. For the sample bag, use 60 to 72 inches per cord, then trim the ends after fitting.
The best length depends on the wearer, the cord thickness, and how low you want the bag to sit.

How to Make a Cinch Backpack Step by Step
1. Wash and press the fabric
Wash the fabric if it may shrink. Use the same wash method you expect to use later. Dry and press it before cutting.
This step helps prevent the finished bag from shrinking unevenly after the first wash.
2. Cut the body panels
Cut two matching rectangles:
- Two pieces at 15 x 18 inches
Mark the top edge of each panel with a small fabric mark. This helps you keep the pieces facing the right way.
If your fabric has a one-way print, make sure both panels point in the same direction before cutting.
3. Make the cord tabs
Take the two 3 x 3-inch tab pieces.
For each tab:
- Fold the fabric in half with the wrong sides together.
- Press the fold.
- Open it and fold both long edges toward the center crease.
- Press again.
- Fold the strip in half once more.
- Sew close to the open edge.
You should now have two narrow fabric strips about 1 inch wide.
Cut each strip in half. You will have four short tabs. If your fabric is thick, you can use two folded tabs instead of four separate pieces.
4. Finish the top edges
Place one body panel right side down.
At the top edge:
- Fold the raw edge down by 1/4 inch.
- Press the fold.
- Fold it down again by about 1 inch.
- Press once more.
- Stitch near the lower folded edge.
Repeat with the second panel.
Do not sew the side seams yet. The top folds are easier to make while the panels are flat.
This folded section becomes the channel for the cord.
5. Sew the side seams
Place the two body panels right sides together. Match the side edges and bottom edge.
Sew each side seam with a 1/2-inch seam allowance, but stop about 1 1/4 inches below the top folded edge.
That small opening lets the cord move from the front channel to the back channel.
Backstitch at the start and end of each seam. Press the seams open or toward the back. If the fabric frays, finish the raw edges with one of these methods:
- Zigzag stitch
- Overcast stitch
- Pinked scissors
- French seam for light fabric
Do not sew across the top opening.
6. Sew the bottom seam
Sew across the bottom with a 1/2-inch seam allowance. Backstitch at both ends.
For extra strength, sew a second line about 1/8 inch inside the first seam. This is useful if the bag will carry books, shoes, or other heavy items.
Finish the bottom seam if the fabric frays.
7. Add the cord tabs
Turn the bag right side out.
Place one tab at each lower side corner. The tab should sit over the side seam, with a small part extending below the bottom edge.
A simple placement is:
- About 1 inch above the bottom seam
- Centered over the side seam
- Extending about 1/2 inch below the lower edge
Fold each tab so it forms a loop. Clip or pin it in place.
Sew across each tab several times. A short rectangle of stitching gives better support than a single line. Use a backstitch at the start and end.
The tabs hold the cord ends. Reinforcing them now helps prevent the cord from pulling through the fabric later.
8. Thread the first cord
Attach a safety pin to one end of the first cord.
Use this path:
- Start at one side opening near the top.
- Feed the cord through the front channel.
- Exit at the opposite side opening.
- Feed the cord down to the lower cord tab.
- Tie the two ends of the cord to the two lower tabs on opposite sides.
Pull the cord gently. It should slide through the channel without catching.
A square knot works well for tying cord:
- Cross the left end over the right.
- Bring it under and pull.
- Cross the new left end over the new right.
- Bring it under and pull again.
Leave a short tail after the knot.
9. Thread the second cord
Thread the second cord through the back channel.