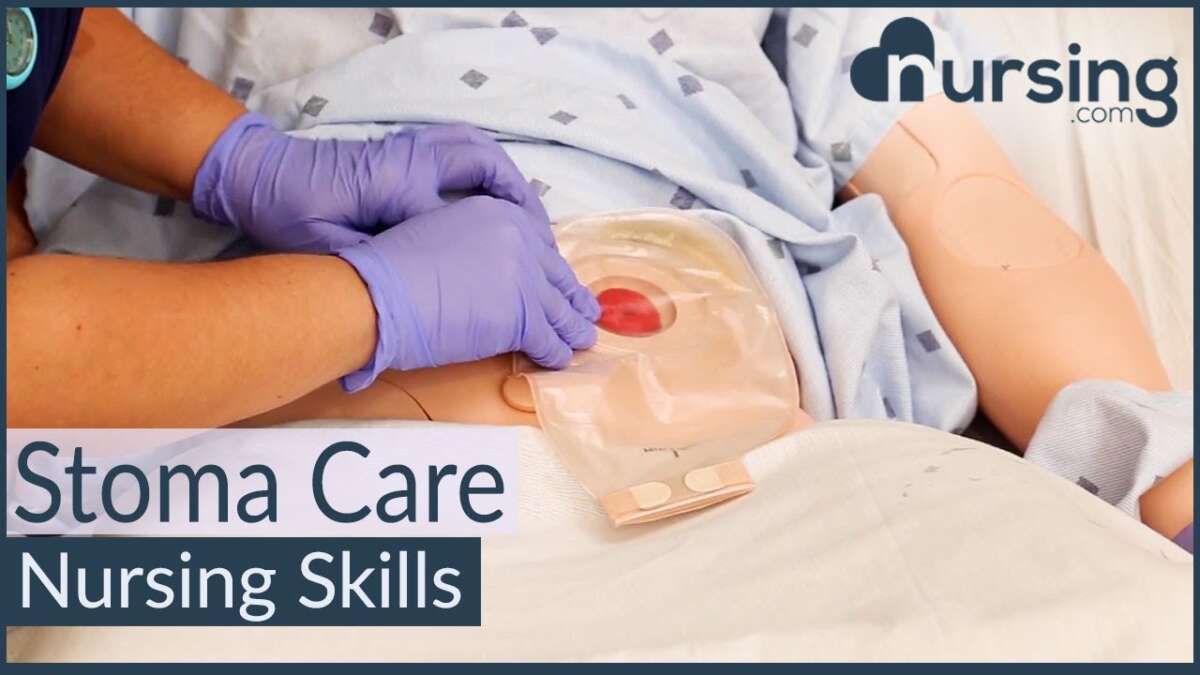
Changing a colostomy bag is a simple, safe routine with the right steps and supplies.
I’ve helped many people learn how to change a colostomy bag with calm, clear steps. I write from hands-on experience and clinical guidance. This article walks you through why colostomy care matters, step-by-step instructions, supplies, skin care, troubleshooting, and real-world tips I’ve learned over years of practice. Read on to feel confident, safe, and independent when you change a colostomy bag.

Why a colostomy exists and what a colostomy bag does
A colostomy creates an opening (stoma) in the belly to divert stool. This can be temporary or permanent. The colostomy bag collects waste and protects skin. Learning how to change a colostomy bag keeps skin healthy and prevents leaks.
A clear grasp of purpose helps you follow steps with confidence. Medical teams teach the basics. Practice and simple routines make this task quick and predictable.

Supplies you need before you change a colostomy bag
Gather supplies first. This prevents rushing and contamination.
- Colostomy bag or pouch, new and the right type for your stoma
- Skin barrier or wafer that fits the stoma
- Scissors for cutting the wafer to size
- Warm water and mild soap or approved skin cleanser
- Soft washcloths or paper towels
- Stoma measuring guide (to check wafer hole size)
- Skin barrier wipes, paste, or rings if needed
- Disposal bag for used pouch
- Gloves (optional for caregiver comfort)
- Tape or adhesive seals if extra security is needed
Having supplies ready makes learning how to change a colostomy bag less stressful. Replace supplies on a small tray for neatness.

Step-by-step: how to change a colostomy bag safely
Follow these steps in order. Short, calm steps reduce mistakes.
- Prepare the area and wash hands
- Sit or stand where lighting is good.
- Wash hands with soap and water. Dry well.
- Empty the pouch if it is not disposable
- Close the pouch end and empty into the toilet.
- Rinse lightly if the pouch allows it. Wipe dry.
- Remove the old pouch and wafer
- Loosen the adhesive gently from top to bottom.
- Support the skin with one hand as you peel the wafer away.
- Remove pouch and wafer together to reduce skin pulling.
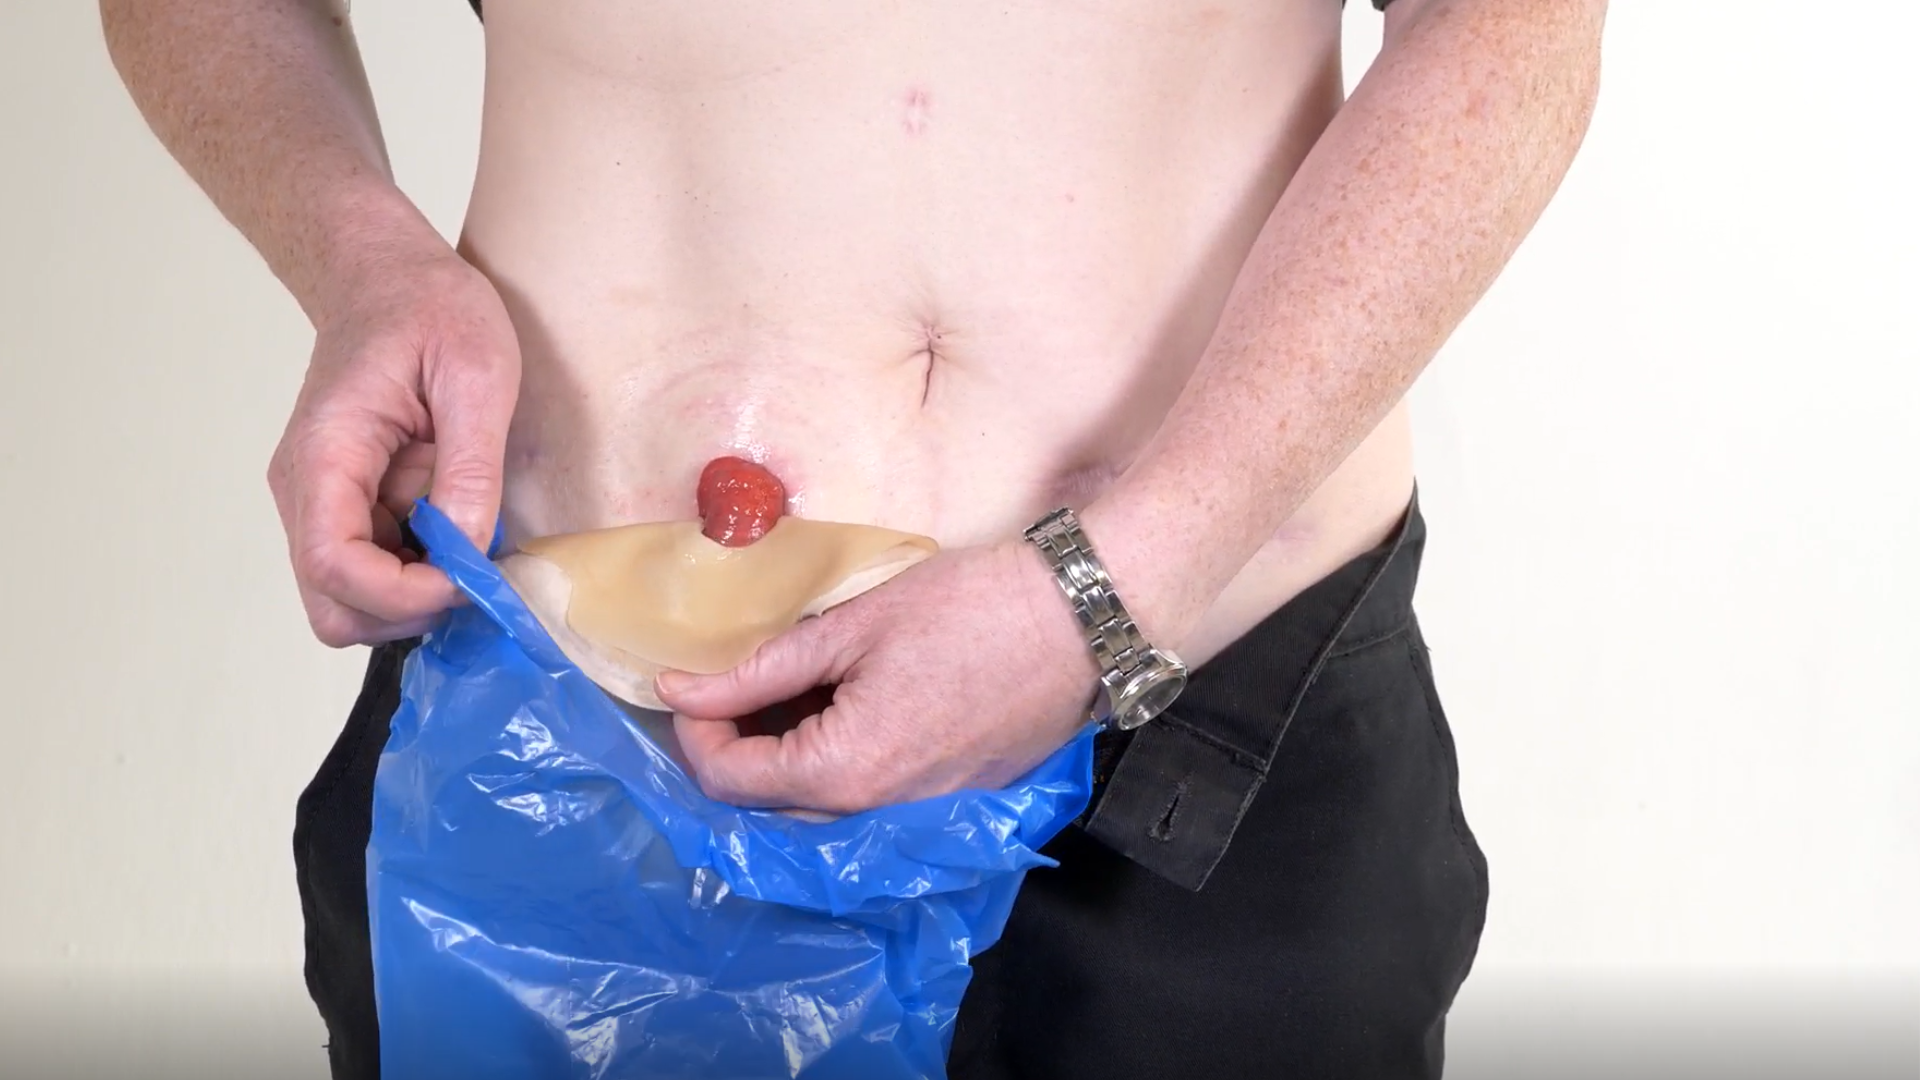
- Clean the stoma and skin
- Use warm water and mild soap or a recommended cleanser.
- Pat the area dry. Do not rub.
- Check the skin for redness, cuts, or irritation.
- Measure the stoma and cut the wafer
- Use the measuring guide. Measure stoma diameter.
- Cut the wafer hole 1/16 to 1/8 inch larger than the stoma.
- A close fit prevents leaks and protects skin.
- Apply barrier and attach new pouch
- If using barrier paste or ring, apply around the stoma now.
- Remove backing from wafer and center it over stoma.
- Press gently to seal. Hold for 30 seconds to secure.
- Attach the pouch to the wafer if using a two-piece system, or apply a one-piece pouch directly.
- Check the seal and dispose of used items
- Smooth edges and ensure the wafer sits flat.
- Dispose of the old pouch and wafer in a sealed bag.
- Wash hands again.
Practicing these steps makes changing a colostomy bag fast. Expect some trial and error at first.
Cleaning, skin care, and products that help
Healthy skin prevents pain and leaks. Keep care simple.
- Clean with warm water. Avoid alcohol or harsh cleansers.
- Pat dry. Moisture breaks down adhesive.
- Use protective wipes or sprays if skin is fragile.
- Apply skin barrier paste to fill creases or uneven areas.
If skin is red or sore, stop using products that might irritate. Speak with an ostomy nurse. Small changes in product or wafer size can fix many problems.

Troubleshooting common problems
Leaking, odor, and irritated skin are common. Quick fixes help.
- Leaks: Re-measure your stoma. Use a barrier ring or a larger wafer hole. Smooth adhesive edges.
- Odor: Empty pouch more often. Use deodorizing drops inside the pouch. Ensure seal is complete.
- Skin irritation: Check for adhesive allergy or moisture. Try different barrier products. Seek nurse advice if persistent.
- Pouch ballooning: Close vents and check for gas-producing foods. Use pouch filters when needed.
When problems persist for more than a few days, contact your care team. Persistent skin breakdown needs prompt attention.

Personal tips from experience
I remember my first time changing a colostomy bag for a patient. I hesitated, then learned to keep movements slow. I once cut a wafer too large. That caused a slow leak. I learned to always measure twice and cut once. Another tip: sit on a towel the first few times to reduce stress.
Practice builds speed. Label your supplies so guests or caregivers can help. Trust your ostomy nurse and join a peer support group. Real people share tips that matter.
When to call a healthcare professional
Call your care team if you notice:
- New or increasing stoma bleeding
- Severe skin breakdown or open sores
- Persistent leakage despite adjustments
- Signs of infection: fever, increasing pain, foul drainage
- Stoma changes color (very pale, purple, or black)
Quick calls prevent complications. Your care team expects questions and can guide product changes.
Lifestyle, travel, and daily living with a colostomy bag
You can live fully with a colostomy. Small planning helps.
- Pack an extra pouch, wafer, wipes, and a disposal bag when you travel.
- Coordinate with airport security; carry a provider note if needed.
- Wear clothing that feels comfortable. High-waist or elastic can hide a pouch.
- Diet changes may reduce gas and odor; keep a food diary to learn triggers.
Many people return to work, sports, and travel. Changing a colostomy bag becomes routine and private over time.
Frequently Asked Questions about how to change a colostomy bag
How often should I change the entire pouch?
Most people change a disposable pouch every 3 to 7 days or when the seal weakens. If the skin becomes irritated, change sooner.
Can I shower with a colostomy bag on?
Yes. Most pouches are waterproof for showering. Pat the wafer dry after a shower to keep the seal strong.
How do I prevent leaks when changing a colostomy bag?
Measure the stoma and cut the wafer to the right size. Use barrier rings and press the wafer firmly for a good seal.
Will changing a colostomy bag hurt my stoma?
No. The stoma has no nerve endings that feel pain. Removing adhesive may feel like tugging, but it should not cause sharp pain.
Can I do this alone if I am older or have limited mobility?
Yes. Many people manage independently with adaptive tools and a stable routine. An occupational therapist can suggest easier techniques.
How long does it take to change a colostomy bag once I’m practiced?
Most people take 5 to 15 minutes once they are confident. Practice and proper setup shorten the time.
Conclusion
Careful steps, the right supplies, and steady practice make how to change a colostomy bag manageable and routine. Start slow, measure accurately, and protect the skin. Reach out to an ostomy nurse when things feel unclear. You can gain confidence and independence with simple routines. Try one small improvement this week—measure your stoma and prepare a travel kit—and share your progress or questions in the comments.

Zayden Halbrook is a travel enthusiast and gear researcher passionate about making every journey smoother and more enjoyable. With a keen eye for practical travel essentials and real-world tips, he helps readers choose the right gear and travel smarter. When he’s not testing travel kits or exploring new destinations, Zayden shares simple, reliable advice to make every trip stress-free.