
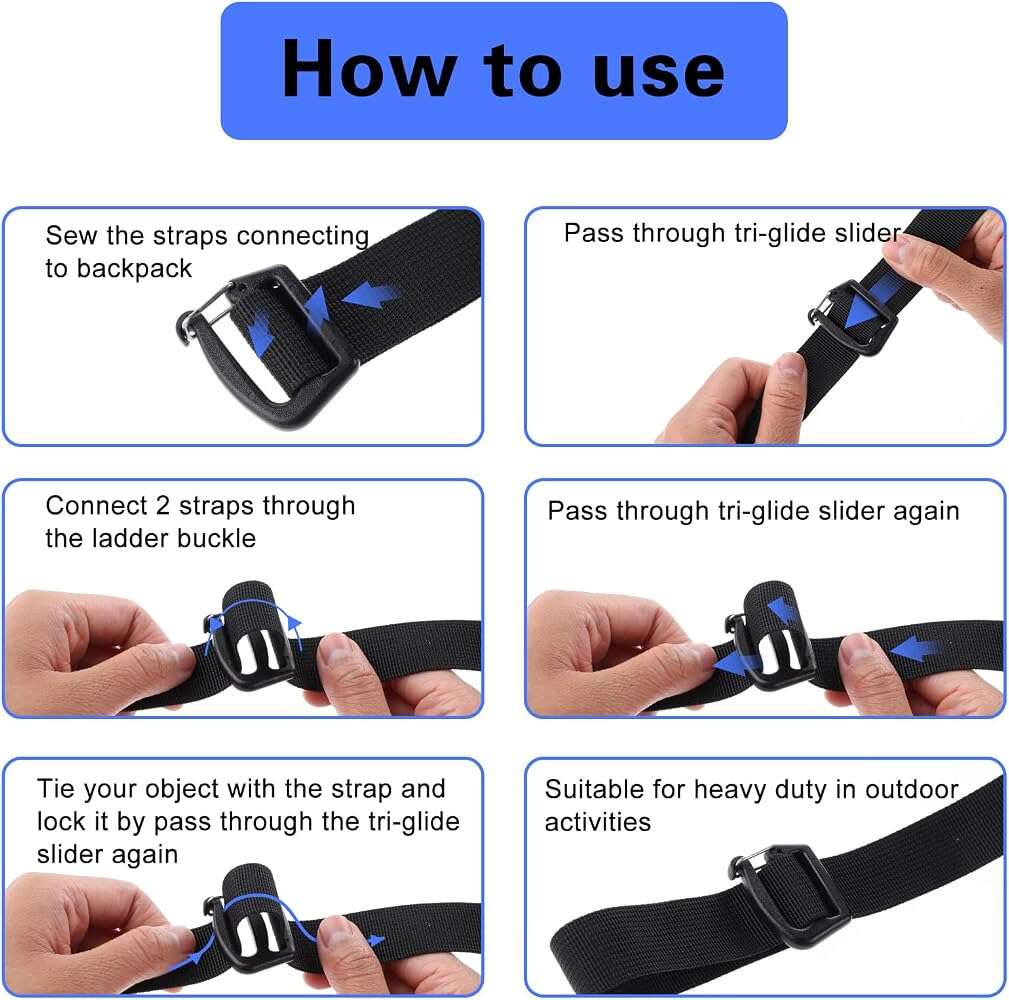
Thread a backpack strap by weaving it through the buckle slots, around the center bar, and back through the correct opening.
Learning how to thread a backpack strap takes only a few minutes, but the buckle design can make the process confusing. The right method keeps the strap secure, helps the pack sit comfortably, and prevents the webbing from slipping while you walk, hike, or travel.
Identify the Backpack Strap and Buckle
Before learning how to thread a backpack strap, inspect the strap closely. Most backpacks use flat nylon or polyester webbing with an adjustable plastic buckle called a ladder lock, tri-glide, or slider.
You may see one of these parts:
• Shoulder strap adjuster: Changes the length of the shoulder strap.
• Ladder-lock buckle: Has several openings that look like steps.
• Tri-glide slider: Has two slots and a center bar.
• Sternum strap buckle: Connects the two shoulder straps across your chest.
• Hip-belt buckle: Uses a side-release buckle and may have separate adjustment points.
A backpack strap usually has one end sewn into the bag and one loose end. The loose end passes through the adjuster. The stitched end helps you understand the correct direction of the strap.
If one side of the backpack is still threaded, use it as your guide. This is the easiest and safest method because many buckles look similar but use slightly different threading patterns.

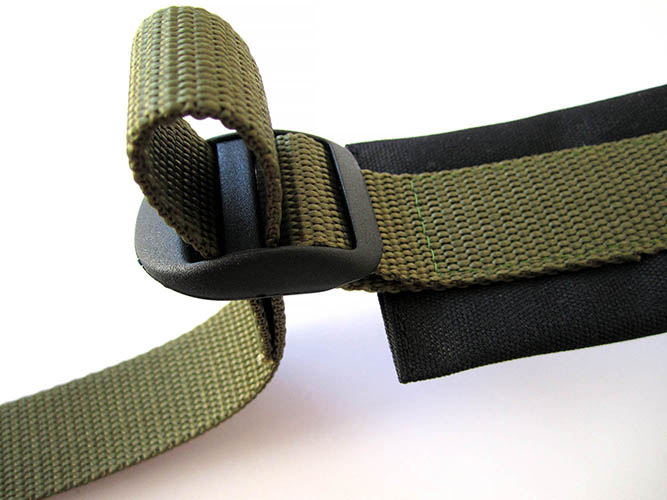
How to Thread a Backpack Strap Through a Ladder-Lock Buckle
A ladder-lock buckle is common on school bags, hiking packs, camera bags, and travel backpacks. It often has three openings and a raised center bar.
Follow these steps:
-
Hold the backpack so the front faces away from you.
-
Find the loose end of the shoulder strap.
-
Turn the strap so the smooth side faces outward.
-
Push the loose end through the lower opening of the buckle.
-
Pull the strap over or around the center bar.
-
Feed the strap back through the upper opening.
-
Pull the loose end until the strap lies flat.
-
Slide the buckle to adjust the length.
The webbing should form a simple loop around the center bar. When you pull the shoulder strap, the buckle should grip the webbing rather than release it.
A useful test is to pull down firmly on the strap. If the webbing slips easily, it is likely passing over the wrong part of the buckle. Remove it and copy the path used by the opposite strap.
Do not twist the webbing as you thread it. A twist can create a pressure point on your shoulder and may reduce the buckle’s grip.
How to Thread a Backpack Strap Through a Tri-Glide Slider
A tri-glide slider has two slots separated by a center bar. It is often used on simple backpacks, duffel bags, laptop bags, and replacement shoulder straps.
Here is how to thread a backpack strap through a tri-glide slider:
-
Hold the tri-glide with the center bar facing you.
-
Insert the loose strap end through the first slot.
-
Bring the strap over the center bar.
-
Feed the strap down through the second slot.
-
Pull the strap tight to create a flat, secure loop.
-
Leave at least 2 to 3 inches of strap beyond the slider.
The strap should travel in an “over, around, and back” pattern. The center bar acts like a small anchor. Friction between the webbing and the buckle keeps the strap from moving under normal use.
Some tri-glide sliders require the strap to pass under the center bar first. If the strap does not lock after you pull it, reverse the path and test it again. The correct path is the one that holds firm when the strap carries weight.
Avoid leaving only a tiny tail beyond the buckle. A short tail can pull through the slider when you lift a heavy bag.

How to Thread a Backpack Strap After It Comes Loose
A backpack strap can come loose when the bag is overfilled, the strap is adjusted quickly, or the buckle is turned sideways. The repair is usually simple if the webbing and buckle are not damaged.
First, empty the backpack. A lighter bag is easier to hold and prevents extra force on the strap while you work.
Next, examine the buckle and webbing:
• Check for cracks in the plastic.
• Look for frayed edges or torn stitching.
• Confirm that the buckle is not bent.
• Find the original direction of the strap.
• Compare the loose side with the intact side.
Then thread the loose end through the buckle using the same path as the intact strap. Pull the webbing slowly and make sure it lies flat at every turn.
After threading, test the repair with a light load. Add a few books or clothes, lift the bag by the top handle, and check whether the strap moves. If it stays in place, increase the load gradually.
Never trust a cracked buckle on a heavy hiking pack. A replacement buckle may be inexpensive, but a sudden strap failure can cause the bag to fall or create a trip hazard.
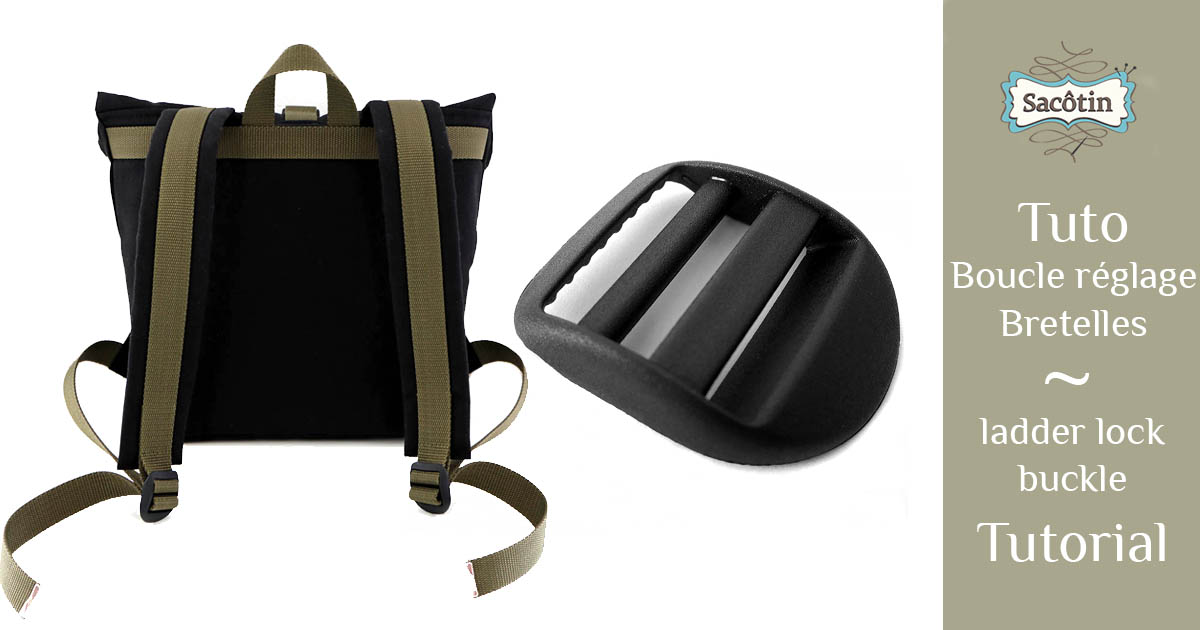
How to Adjust a Threaded Backpack Strap
Once you know how to thread a backpack strap, you also need to adjust it correctly. A strap that is too loose can make the backpack swing. A strap that is too tight can press on your neck and shoulders.
For an everyday backpack, adjust both shoulder straps evenly. The bottom of the bag should sit near your lower back, not far below your hips.
Use this simple fit check:
• The shoulder straps should touch your shoulders without digging in.
• The backpack should sit close to your back.
• The top of the bag should not lean far away from your body.
• You should be able to slide one or two fingers under each strap.
• The sternum strap should rest across your chest, not your throat.
For hiking backpacks, start with the hip belt. It should sit around the hip bones and carry much of the pack’s weight. Then tighten the shoulder straps until they feel supportive, followed by the load-lifter straps near the shoulders.
After adjustment, keep the loose strap ends tidy. You can place them through elastic keepers or roll them gently. Do not tie tight knots in adjustment webbing because knots can make future adjustments difficult and may weaken the strap.
