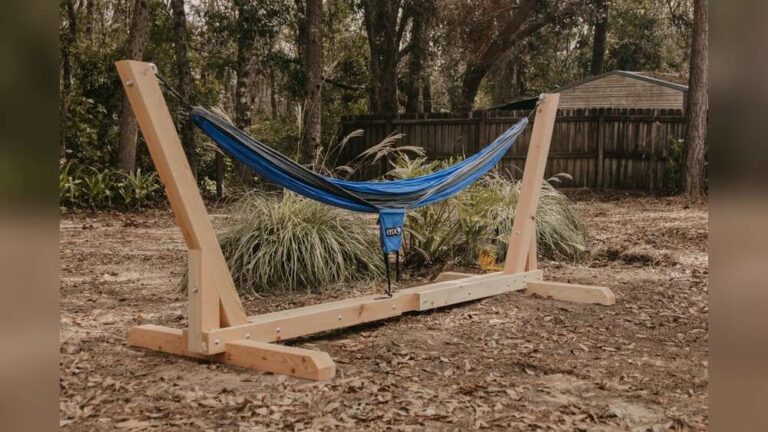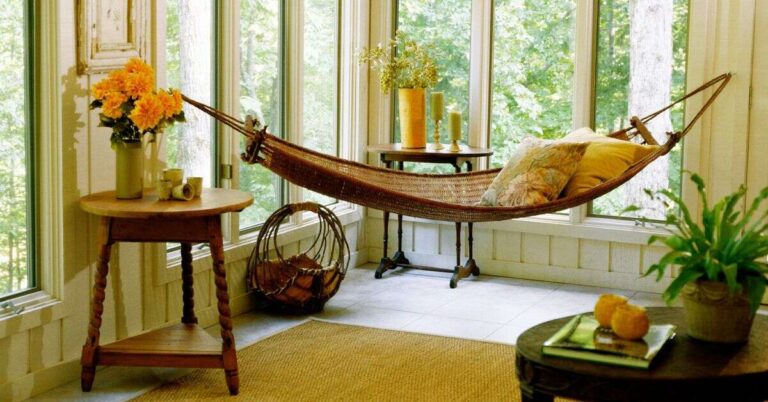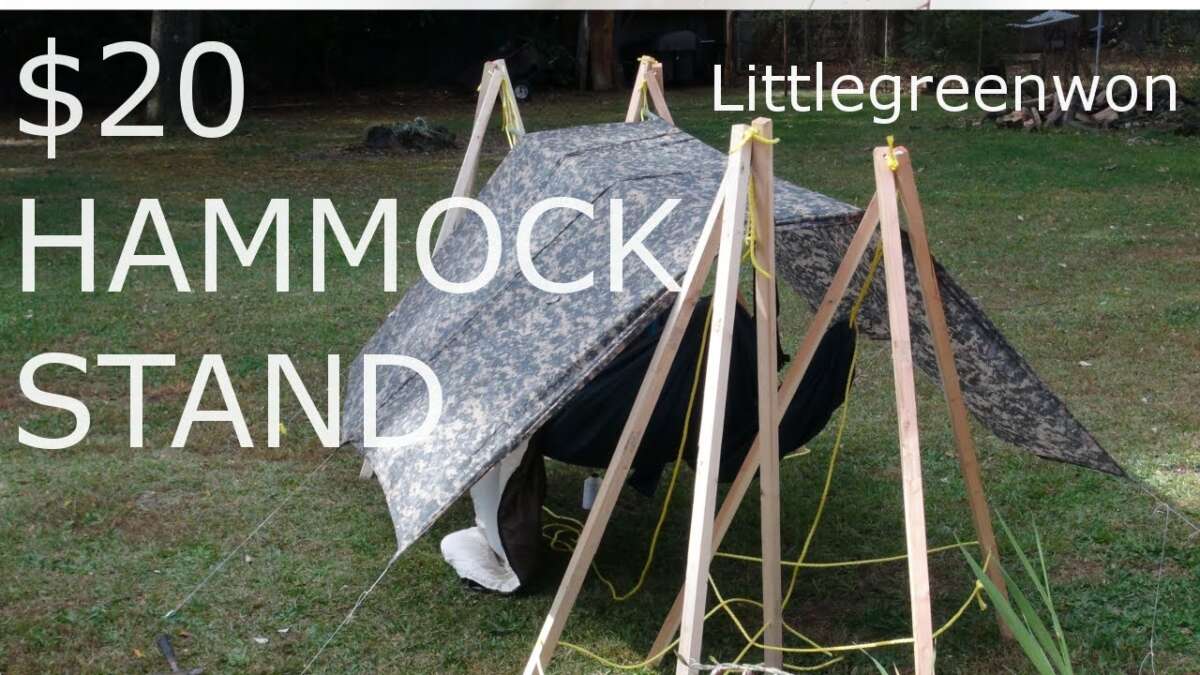
Do it yourself hammock stand plans help you build a strong, movable rest spot with common tools and lumber.
A hammock stand is a smart choice when your yard lacks two well-spaced trees. With the right dimensions, strong joints, and a careful safety check, you can build a stand that is stable, attractive, and easy to move. This guide explains do it yourself hammock stand plans in clear steps, from choosing materials to testing the finished frame.

Why Build a DIY Hammock Stand?
A homemade hammock stand gives you more freedom than a fixed tree setup. You can place it on a patio, lawn, deck, or screened porch. You can also move it when the sun shifts or store it during storms.
The main benefits include:
• Lower cost than many ready-made stands
• A design that fits your hammock
• The option to use wood, steel, or both
• Easy repairs and future upgrades
• A satisfying weekend building project
The biggest advantage is control. Store-bought stands often come in fixed sizes. Do it yourself hammock stand plans let you adjust the length, height, and finish to suit your space.
A strong stand should feel firm when you sit down. It should not twist, slide, or lift at the feet. Good planning matters more than fancy decoration.
Choose the Right Hammock Stand Design
Most do it yourself hammock stand plans use one of three basic designs. Each style has strengths and limits.
Wooden A-frame stand
An A-frame uses two sloped end supports joined by long rails. It is one of the simplest designs for new builders.
Advantages include:
• Simple cuts
• Easy assembly
• Low material cost
• A classic outdoor look
The feet must be wide enough to resist tipping. Add diagonal braces if the frame feels loose.
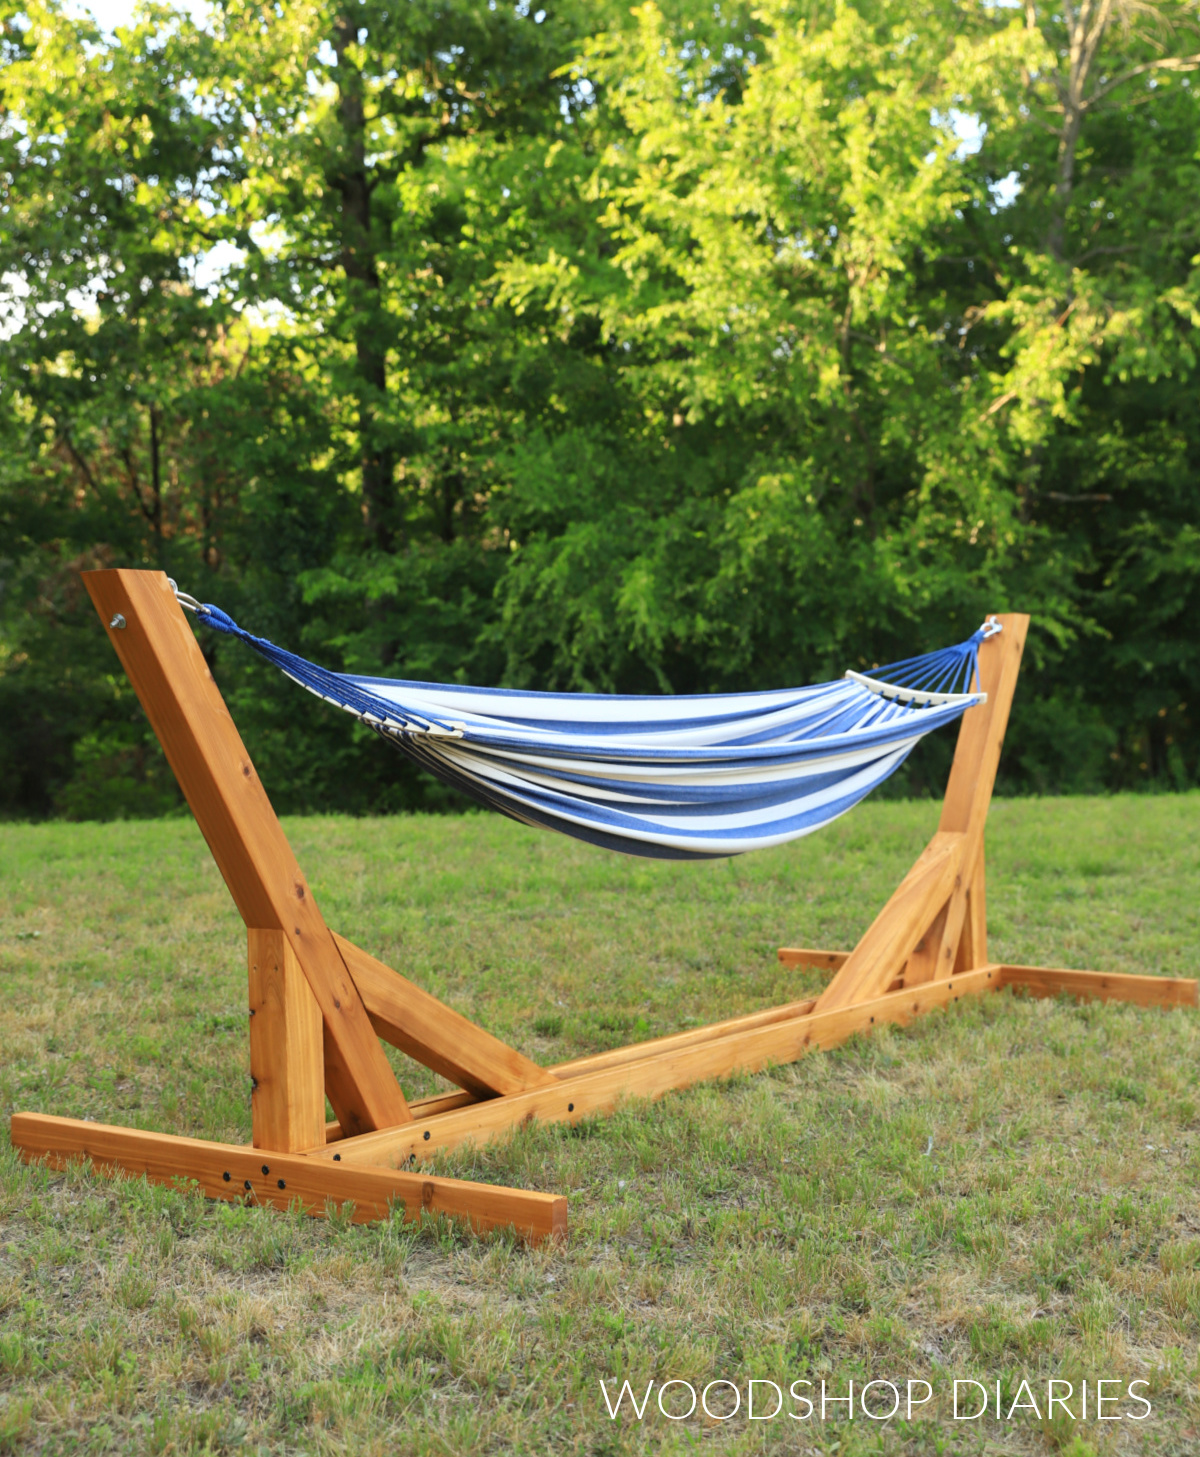
Wooden curved or angled stand
This design uses longer side beams with angled ends or curved supports. It often looks more polished than a plain A-frame.
It may need more careful cutting. It also uses more lumber, so measure twice before making the first cut.
Metal pipe stand
Steel or galvanized pipe can create a strong, modern frame. Metal stands are useful when you want a thinner profile or a design that comes apart for storage.
Pipe stands need secure threaded fittings, strong bolts, or proper welding. Do not rely on friction alone. A loose pipe joint can fail without much warning.
For most first-time builders, wooden do it yourself hammock stand plans are the easiest place to start. They require fewer special tools and make it simple to see whether each joint is secure.

Measure Your Hammock Before You Build
Never begin with a standard size and hope it works. Measure your hammock first.
Lay the hammock flat or stretch it between two temporary supports. Measure the distance between the suspension points. This measurement is called the hammock length.
A typical stand should be longer than the hammock by about 2 to 3 feet. This gives the fabric room to hang in a natural curve.
Use this basic guide:
• Hammock length of 10 feet: Build a stand about 12 to 13 feet long
• Hammock length of 12 feet: Build a stand about 14 to 15 feet long
• Hammock length of 14 feet: Build a stand about 16 to 17 feet long
The exact size depends on the hammock style. A spreader-bar hammock often needs a different height than a gathered-end hammock.
For a gathered-end hammock, the suspension points are often about 4 to 5 feet above the ground. The hammock should hang low enough for easy entry but high enough to avoid touching the ground when occupied.
A useful starting point is the 30-degree hanging angle. When the hammock is loaded, each end should slope gently downward. A very flat hammock creates more pull on the stand and hardware.
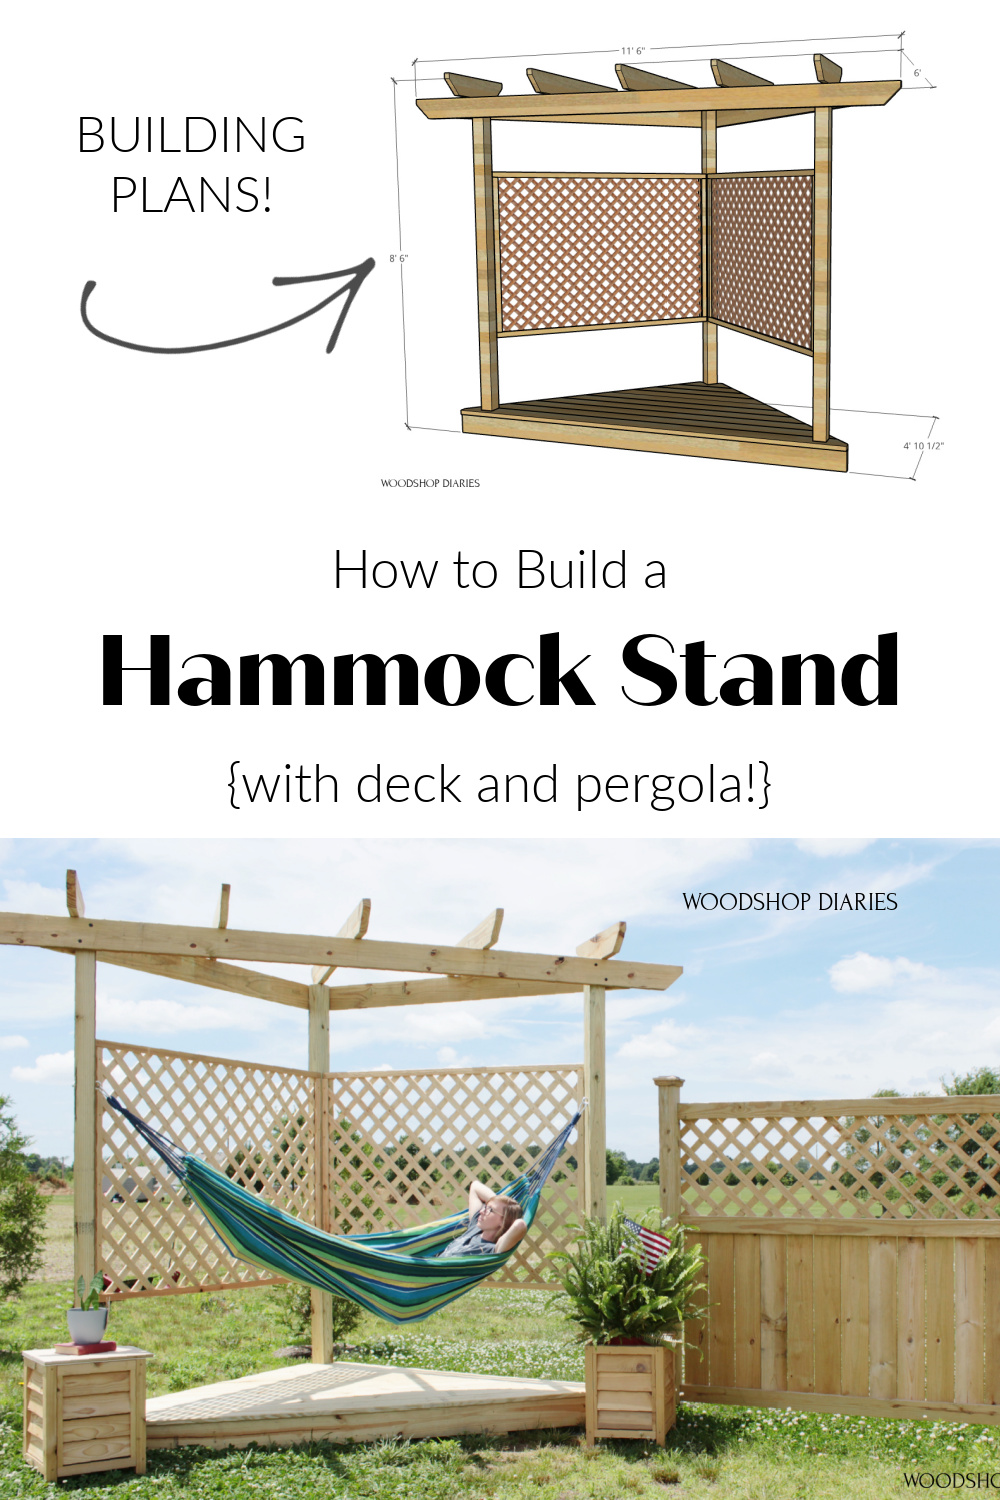
Materials and Tools for Wooden Plans
A basic wood stand can be built with common outdoor materials. Use lumber that is straight, dry, and free from large cracks.
A practical material list may include:
• Two 4-by-4 posts for end supports
• Two 2-by-6 or 2-by-8 side rails
• Four 2-by-4 braces
• Exterior-rated structural screws
• Galvanized bolts, washers, and nuts
• Heavy-duty hammock hooks or eye bolts
• Exterior wood sealer or paint
• Rubber feet or ground pads
Avoid using indoor screws. They may rust or lose strength outdoors. Galvanized or stainless steel hardware is a better choice.
Useful tools include:
• Tape measure
• Carpenter’s square
• Pencil
• Circular saw or miter saw
• Drill and drill bits
• Socket set or wrench
• Clamps
• Level
• Sandpaper
Use pressure-treated lumber when the stand will stay outdoors. Cedar and redwood resist decay, but they may split if you over-tighten fasteners. Seal all cut ends to slow moisture entry.
The National Design Specification for Wood Construction treats connections as a key part of structural safety. That principle applies here: strong lumber cannot make up for weak bolts or poor joints.
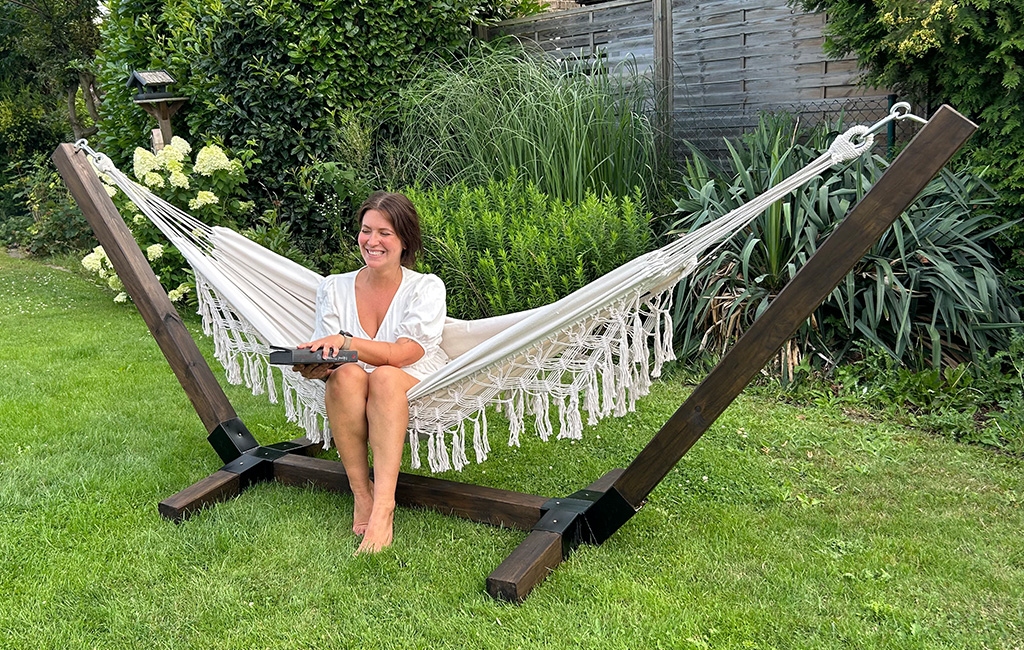
A Simple DIY Hammock Stand Plan
This basic plan suits a 12-foot hammock and creates a stand about 14 feet long. Adjust the length after checking your own hammock.
Suggested dimensions
• Overall length: 14 feet
• End support height: About 5 feet
• Base width at each end: About 4 feet
• Side rail size: Two 2-by-6 boards
• Brace size: Four 2-by-4 boards
These dimensions are a starting point, not a universal engineering plan. The weight rating depends on the wood, fasteners, soil, and joint design.
Cut the main parts
Cut two long side rails to the desired stand length. Cut four legs so each pair forms a stable end support. Cut four braces to connect the legs to the side rails.
Mark every cut with a square. A slightly uneven cut can make the stand rock.
Build the end frames
Place two legs on a flat surface. Spread their feet until the base is about 4 feet wide. Clamp the pieces before drilling.
Add a top crosspiece between the legs. Use through-bolts with washers when possible. Bolts provide a more reliable connection than screws alone.
Repeat the process for the second end frame. Check that both frames match before attaching the rails.
Attach the side rails
Position the long rails between the end frames. Keep the rails level and centered.
Drill pilot holes first. Then install structural screws or bolts through the rails and into the end frames. Add washers where bolts pass through the wood.
Do not place all fasteners in one straight line. Staggering them reduces the chance of splitting.
Add diagonal braces
Braces reduce side-to-side movement. Install one brace on each side of both end frames.
A brace should connect a leg to the side rail or crosspiece. Keep the brace ends tight against the wood. Gaps can allow the joint to shift under load.
Install the hammock hardware
Use hardware made for suspended loads. A large eye bolt, hammock hook, or rated hanging plate is usually better than a simple screw eye.
Drill through the support and secure the eye bolt with a washer and nut. Place the hardware where the hammock hangs without rubbing against sharp edges.

How to Assemble the Stand Safely
Build the stand on level ground. A frame that looks stable on a flat garage floor may rock on grass or pavers.
Follow these steps:
-
Lay out all parts and check the measurements.
-
Assemble both end frames.
-
Confirm that each frame sits flat.
-
Attach the long side rails.
-
Install the diagonal braces.
-
Tighten every bolt and screw.
-
Check the frame with a level.
-
Sand sharp corners and exposed edges.
-
Apply outdoor finish or sealant.
-
Attach the hammock and test it slowly.
Do not fully tighten every joint until the frame is square. Lightly tighten the parts first, make small adjustments, and then secure them.
The stand should sit evenly on all feet. If one foot floats above the ground, add a properly sized pad rather than forcing the frame into place.
Avoid placing the stand near stairs, glass doors, fire pits, pools, or hard stone edges. A fall from a hammock is usually low, but the landing surface still matters.
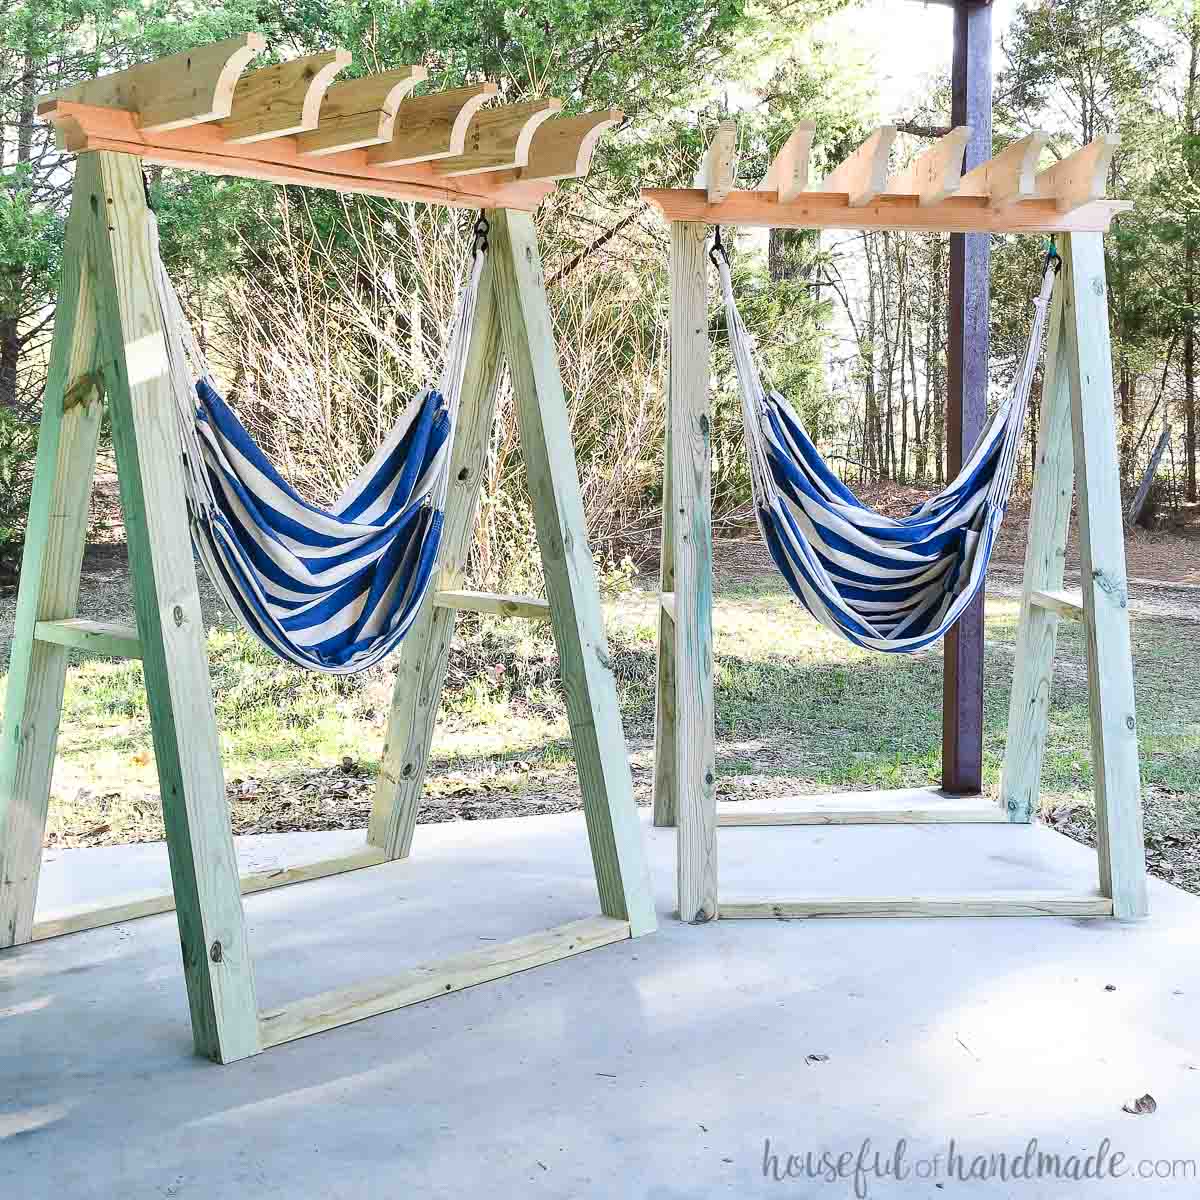
How to Test a Homemade Hammock Stand
Testing is one of the most important parts of do it yourself hammock stand plans. Do not climb in immediately after assembly.
Start with a light test. Press down on the hammock with your hands. Watch the legs, bolts, and hanging points.
Then add weight in stages:
• Place a heavy bag in the center
• Add more weight slowly
• Look for movement, cracks, or bending
• Check whether the feet slide
• Inspect all joints again
After the first test, sit in the hammock near the center. Keep one foot close to the ground so you can step out quickly.
A stand should not make sharp cracking sounds. Stop at once if you see splitting wood, bent hardware, lifted feet, or a joint that opens under load.
Check the stand again after several uses. Outdoor wood can shrink, swell, and loosen hardware as the weather changes.
The U.S. Consumer Product Safety Commission regularly advises consumers to inspect outdoor products for damage and instability. While hammock stands vary by design, the same habit is wise here: inspect before use.

Common Mistakes to Avoid
Many failed builds are not caused by the main design. They come from small details.
Using weak hardware
A small eye screw may look strong but can pull out under changing loads. Use hardware with a suitable working load and install it through the wood when the design allows.
Building too short
A short stand forces the hammock into a steep curve. It may also make the hammock sit too close to the floor.
Skipping diagonal braces
Without braces, the frame may sway from side to side. This movement places extra stress on bolts and joints.
Ignoring the ground
Soft soil can allow one foot to sink. Place the stand on firm ground or use wide pads to spread the load.
Over-tightening bolts
Tight hardware is good. Crushed wood is not. Stop when the washer sits firmly against the lumber without deeply cutting into it.
Leaving cut ends unsealed
Water enters end grain quickly. Seal every fresh cut, especially on pressure-treated, cedar, or pine lumber.
Using a damaged hammock
A strong stand cannot fix worn fabric or frayed suspension straps. Inspect the hammock as carefully as the frame.
One lesson repeated by experienced builders is simple: stability comes from the whole system. The wood, joints, ground, hammock, and user weight all work together.
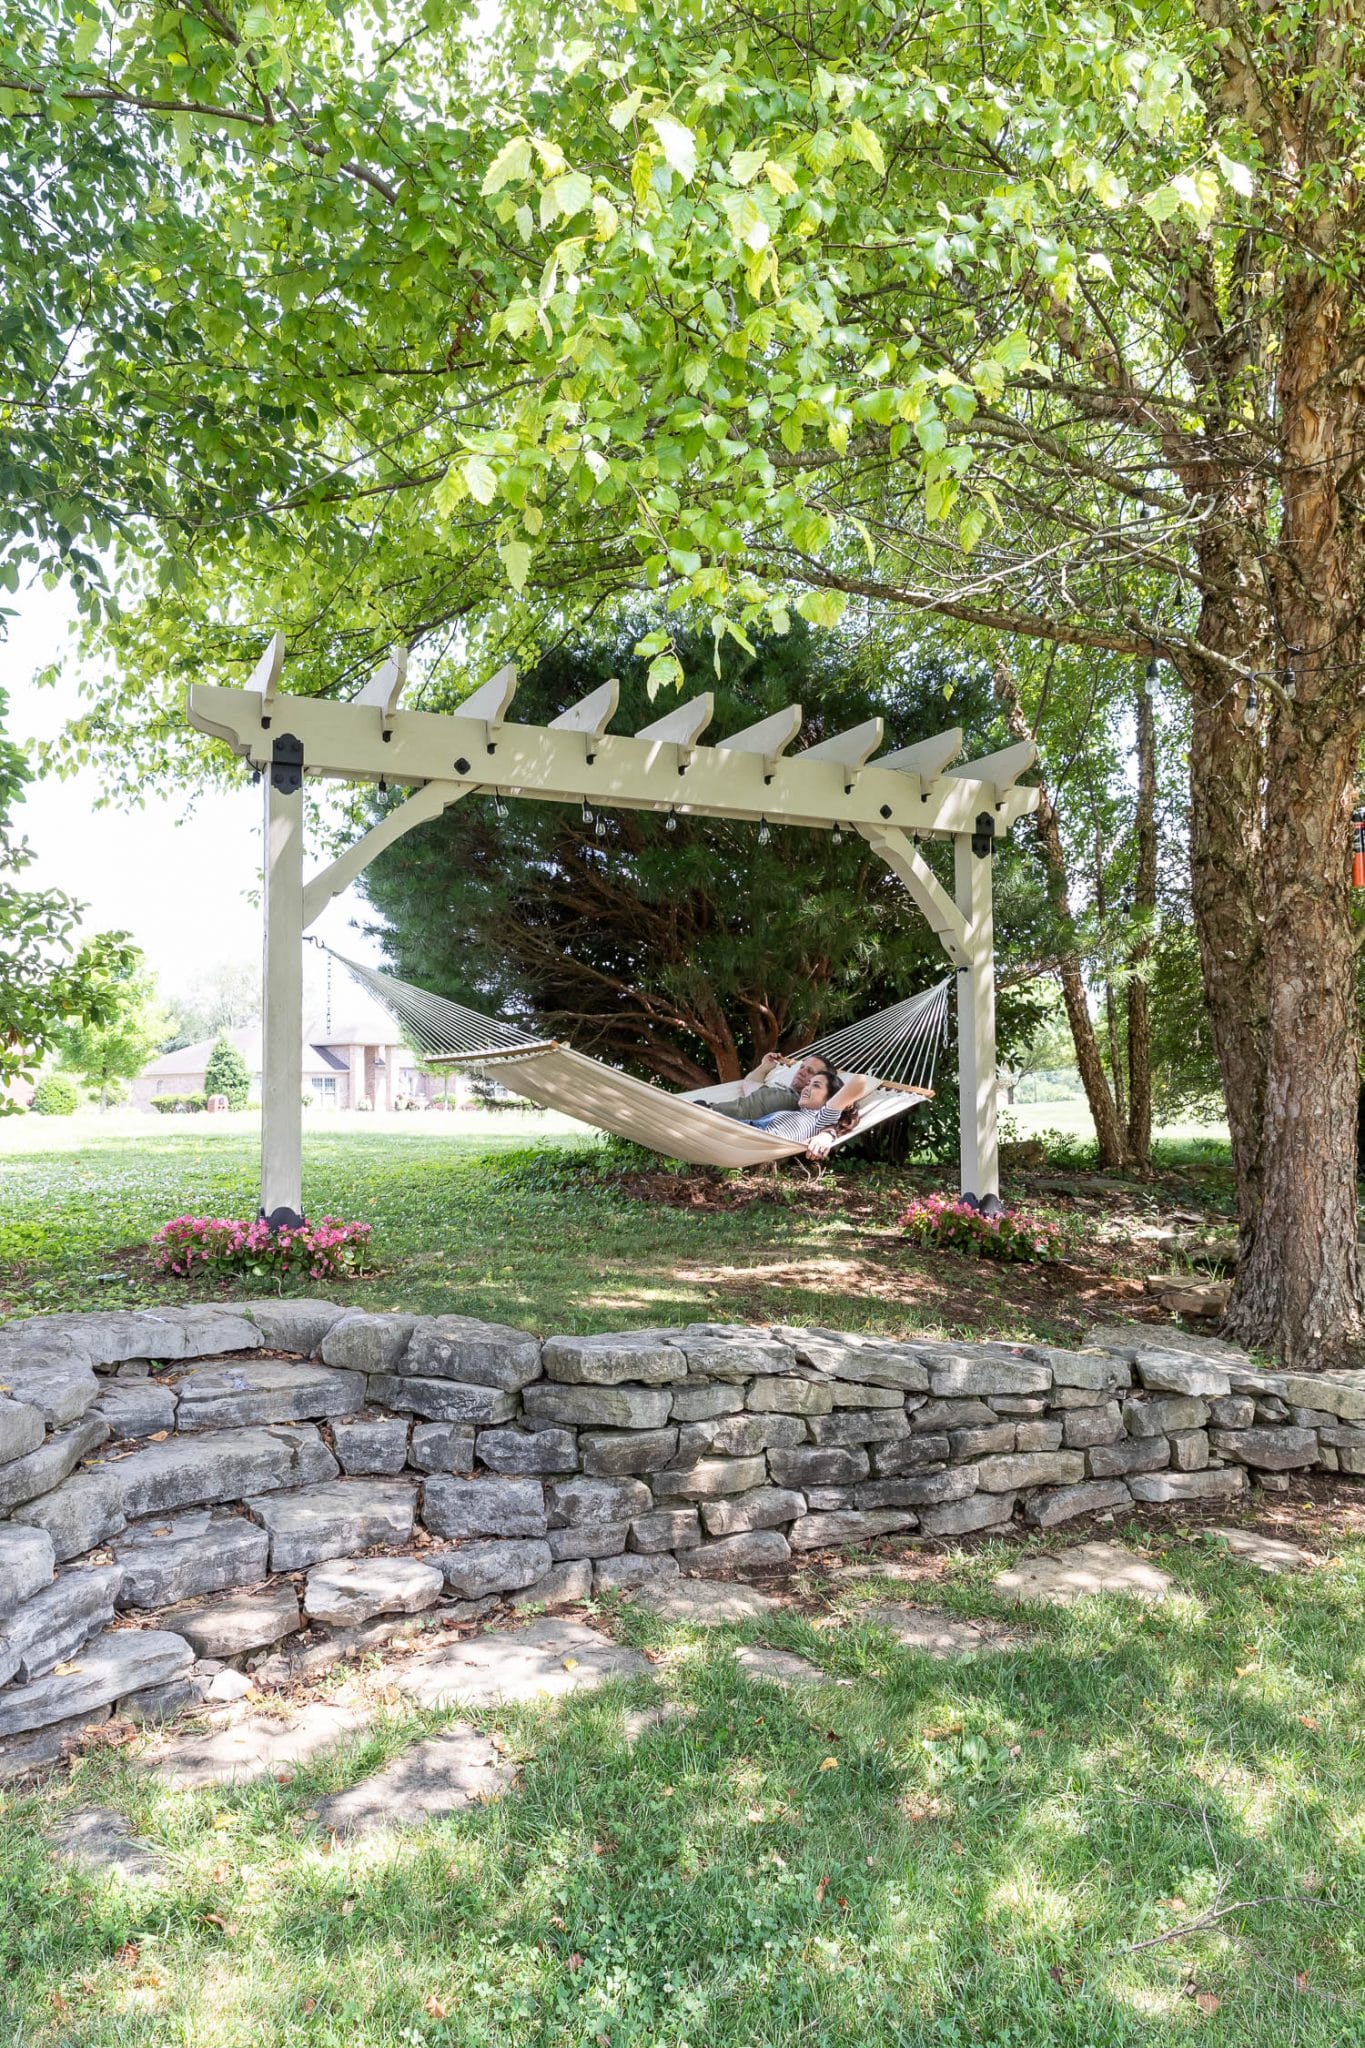
Wood, Metal, or Portable Plans?
Wood is often the best material for a first project. It is easy to cut, easy to repair, and pleasant in a garden setting.
Metal has a slimmer look and may last longer when protected from rust. However, metal work can require welding equipment or specialized fittings.
Portable do it yourself hammock stand plans usually use bolt-together parts. This allows you to remove the rails and store the frame in a shed or vehicle.
Choose wood if:
• You want a low-cost build
• You have basic woodworking tools
• You prefer a natural appearance
• You want easy changes later
Choose metal if:
• You already have metalworking skills
• You need a lighter visual design
• You want a modular pipe frame
• You can protect steel from corrosion
There is no single best material. The best choice is the one you can assemble correctly and inspect with confidence.
Weatherproofing and Long-Term Care
Outdoor maintenance can add years to the life of your stand. Keep the wood above standing water and allow air to move around it.
Apply an exterior stain, paint, or water-repellent finish. Follow the product label for drying time and reapplication. Some finishes protect color more than structure, so do not treat coating as a substitute for sound design.
Inspect the frame at least once each season. Look for:
• Cracks near bolts
• Rust on hardware
• Soft or dark wood
• Loose joints
• Splitting around eye bolts
• Uneven feet
Store the hammock indoors during heavy rain, snow, or strong wind. Fabric can hold moisture against the wood and may stretch or mildew.
If you live in a region with freezing weather, store the stand indoors when practical. Moisture that enters cracks can expand when frozen and weaken the lumber.
Improving Your DIY Hammock Stand
Once the basic frame works, you can improve comfort and function.
Consider adding:
• Wide wooden feet for soft soil
• Removable wheels for short moves
• A shade canopy
• Cup holders or a small side shelf
• Rounded and sanded corners
• Locking pins for faster assembly
• A storage hook for the hammock
Do not add features that weaken the main frame. For example, drilling large holes into a load-bearing rail may reduce its strength.
If you add wheels, use locking casters rated for the full expected load. The stand must remain locked while occupied.
For a family-use stand, consider building a larger safety margin. Children may swing, climb, or shift weight quickly. A frame designed only for quiet adult use may not handle that movement well.
Frequently Asked Questions About Do It Yourself Hammock Stand Plans
How long should a DIY hammock stand be?
A stand is often about 2 to 3 feet longer than the hammock. Measure your hammock first because spreader-bar and gathered-end designs can need different spacing.
What is the best wood for a homemade hammock stand?
Pressure-treated pine, cedar, and redwood are common outdoor choices. Use straight lumber without large knots, deep cracks, or damaged ends, and protect all cut surfaces.
How high should the hammock hooks be?
A starting height of about 4 to 5 feet works for many gathered-end hammocks. Adjust the height so the occupied hammock stays safely above the ground without creating a very flat, high-tension hang.
Can a hammock stand hold two people?
Only if the entire frame, hardware, hammock, and ground support are designed for the combined load and movement. Check the ratings of every component, and never assume that a strong-looking frame has a tested weight capacity.
Can I build a hammock stand without power tools?
Yes, but hand tools make the work slower. You can use a handsaw, brace, drill, wrench, and sanding block, though accurate cuts and strong pilot holes remain essential.
Should I use screws or bolts for a hammock stand?
Use structural screws for approved wood connections and through-bolts for major joints when possible. Ordinary drywall screws are not suitable because they are brittle and not designed for outdoor structural loads.
Why does my hammock stand wobble?
Common causes include uneven ground, loose bolts, missing braces, mismatched legs, or rails that are not square. Empty the stand, place it on a level surface, and inspect each connection before using it again.
Conclusion
Good do it yourself hammock stand plans begin with accurate measurements and end with careful testing. Choose sound outdoor lumber, use rated hardware, add diagonal braces, and build the stand longer than the hammock so it hangs naturally.
Take your time with the joints and inspect the frame after the first few uses. A well-built stand can turn a small patio or open lawn into a comfortable place to read, rest, and enjoy fresh air. Choose a design that matches your tools, follow the safety steps, and start building with confidence.

Zayden Halbrook is a travel enthusiast and gear researcher passionate about making every journey smoother and more enjoyable. With a keen eye for practical travel essentials and real-world tips, he helps readers choose the right gear and travel smarter. When he’s not testing travel kits or exploring new destinations, Zayden shares simple, reliable advice to make every trip stress-free.