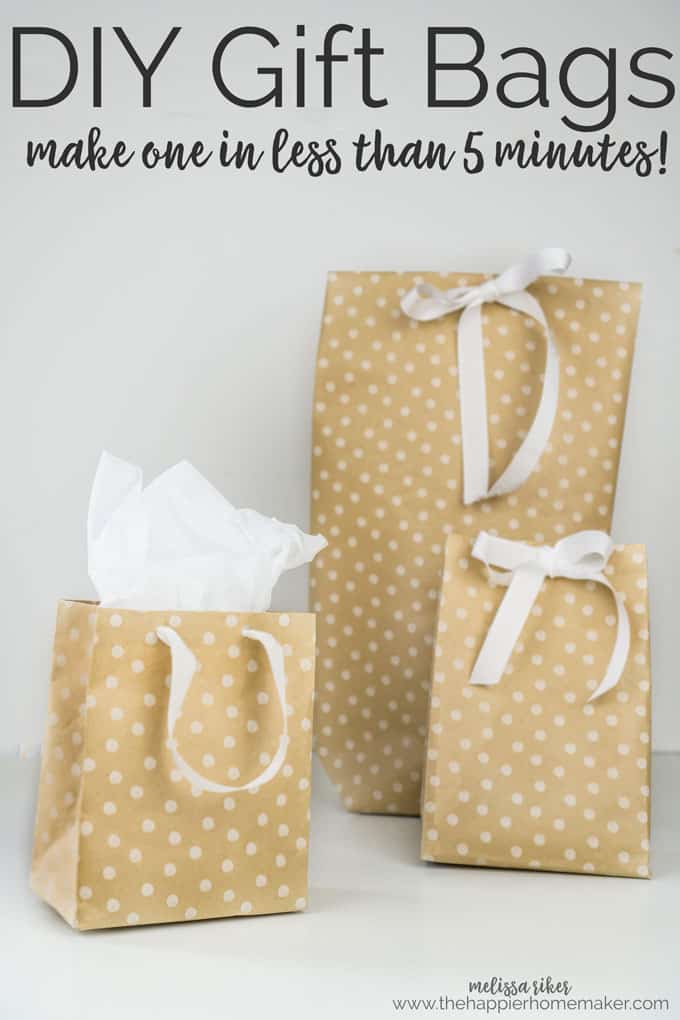
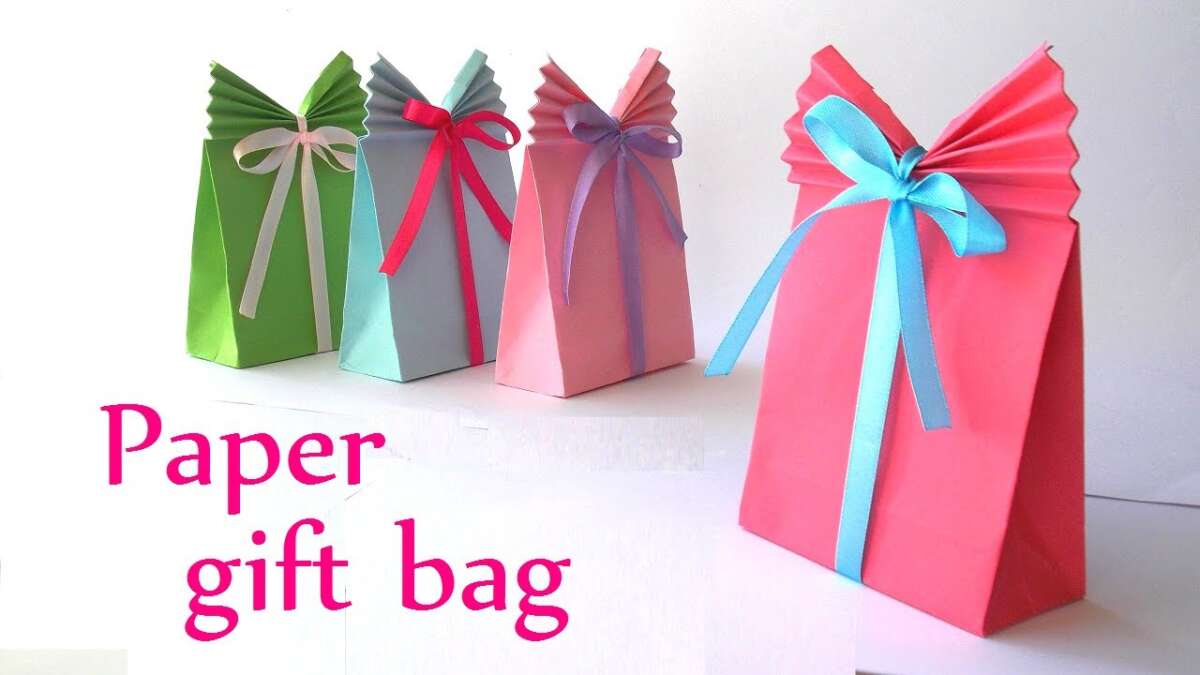
To make a gift bag, fold paper into a pouch, secure the sides, add a base, and decorate it.
Learning how to make a gift bag is easier than it looks. With wrapping paper, a paper grocery bag, or a sheet of craft paper, you can create a useful bag in minutes. I have made handmade gift bags for birthdays, holidays, baby showers, and last-minute gifts, and the best results always come from careful folds and a strong base. This guide explains each step, shows how to choose the right paper, and shares simple ways to make your bag neat, sturdy, and personal.

What You Need to Make a Gift Bag
The best part of learning how to make a gift bag is that you need only a few basic supplies. Many of them may already be in your home.
Basic supplies
• Decorative paper, wrapping paper, kraft paper, or a paper grocery bag
• Scissors
• Ruler or straight edge
• Pencil
• Double-sided tape or glue
• Hole punch
• Ribbon, twine, or cord for handles
• Cardboard for extra support
• Tissue paper for the inside
Choose paper that can hold the gift without tearing. Thin wrapping paper works well for light items, such as scarves, candles, or small toys. For books, bottles, or heavier gifts, use kraft paper, scrapbook paper, or a paper grocery bag.
Avoid paper with deep creases or weak edges. A clean, smooth sheet gives you sharper folds and a more professional finish.

How to Choose the Right Paper Size
Paper size affects the height, width, and depth of your finished bag. Before cutting, place the gift near the center of the paper and leave extra space on every side.
Use these general sizes as a starting point:
• Small gift bag: 12 by 16 inches of paper
• Medium gift bag: 18 by 24 inches of paper
• Large gift bag: 24 by 30 inches of paper
The paper should wrap around the gift with a small overlap. It should also extend above the gift by about one-third of the gift’s height. This extra paper forms the top edge and gives room for handles.
For a deeper bag, use wider paper. For a taller bag, use longer paper. A simple rule is to measure the gift first rather than guessing. This small step prevents the common mistake of making a bag that is too narrow.

How to Make a Gift Bag Step by Step
Follow these steps for a simple paper gift bag. Work on a flat table so your folds stay straight.
1. Measure and cut the paper
Lay the paper face down. Place the gift in the center to check the size.
Wrap the paper around the gift without folding it yet. Let the two long edges overlap by about 1 inch. Leave enough paper at the top and bottom to create the bag’s opening and base.
Cut the paper into a clean rectangle. If the paper has a printed pattern, check which direction the design should face before you begin.
2. Fold the side seam
Bring one long edge toward the center. Press the fold with your finger or a ruler.
Bring the other long edge over it. Apply double-sided tape or a thin line of glue beneath the overlapping edge. Press the seam flat for several seconds.
Do not use too much glue. Excess glue can wrinkle thin paper and may show through the front.
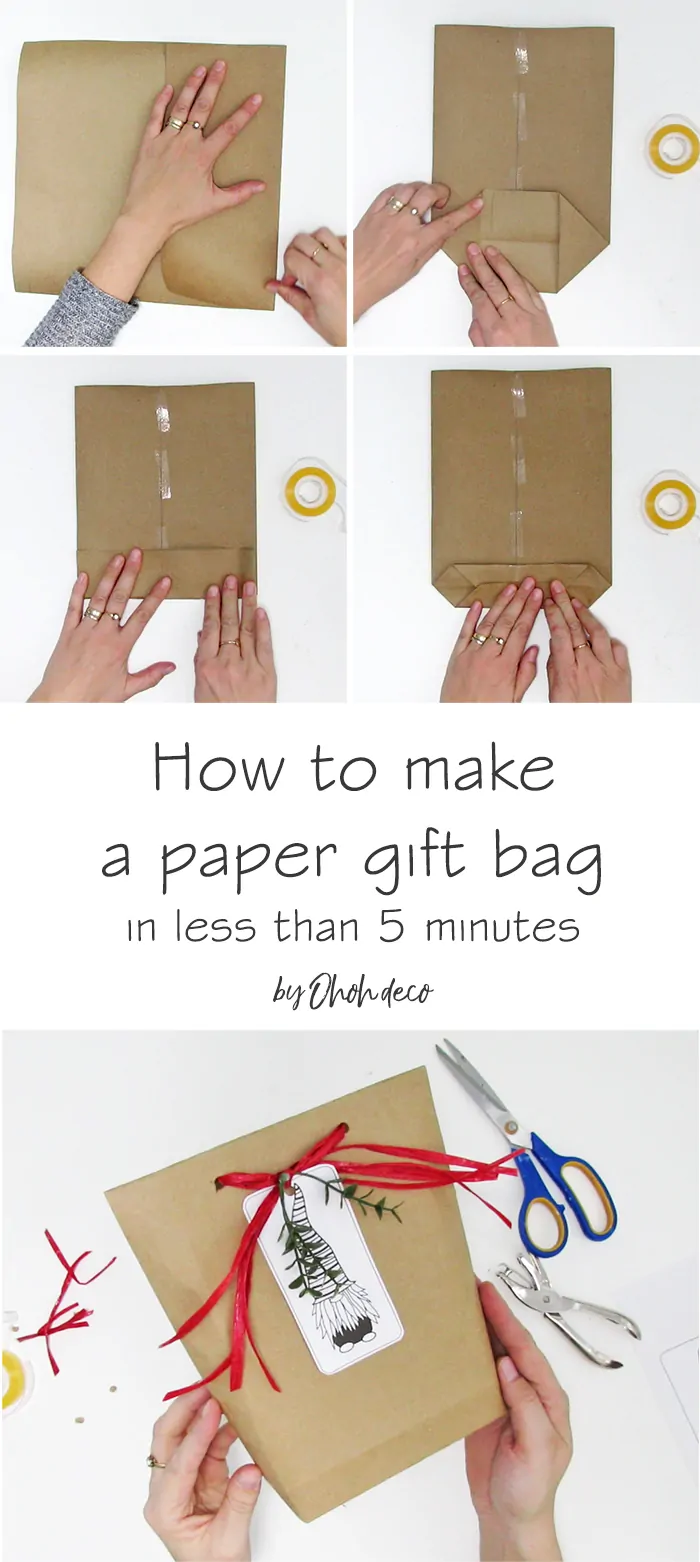
3. Create the bottom fold
Stand the paper upright with the seam at the back. Flatten the lower part so it forms a wide rectangle.
Fold the bottom edge upward. The height of this fold will become the depth of the bag. For a small gift bag, a 2-inch fold is often enough. Larger gifts may need a 3- to 5-inch fold.
Press the fold firmly. This is one of the most important steps when you make a gift bag because the bottom fold controls how much the bag can hold.
4. Open and shape the base
Open the lower flap. Push the left and right corners inward so the paper forms two small triangles.
You should now see a diamond-shaped base. Fold the top and bottom points of the diamond toward the center. Let them overlap slightly, then secure them with tape or glue.
For a stronger base, cut a piece of cardboard that fits inside the bottom. Slide it into the bag after the adhesive dries.
5. Fold the side creases
Press the left and right sides inward. These folds allow the bag to expand when you place a gift inside.
Make the creases equal on both sides. A ruler can help, but you can also use the width of two fingers as a quick guide for a small bag.
6. Finish the top edge
Fold the top edge down by about 1 inch. Press the fold all the way around the opening.
This folded edge hides rough paper and adds strength. If your paper is very thin, fold the top edge twice. A double fold creates a firmer rim for the handles.
7. Add handles
Use a hole punch to make two holes on each side of the bag. Keep the holes level and at least 1 inch below the top edge.
Cut two equal lengths of ribbon or cord. Thread one piece through the holes on one side and tie the ends inside the bag. Repeat on the other side.
If the gift is heavy, reinforce the holes with clear tape on the inside. You can also attach the handles with folded paper tabs instead of holes.
How to Make a Gift Bag From a Paper Grocery Bag
A paper grocery bag is one of the fastest materials to use when you make a gift bag. It already has a bottom, side folds, and strong paper.
First, remove the original handles if they are damaged. Cover store logos with wrapping paper, paint, stickers, or a wide strip of decorative paper.
Next, place the gift inside the bag to check the height. If the bag is too tall, fold the top edge down several times. Secure the fold with glue or decorative tape.
You can keep the original handles or replace them with ribbon. If the bag has no handles, punch two holes on each side and tie on new ones.
This method works especially well for books, clothing, kitchen items, and other medium-weight gifts. It is also a practical way to reuse a sturdy paper bag instead of throwing it away.
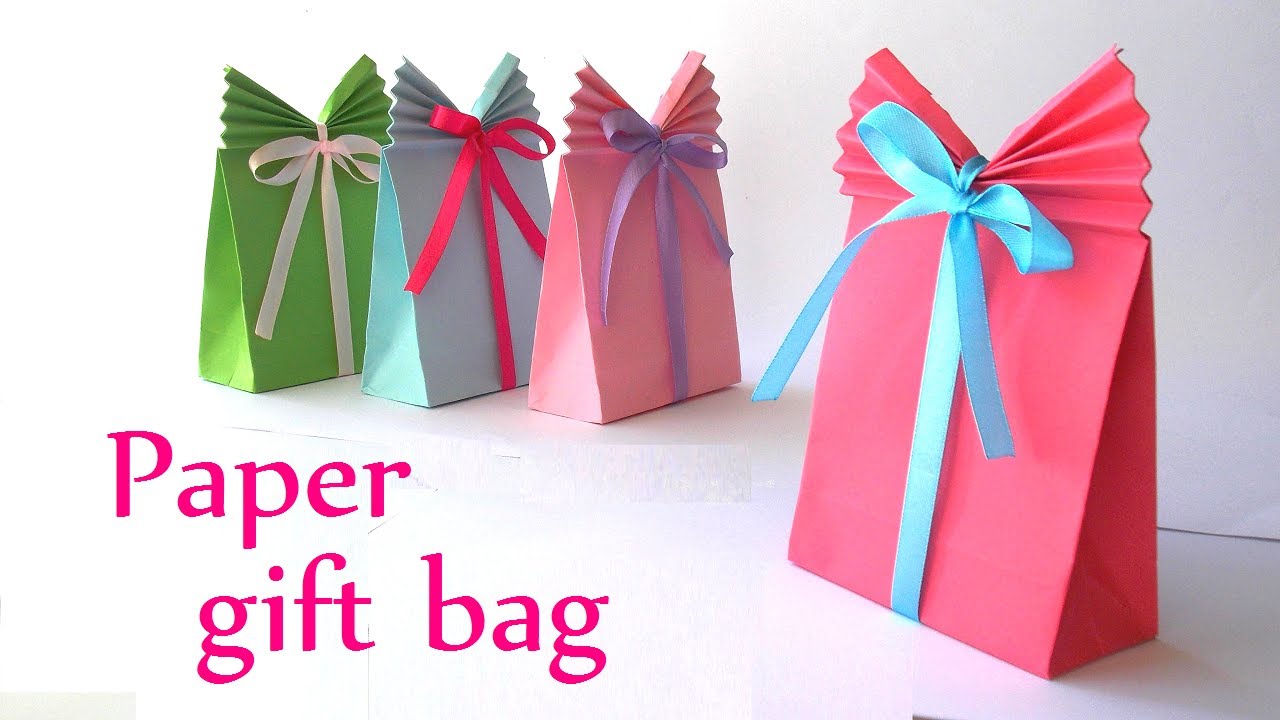
How to Make a Gift Bag Without Glue
You can make a gift bag without glue by using folds, tape, or interlocking tabs. This option is useful when you want a quick project or a cleaner finish.
Use one of these methods:
• Double-sided tape: This creates a smooth seam and works well with wrapping paper.
• Decorative tape: Washi tape or paper tape can hold the seam while adding color.
• Interlocking tabs: Cut small tabs on the bottom flap and tuck them into matching slits.
• Ribbon ties: Fold the top edge and tie the bag closed with ribbon.
• Staples: Use staples only for sturdy paper, and cover them with stickers or paper tabs.
A no-glue bag may not support heavy items as well as a taped or glued bag. Add a cardboard base and reinforce the top if you plan to carry something heavy.