You can make a suitcase at home by building a strong box, adding fabric or plastic panels, fitting wheels and a handle, and protecting the seams. For most people in the United States, a soft-sided suitcase made from plywood, fabric, and aluminum hardware is the easiest place to start.
A handmade suitcase may not match the light weight, impact testing, or water resistance of a factory-made case. Still, it can work well for road trips, storage, costumes, camping gear, or short air trips when you check the size and strength with care.
Before you begin, decide how you will use it. A small carry-on case needs careful size control. A large checked case needs stronger corners, wheels, and fasteners. Airline size and weight rules differ, and the Transportation Security Administration (TSA) does not set the size limits for airline luggage. Check your airline before building a case for air travel.
Choose the Right Suitcase Design
The best DIY suitcase design depends on your tools, materials, and travel plans. A soft-sided case is easier to sew and repair, while a hard-sided case gives better shape and protection.
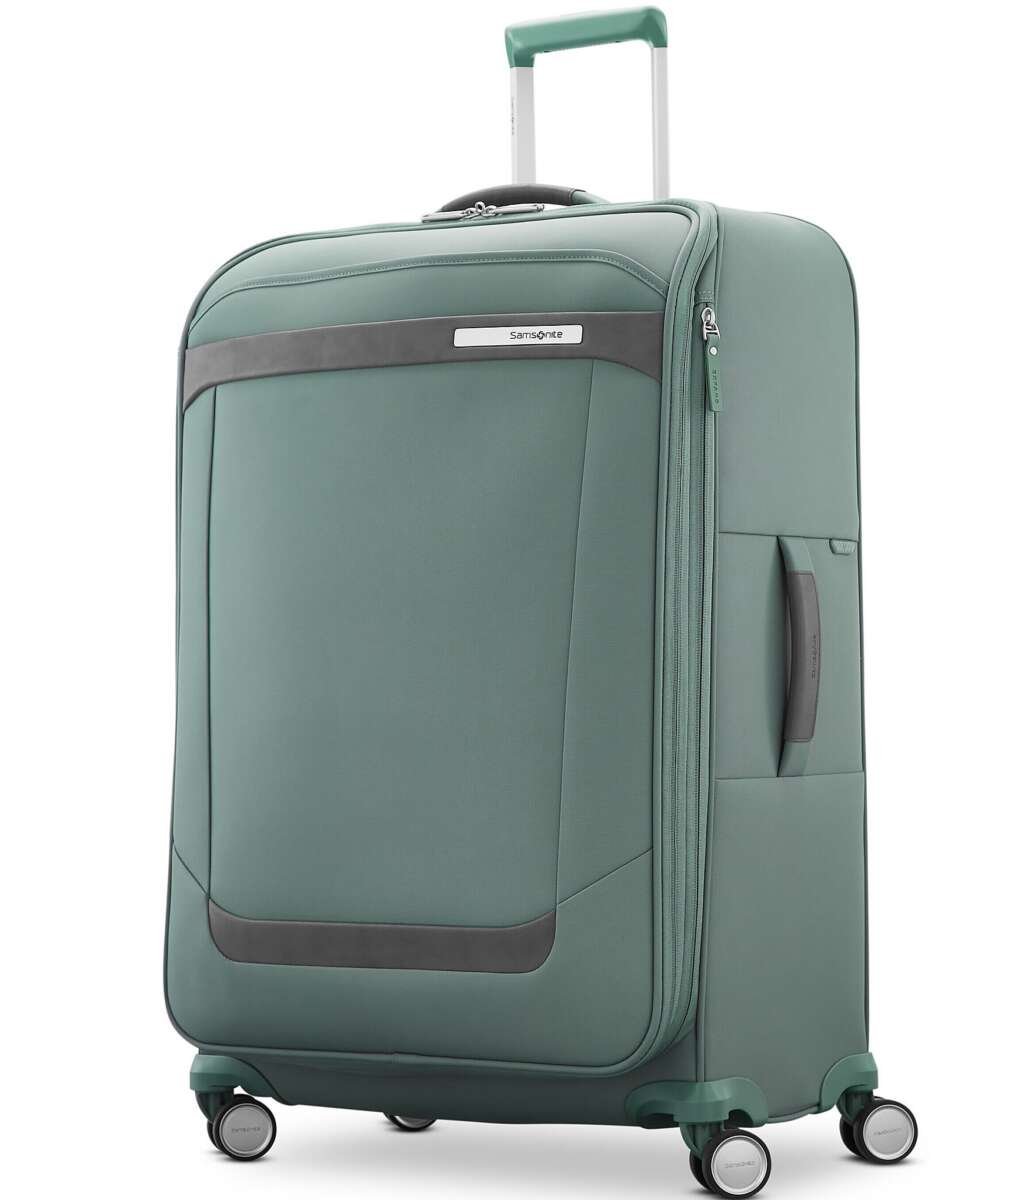
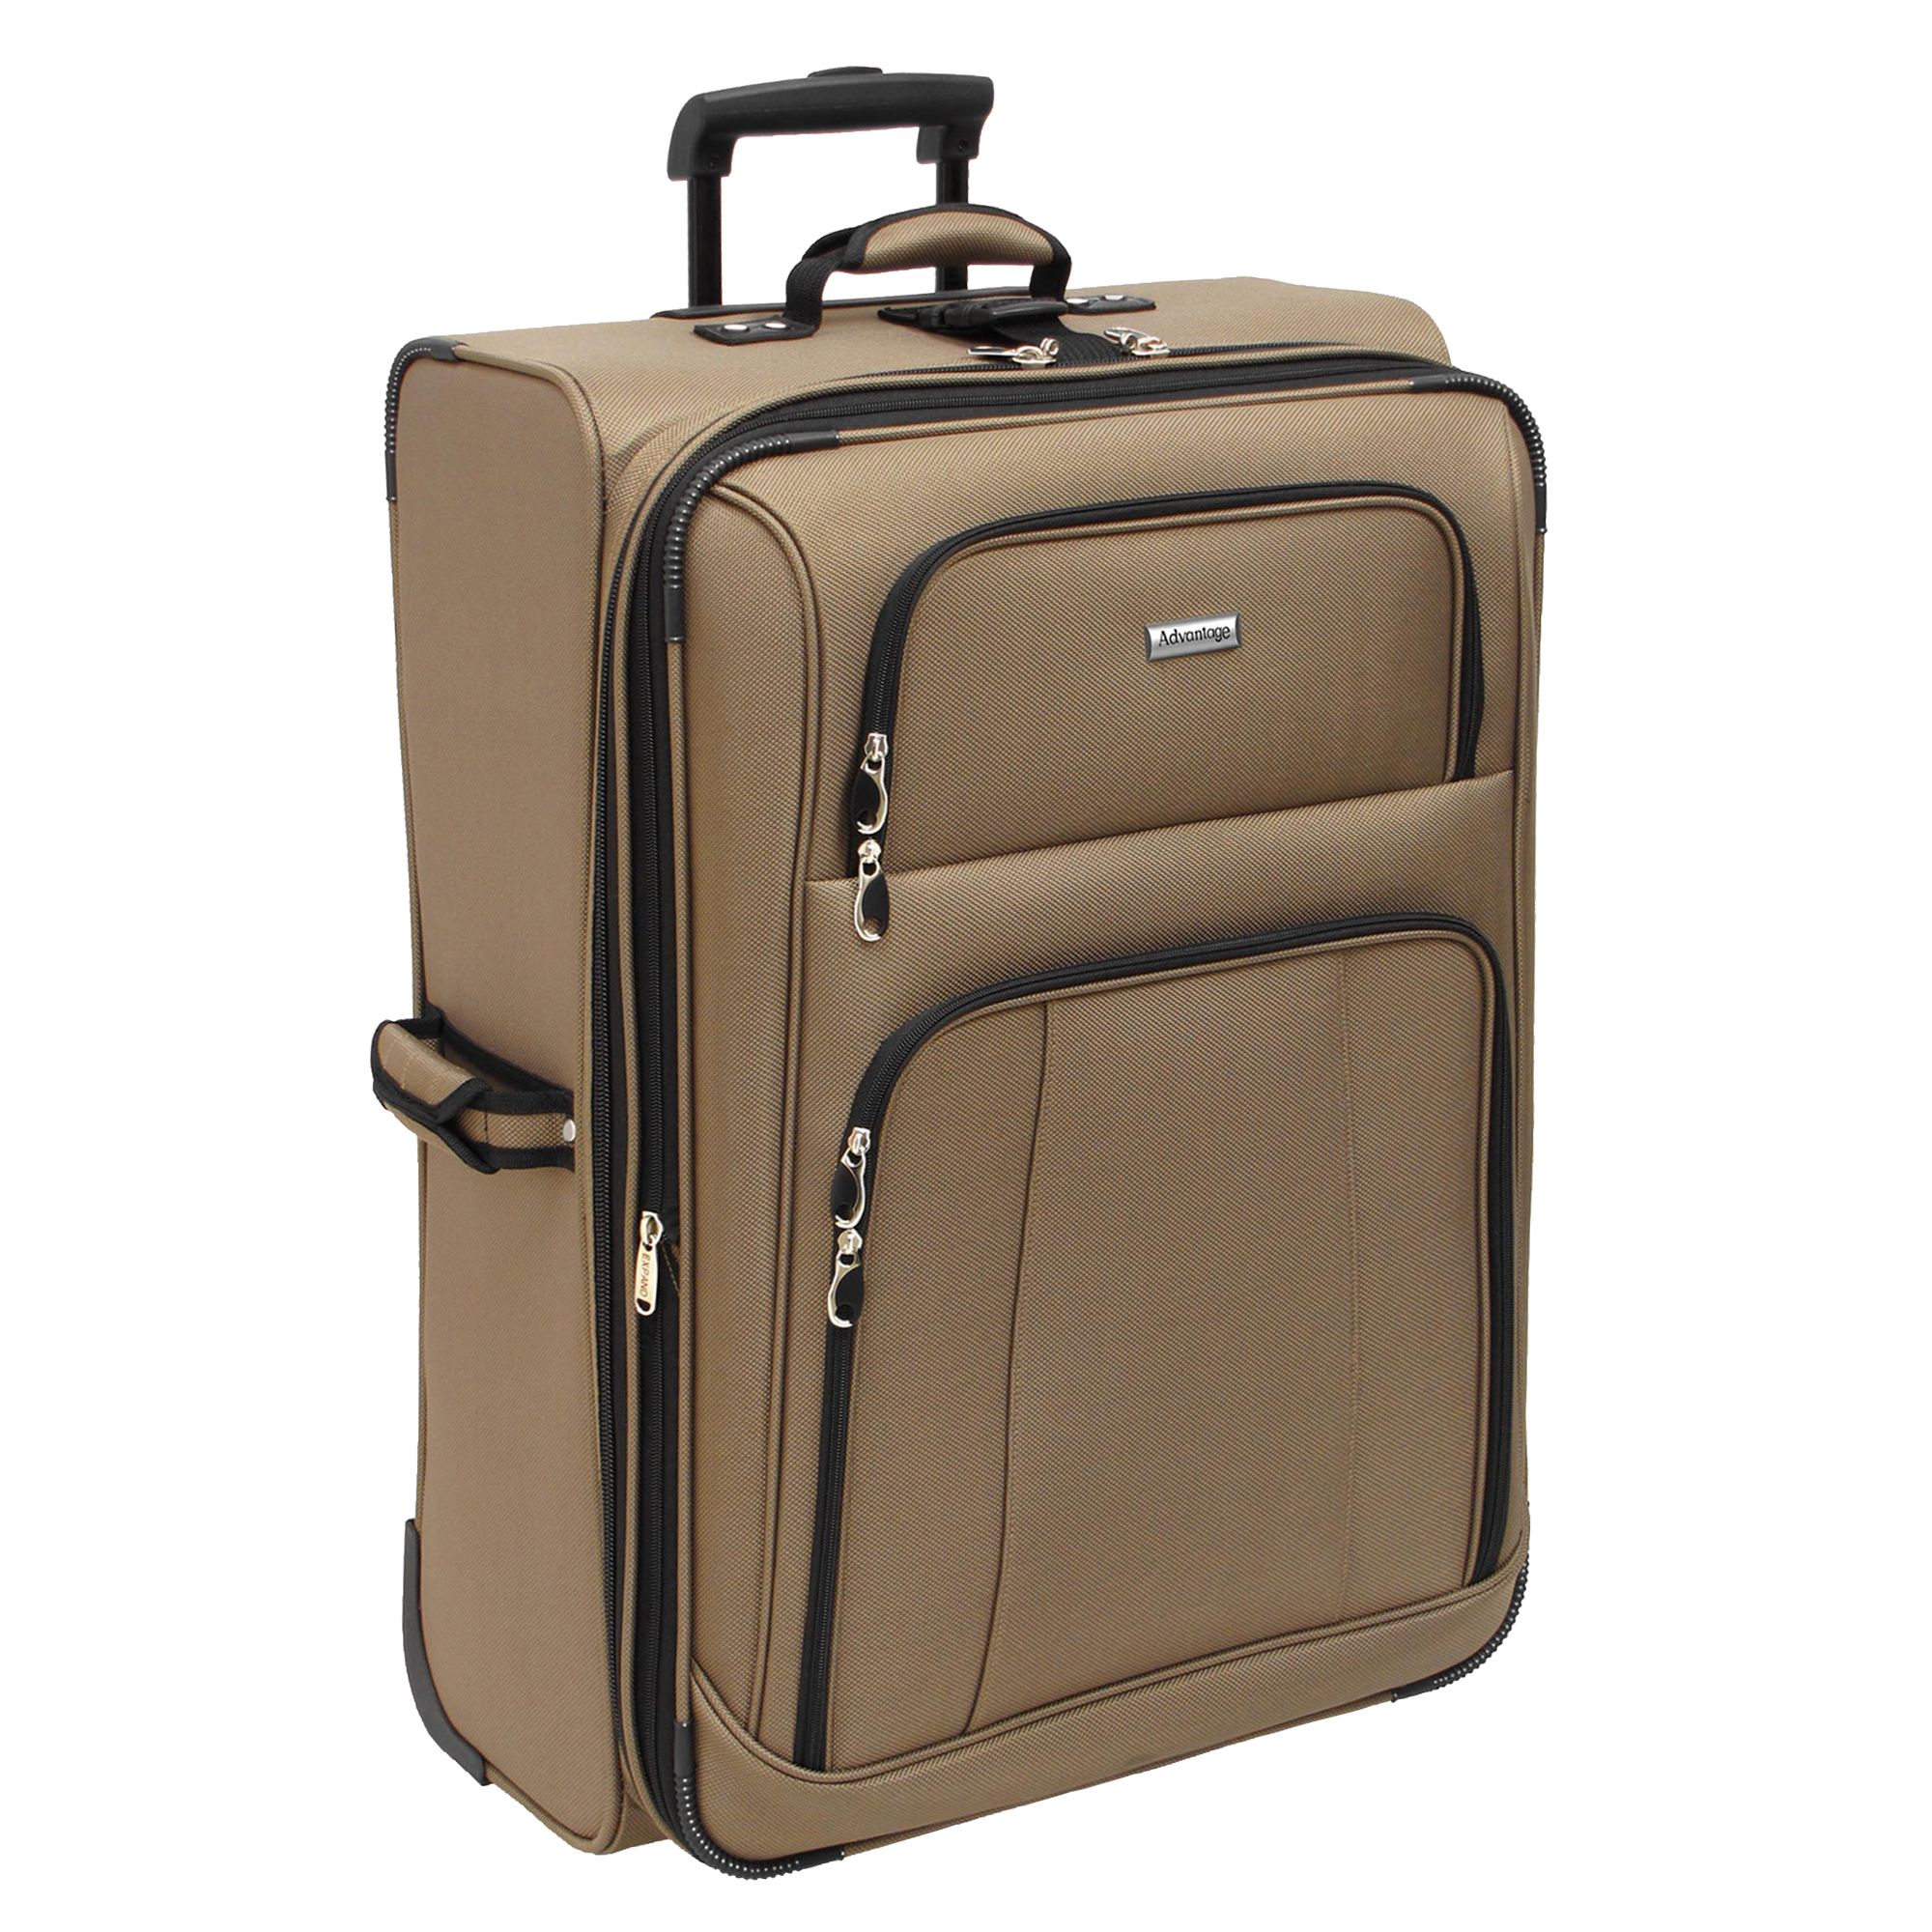
Soft-sided suitcase
A soft-sided suitcase uses fabric over a frame or flexible panels. It is a good choice when you want:
- Lower weight
- A flexible outer shape
- Easier sewing and repairs
- Front pockets
- More room for soft items
Canvas, luggage fabric, Cordura-style nylon, and heavy polyester can work well. Use fabric with a tight weave and a strong backing. Thin fashion fabric may tear at the corners.
Hard-sided suitcase
A hard-sided suitcase uses panels made from materials such as:
- Thin plywood
- Polypropylene sheet
- ABS plastic
- Polycarbonate sheet
- Corrugated plastic
- Aluminum sheet
Hard cases protect fragile items better, but they need accurate cuts and strong joints. Plastic can crack if you drill too close to an edge. Wood is easier to work with, but it may add weight.
A simple first-build design
For a first project, use this layout:
- A rectangular base
- Two long side panels
- Two short end panels
- A hinged lid
- Two or four wheels
- One telescoping or fixed handle
- Two or three latches
- An inner liner
- Corner guards
This design is easier to measure than a rounded suitcase. You can add rounded corners later with corner blocks, bent plastic, or flexible trim.
Plan the finished size
Measure the outside of the finished case, including:
- Wheels
- Handles
- Corner guards
- Feet
- Pockets
- Any raised hardware
For example, if you want a case with an outside size of 22 by 14 by 9 inches, the panels must be smaller than those limits. Wheels and corner parts take up space.
Do not build to the exact airline limit without leaving room for measurement error. A case that is slightly too large may not fit a carrier’s sizer.

Materials and Tools You Need
A basic suitcase needs a shell, hardware, fasteners, and interior parts. Choose materials based on the load rather than appearance alone.
Recommended materials
For a small soft-sided case, gather:
- Heavy canvas or luggage fabric
- 1/8-inch to 1/4-inch plywood or plastic sheet for stiff panels
- Polyester thread
- Webbing for handles and reinforcement
– Zipper or buckles - Two or four luggage wheels
- A pull handle or telescoping handle
- Rivets, bolts, or machine screws
- Washers and locknuts
- Flexible edge binding
- Foam or felt for the liner
- Contact cement or fabric adhesive
- Corner protectors
For a hard-sided case, gather:
- Plywood, plastic, or aluminum panels
- Aluminum angle or hardwood strips for the frame
- Piano hinge or two heavy hinges
- Draw latches or compression latches
- Wheels and wheel brackets
- A handle
- Bolts with washers
- Weather stripping or gasket material
- Interior lining material
Tools
You may need:
- Tape measure
- Steel ruler
- Carpenter’s square
- Pencil or marker
- Utility knife
- Scissors
- Drill and drill bits
- Screwdriver
- Clamps
- Sandpaper
- Hole punch
- Sewing machine, for a soft case
- Jigsaw or circular saw, for wood panels
- Rivet tool, if using rivets
- Eye protection and work gloves
Use a saw only with proper support and eye protection. Sand sharp wood and metal edges before adding fabric or handling the case.
Pick strong attachment points
The wheels and handle carry most of the stress. Do not attach them to fabric alone or to a thin panel without reinforcement.
Use a backing plate, wide washers, or an internal wood block behind each attachment. This spreads the load over a larger area and helps prevent pullout.

How to Make a Soft-Sided Suitcase
A soft-sided suitcase is the most forgiving design for a beginner. The frame gives it shape, while the fabric forms the outer shell.
Step 1: Draw the case before cutting
Draw the case from the top, side, and front. Mark:
- Outside length
- Outside width
- Outside height
- Lid opening
- Wheel location
- Handle location
- Pocket placement
- Seam allowances
Add at least 1/2 inch of seam allowance when cutting fabric. You may need more for thick binding or boxed corners.
Make a cardboard model first. Tape the pieces together and place a few items inside. This simple test can expose size problems before you cut costly fabric.
Step 2: Cut the stiff panels
Cut panels for the bottom, top, front, back, and sides. Keep opposite panels the same size.
If you use plywood, sand every edge. Seal the wood with paint, varnish, or a water-resistant coating. Let it dry fully before covering it.
If you use plastic, remove sharp burrs after cutting. Drill holes at least several millimeters from the edge so the material does not split.
Step 3: Build the frame
Join the panels with aluminum angle, hardwood strips, or reinforced fabric seams.
For a wood frame:
- Place the bottom panel on a flat surface.
- Position the side panels at a right angle.
- Clamp the parts in place.
- Drill pilot holes.
- Add screws and wood glue.
- Check each corner with a square.
- Repeat for the front and back panels.
Do not rely on glue alone. Travel cases face twisting forces when they roll over rough ground or are lifted by one side.
Step 4: Add the fabric shell
Cut fabric panels larger than the stiff panels. Wrap the fabric around the frame, keeping the seams away from high-impact corners when possible.
Sew or glue the fabric in this order:
- Main body panels
- Lid panel
- Side gussets
- Pockets
- Edge binding
- Handle reinforcement
A gusset is a strip of fabric that gives a bag depth. Sew the gusset to the front, back, and side panels to form the case body.
Use two or more rows of stitches at the handle and wheel areas. Add a square or X-shaped stitch pattern to webbing. This spreads the pulling force across the fabric.
Step 5: Install the zipper or closure
A large zipper can close a soft case, but it should not carry the full load by itself.
Use:
- A zipper with a wide tape
- A protective zipper flap
- Two zipper sliders, if possible
- Buckles or compression straps for extra support
Sew zipper ends into reinforced fabric tabs. These tabs prevent the zipper from pulling away from the case.
Step 6: Add the wheels
Use wheel assemblies designed for luggage or carts. Two-wheel designs are simple and often roll well when tilted. Four-wheel spinner designs are more complex but can move in several directions.
Attach each wheel through a reinforced panel. Use bolts, washers, and locknuts where possible. Tighten the fasteners firmly, but do not crush plastic or soft wood.
Check that:
- The wheels turn freely
- The case stands without tipping
- The wheels do not rub the fabric
- The wheel brackets do not block the zipper
- The case does not drag when tilted
Step 7: Add the handle
A fixed handle uses webbing or a rigid grip. A telescoping handle needs a channel or mounting brackets inside the case.
Attach the handle to a rigid frame section. If the handle is mounted only to fabric, it may tear the shell when the case is full.
For a webbing handle, run the straps down the sides of the case or across a stiff backing plate. Do not stop the stitching at a single small patch.
Step 8: Add the liner and pockets
Cover exposed panels with fabric, foam, or felt. The liner protects clothing and hides bolts.
Use a removable liner if possible. A removable liner is easier to wash and repair.
Place pockets on the lid or inside wall. Keep heavy items near the bottom and close to the wheels. This lowers the center of gravity and makes the case easier to pull.

How to Make a Hard-Sided Suitcase
A hard-sided suitcase gives more protection but requires stronger joints. The most practical beginner method uses plywood or rigid plastic panels inside a lightweight frame.
Step 1: Cut the shell panels
Cut two large panels for the top and bottom. Cut four narrow panels for the sides.
A useful starting point is:
- Bottom: full case length and width
- Top: same size as the bottom
- Long sides: case length by case height
- Short sides: case width by case height
The exact measurements depend on how the panels overlap. Draw the joint layout before cutting.
Step 2: Round or protect the corners
Square corners catch on objects and receive more impact. You can protect them with:
- Metal corner caps
- Molded plastic guards
- Aluminum angle
- Hardwood blocks
- Thick rubber trim
If you round plywood corners, use a template so both ends match. Seal the exposed wood after sanding.
Step 3: Join the panels
Use aluminum angle, internal wood strips, or a combination of both.
For plywood, drill pilot holes and use screws with washers. Add glue to wood-to-wood joints, but still use mechanical fasteners.
For plastic, use bolts, rivets, or a compatible plastic adhesive. Test the adhesive on a scrap first. Some solvents weaken or melt plastic.
Step 4: Install the hinge
A piano hinge spreads the force across a long section and can work well for a suitcase lid. Regular hinges can also work when backed by strong blocks.