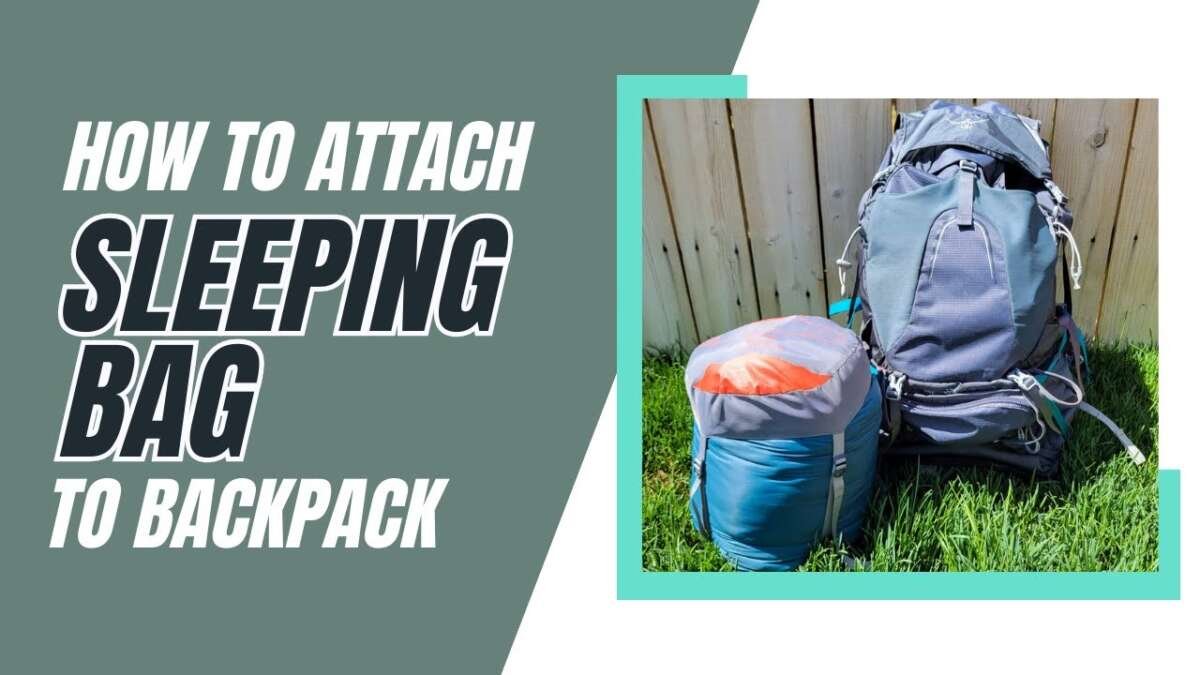
The safest way to connect a sleeping bag to a backpack is to place it inside a waterproof stuff sack and secure it under the pack, inside the pack, or on the outside with strong compression straps. For most backpackers in the United States, carrying the sleeping bag inside the backpack or in a protected bottom compartment is the best choice because it keeps the bag dry and prevents it from snagging on brush.
Your best method depends on your backpack design, the size of the sleeping bag, the weather, and how much other gear you carry. Before you start, check the pack’s manual for its approved straps and attachment points.

Choose the Best Carrying Method
The best method is usually to carry the sleeping bag inside the backpack. Use exterior attachment only when the bag will not fit inside or when your pack has secure, purpose-built straps.
Most hiking backpacks support one of three options:
- Inside the main compartment
- Inside a bottom sleeping-bag compartment
- Outside the pack with compression straps or gear loops
Each option has a different balance of protection, space, and convenience.
| Method | Best for | Main benefit | Main drawback |
|---|---|---|---|
| Main compartment | Wet weather and long trips | Best protection from rain and snags | Uses interior space |
| Bottom compartment | Packs with a separate sleeping-bag section | Easy access and good weight placement | May not fit a large bag |
| External straps | Bulky bags or small packs | Creates more room inside | More exposed to rain and damage |
| Pack lid or top straps | Very small, light sleeping bags | Quick access | Can raise the pack’s center of gravity |
A sleeping bag is light but bulky. It usually does not need to sit high on the pack. Keeping it low can help the backpack feel more stable, especially on steep trails.
Do not assume every outside strap can carry a sleeping bag. Some straps hold only the pack lid or compression panel. A strap that slips, loosens, or rubs against the sleeping bag can cause the bag to fall or tear.

What You Need Before Attaching the Sleeping Bag
You need a sleeping bag, a stuff sack or compression sack, a waterproof liner or dry bag, and a backpack with usable straps or a sleeping-bag compartment.
1. Sleeping bag stuff sack
A stuff sack reduces the sleeping bag’s packed size. Many sleeping bags include one. A larger storage sack is usually better for home storage because tight compression can stress the insulation over time.
For trail use, choose a sack that:
- Fits the sleeping bag without forcing it
- Has a strong closure
- Includes a handle or attachment loop
- Resists light moisture
- Does not have sharp seams or hardware
A compression sack may save space, but avoid crushing a down sleeping bag more than needed. Use only enough compression to make the bag fit securely.
2. Waterproof protection
A stuff sack is not always waterproof. Use a waterproof liner, dry bag, or pack cover when rain is possible.
An outside sleeping bag needs extra protection. A pack cover may not fully protect gear mounted under or behind the backpack. A waterproof liner inside the stuff sack gives better protection because it keeps water away from the insulation.
3. Strong attachment points
Look for:
- Bottom compression straps
- Side compression straps
- Webbing loops
- Daisy chains
- Dedicated sleeping-bag straps
- A separate lower compartment
Avoid attaching the bag to loose cord, damaged webbing, or small accessory loops that the pack maker did not intend for heavy use.

Method 1: Attach the Sleeping Bag Under the Backpack
Attaching the sleeping bag under the pack is often the best external method. It keeps the sleeping bag low and leaves room for food, clothing, and shelter inside the pack.
Step-by-step instructions
-
Put the sleeping bag in its stuff sack.
Push the bag into the sack rather than rolling it. Compress it only until it fits securely. -
Add waterproof protection.
Place the stuff sack inside a waterproof liner or dry bag. Close the liner before attaching it. -
Find the bottom straps.
Many hiking packs have two horizontal straps near the lower back panel. Some have a lower shelf made from fabric or mesh. -
Loosen the straps.
Create enough space for the packed sleeping bag. Do not remove the straps from their buckles unless the pack design requires it. -
Place the bag on the support area.
Center the bag under the pack. Keep it away from the ground and make sure it does not cover the hip-belt adjustment system. -
Thread the straps over the bag.
Pass each strap through the intended buckle. Keep the straps flat so they do not twist. -
Tighten both sides evenly.
Pull the straps until the bag cannot slide. Do not tighten so hard that the sack or insulation becomes damaged. -
Test the connection.
Lift the backpack by its shoulder straps. Shake it gently. The sleeping bag should stay in place without swinging. -
Check your walking clearance.
Put on the loaded pack. Walk, bend, and step over an object. The sleeping bag should not touch your heels or drag on rocks.
Signs of a secure attachment
The sleeping bag is secure when:
- It stays centered under the pack
- The buckles remain closed
- No loose strap hangs near your feet
- The bag does not swing from side to side
- The waterproof cover stays closed
- The pack still rests correctly on your hips
If the bag shifts, tighten each strap a little at a time. If it still moves, use a second pair of straps or move the bag inside the pack.

Method 2: Use the Backpack’s Sleeping-Bag Compartment
A separate sleeping-bag compartment is the simplest option when your backpack has one. This lower section usually sits below a divider in the main pack body.
How to use it
- Open the divider between the lower compartment and the main compartment.
- Place the protected sleeping bag inside.
- Push the bag toward the back panel and bottom corners.
- Close the divider zipper or buckle.
- Tighten the compartment straps if your pack has them.
- Check that the zipper is not under unusual strain.
Do not force an oversized sleeping bag into a small compartment. A strained zipper can fail, and a bag packed too tightly may be hard to remove at camp.
The bottom compartment works well for sleeping bags because the bag stays low and remains available without unpacking the entire backpack. It also protects the bag from branches and trail dust.
However, the compartment is not automatically waterproof. Water can enter through zippers, seams, or fabric panels. Use a waterproof liner if the sleeping bag is essential for staying warm and dry.

Method 3: Secure the Sleeping Bag on the Outside of the Pack
External attachment is useful when the sleeping bag will not fit inside the backpack. It is also useful when the backpack is small and you need the interior space for a tent, food, or clothing.
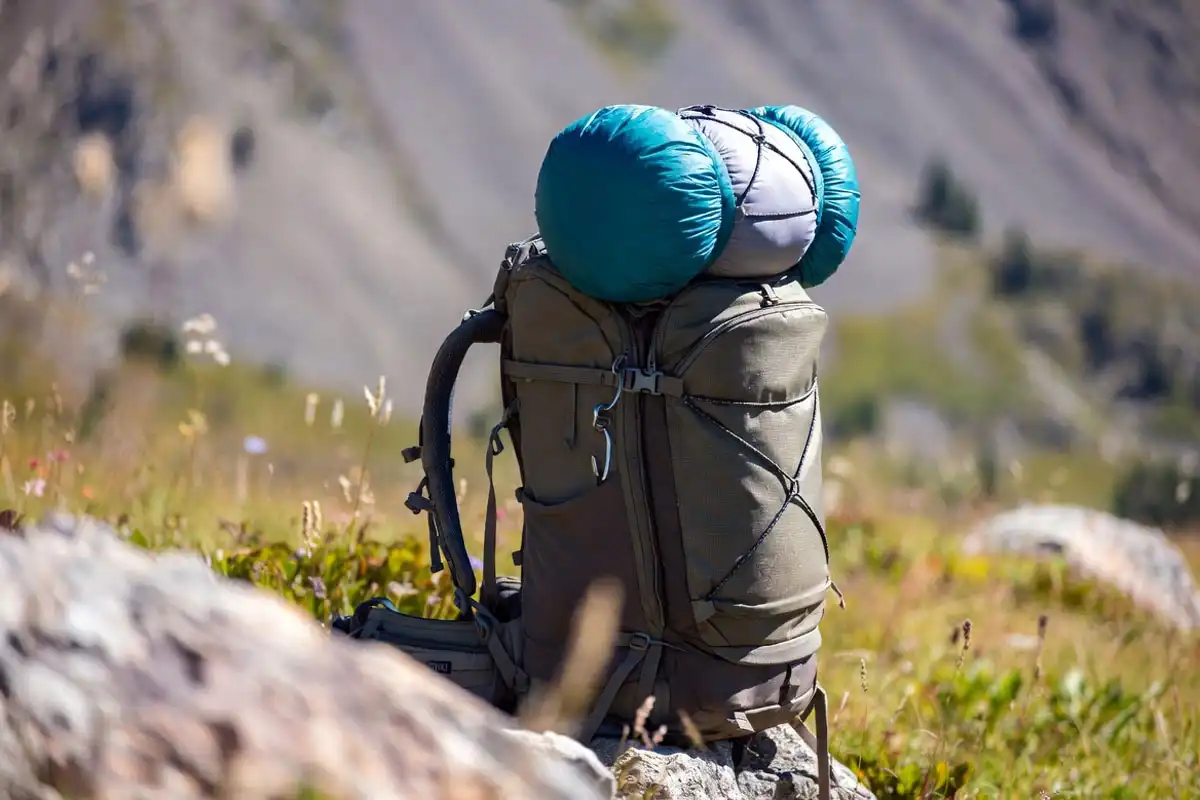
The safest exterior locations are usually the bottom or the center of the pack. Avoid placing the sleeping bag high above the shoulder straps unless the pack manufacturer provides a stable system for it.
Bottom attachment
Use the pack’s lower compression straps, shelf, or webbing loops. Keep the sleeping bag centered and close to the pack body.
This position usually causes less sway than a side attachment. It also keeps the bag’s weight low.
Side attachment
A side attachment can work if the sleeping bag is narrow and the opposite side carries a similar amount of weight. Otherwise, the pack may pull to one side.
Never let the sleeping bag extend so far that it catches on trees or changes your balance. Side-mounted gear is more exposed to abrasion.
Top attachment
Top straps can hold a small sleeping bag, but this position has limits. A high load can make the pack feel unstable on rocky or steep ground.
If you use the top straps, keep the bag as flat as possible. Do not block the pack lid, hydration hose, or access to safety equipment.
Use a crossed strap pattern when needed
If the bag slips forward or backward, use two straps in different directions:
- One strap across the front of the stuff sack
- One strap around the sack from a different angle
Only use webbing and buckles that are built into the pack. Do not create a makeshift harness with thin cord around your sleeping bag.
How to Keep the Sleeping Bag Dry and Protected
Keeping the sleeping bag dry matters more than saving a few inches of pack space. Wet insulation loses loft, and a damp sleeping bag may not provide enough warmth at night.
Use these protections:
- Place the bag inside a waterproof liner or dry bag.
- Keep the sack away from sharp buckles and metal edges.
- Check that straps do not rub across the same spot all day.
- Use a pack cover in steady rain.
- Stop and inspect the attachment after heavy rain or bushwhacking.
- Air out the sleeping bag at camp when conditions are dry.
A plastic trash-compactor bag can serve as a simple pack liner in an emergency or as a low-cost option. Use a durable liner rather than a thin grocery bag, which can tear easily.
Do not rely on a waterproof stuff sack alone if the closure is open, damaged, or poorly sealed. Also, do not place a wet sleeping bag into a waterproof sack and leave it there for a long time. Moisture can become trapped inside.
For down sleeping bags, moisture is a serious concern because wet down clumps and loses insulating loft. Synthetic insulation also performs poorly when soaked, although it may dry faster.

How to Pack the Rest of the Backpack
The sleeping bag should stay low, dry, and protected. Other gear should fill the space around it without pressing hard against it.
A useful packing order is:
- Sleeping bag in the bottom compartment or at the bottom of the main pack
- Soft clothing around the bag
- Tent body and other light gear
- Food and cooking equipment near the middle
- Water and dense items close to your back
- Rain jacket, map, snacks, and other quick-use items near the top
The exact order can change based on your pack and trip. The main goal is to keep dense weight close to your back and avoid an unbalanced load.
Do not use the sleeping bag as a hard support for sharp items. Stove parts, tent poles, fuel containers, and cookware can damage the stuff sack or insulation.
If you carry fuel, follow the fuel manufacturer’s storage instructions. Keep fuel containers upright and separated from food and soft gear when possible.

Troubleshooting: What to Do When the Bag Will Not Stay Attached
If the sleeping bag moves, falls, or becomes wet, stop and fix the problem before continuing.