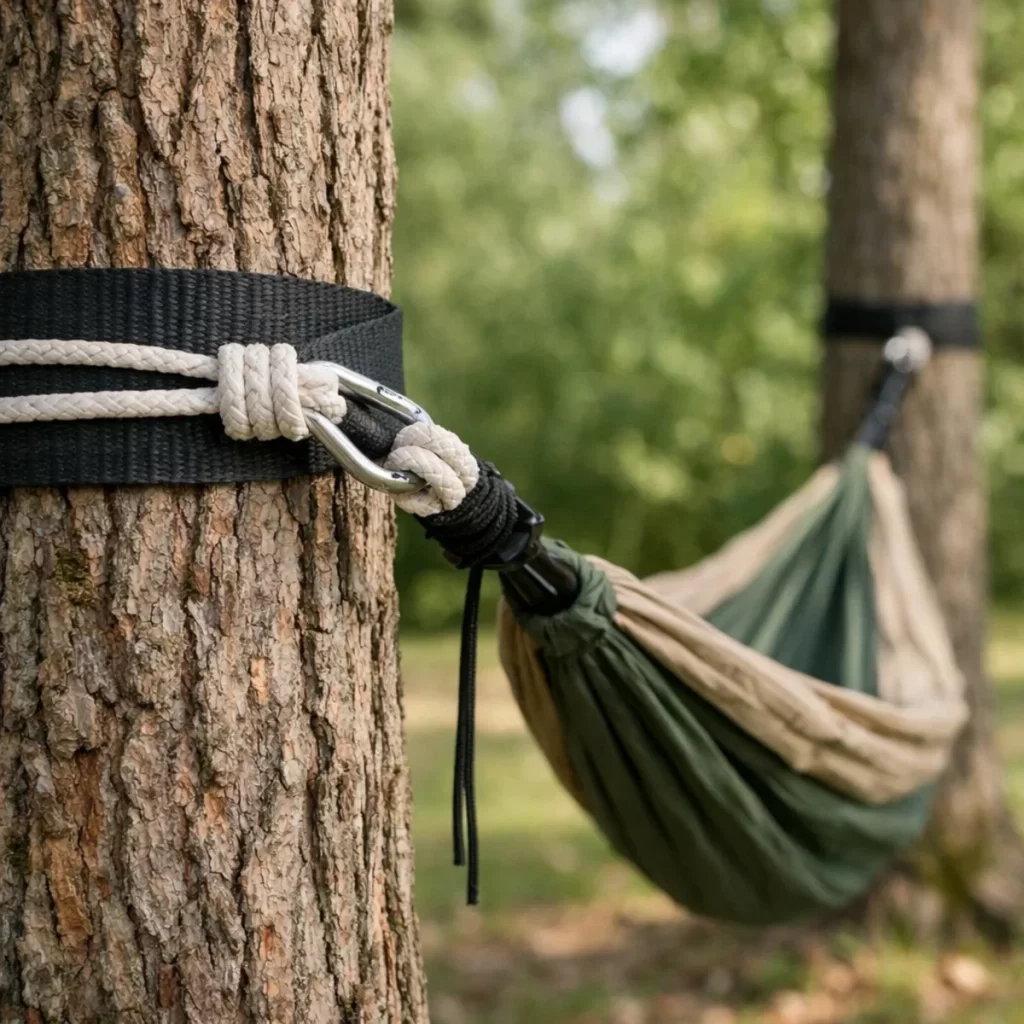
Use strong rope, secure knots, and healthy anchor points to hang your hammock safely.
Learning how to tie a hammock with rope is simple when you understand anchor strength, rope choice, knot security, and hammock height. This guide explains the safest methods, common mistakes, and easy checks that help your hammock stay comfortable and stable.
What You Need to Tie a Hammock With Rope
Before learning how to tie a hammock with rope, gather the right gear. A good setup starts with strong materials, not clever knots alone. Even the best knot cannot make a weak tree, worn rope, or damaged hammock safe.
You will need:
• A hammock with strong end loops or gathered ends
• Two lengths of rope, each about 10 to 15 feet long
• Low-stretch rope rated for outdoor use
• Two healthy trees, posts, or other approved anchor points
• A lighter or tape to stop rope ends from fraying
• A knife for cutting rope in an emergency
Choose rope made from polyester, nylon, or another material approved for load-bearing use. Avoid clothesline, thin utility cord, bungee cord, and old rope with cuts, melted spots, or heavy wear.
The rope must support more than your body weight because a hammock creates extra force when you sit, shift, or swing. Your total load includes your body, clothing, gear, and any movement.

Choose Safe Anchor Points
Safe anchor points are the foundation of how to tie a hammock with rope. In a wooded area, choose mature, healthy trees with solid trunks. Do not use dead trees, cracked branches, leaning trunks, or trees with loose bark.
Look for trees that are:
• At least 6 inches in diameter, unless the hammock maker gives different guidance
• Free from visible cracks, rot, holes, and soft spots
• Far enough apart for the hammock to hang with a gentle curve
• Clear of roads, cliffs, rivers, fire pits, and sharp objects
• Strong enough to hold a steady load without bending or shifting
Never tie a hammock to a small branch. Tie around the main trunk, not around a branch or root. Also check local rules before using trees in public parks or protected areas.
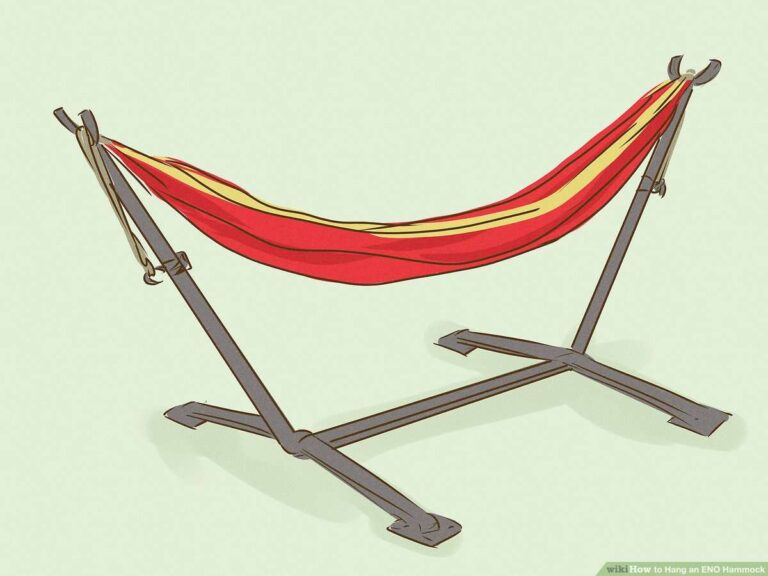
If trees are not available, use posts or hammock stands designed for this purpose. Do not tie to a fence, porch railing, balcony, signpost, or vehicle unless the structure is specifically rated for the load.

How Far Apart Should Hammock Anchors Be?
Most hammocks work well when the anchor points are about 10 to 15 feet apart. The correct distance depends on the hammock’s length, rope length, and the amount of sag you want.
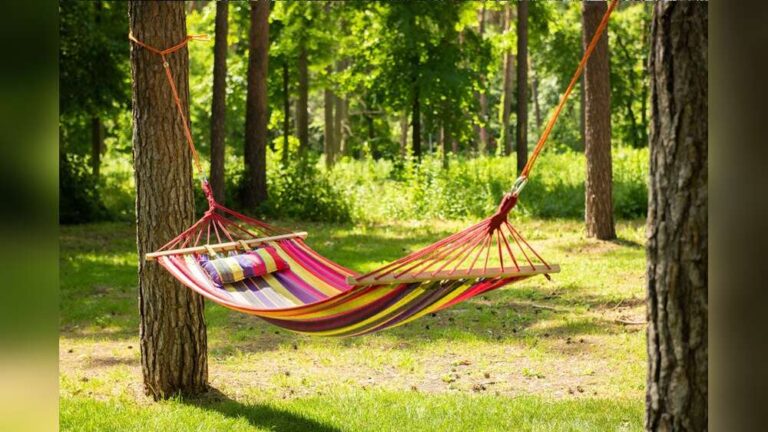
A hammock should not be pulled tight like a clothesline. A slight curve helps spread the load and makes the hammock more comfortable. A common starting point is to place the hammock ends about 4 to 5 feet above the ground, then adjust after testing.
Use the following guide:
• Hang the hammock about 18 inches above the ground when you sit in it
• Keep the lowest part of the hammock clear of rocks, roots, and wet soil
• Aim for a hanging angle near 30 degrees from the anchor point
• Leave enough space for the hammock to sag without touching the ground
A steep, tight setup can place more force on the anchor points. A very low setup can drag on the ground and make getting out difficult.
The Best Knot for a Hammock Rope
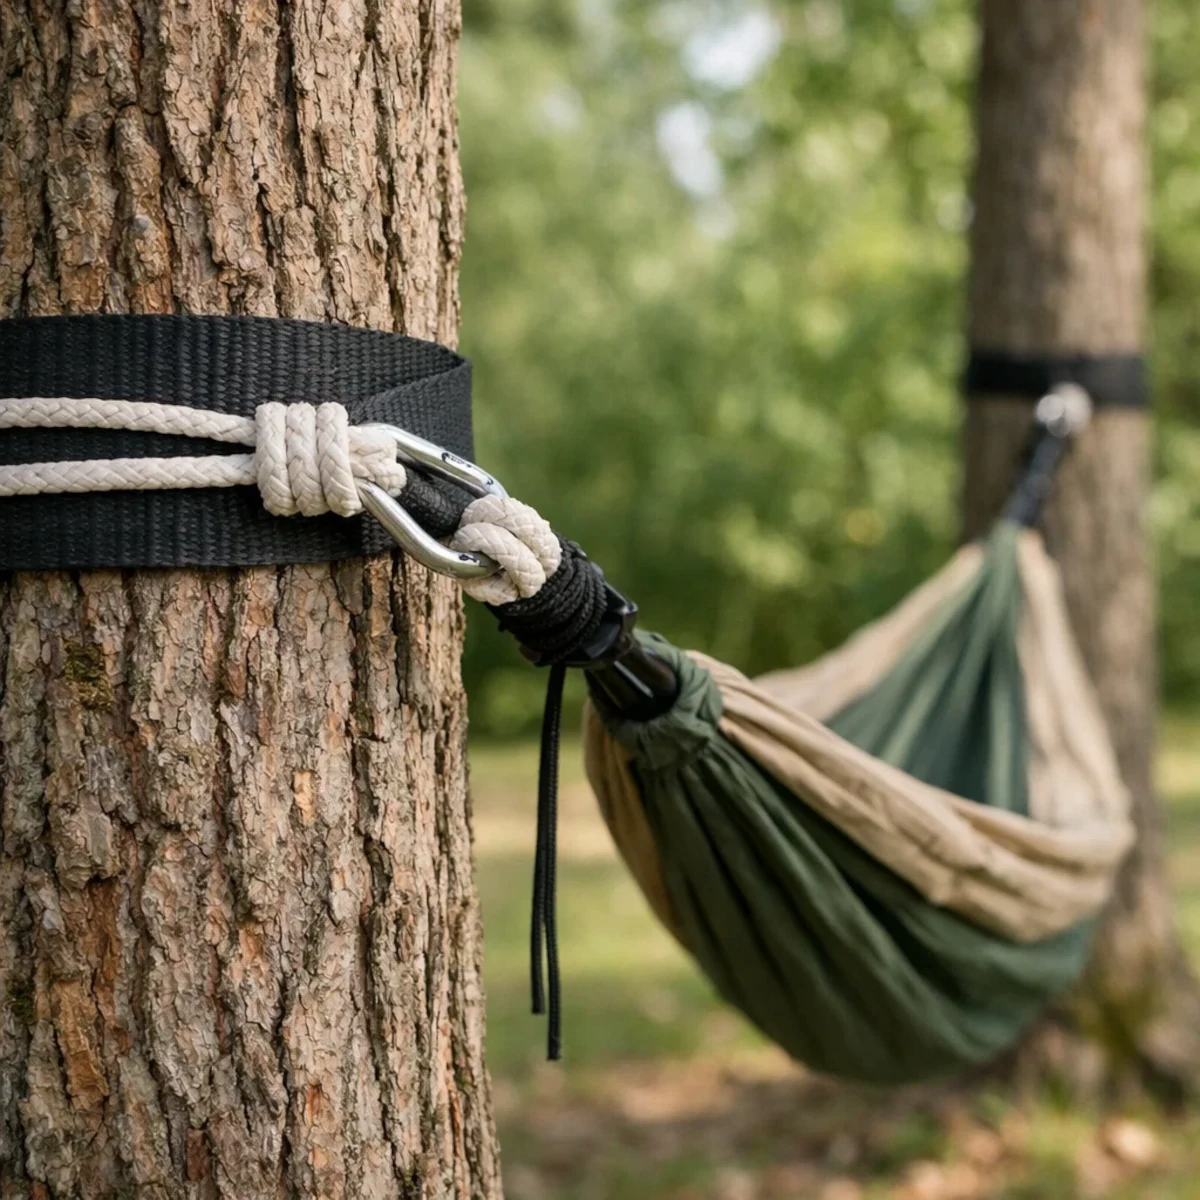
A rope should hold firmly, adjust easily, and release without becoming permanently jammed. The best knot depends on the type of hammock and rope you use.
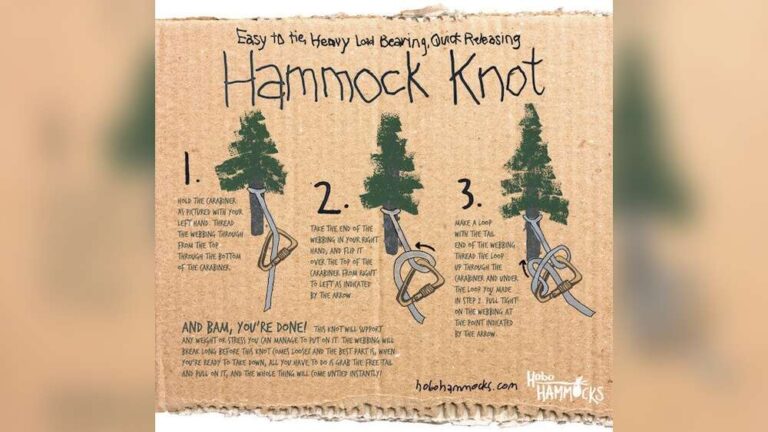
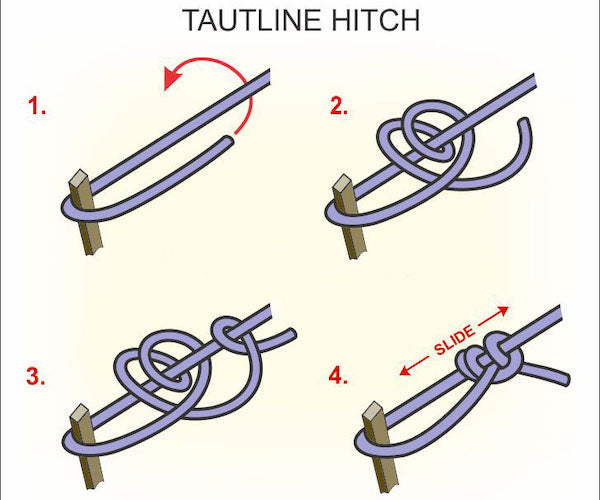
For many basic setups, a round turn and two half hitches works well around a tree or post. A bowline can also create a reliable fixed loop when tied correctly. For adjustable setups, a quick-release hammock hitch or a proven sliding knot may be more convenient.
The knot is only safe when:
• It is tied correctly
• The rope is strong enough
• The rope runs around a stable anchor
• The knot is dressed neatly with no crossed or loose sections
• The free end is long enough to prevent slipping
If you are unsure, use purpose-made hammock straps instead of relying on a complex knot. Straps are often easier to inspect and can reduce damage to tree bark.

How to Tie a Hammock With Rope: Step-by-Step Method
This method explains how to tie a hammock with rope around a sturdy tree or post. Work slowly on the first side, then copy the same setup on the other side.
Step 1: Inspect the hammock and rope
Check the hammock fabric, stitching, end loops, and suspension points. Replace anything that looks torn, stretched, melted, or badly worn.
Inspect the rope from end to end. Do not use rope with cuts, flattened areas, severe sun damage, or weak knots that you cannot identify.
Step 2: Wrap the rope around the anchor
Pass one end of the rope around the tree trunk or post. Keep the rope above rough ground and away from sharp edges.
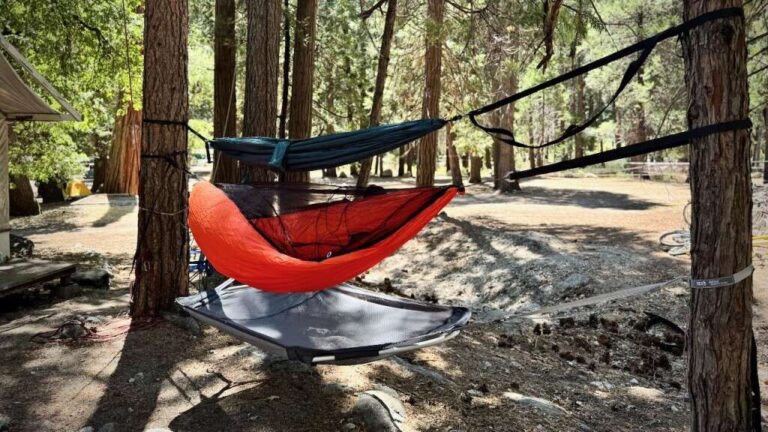
If you use a tree, protect the bark with wide webbing or approved tree straps. Thin rope can cut into bark as the hammock moves.
Step 3: Tie a round turn and two half hitches
Make a full turn around the anchor. Then pass the working end around the standing part of the rope and through the loop you create.
Repeat this process to make a second half hitch. Pull the knot tight and arrange the rope so each section sits neatly beside the next one.
This knot works best when the rope is loaded in the correct direction. Leave a tail of at least 6 inches, or follow the rope maker’s instructions.
Step 4: Attach the hammock
Connect the rope to the hammock’s end loop or gathered end. You can use a bowline, a locking carabiner rated for hammock use, or the connection method recommended by the manufacturer.
Do not use a small hardware-store carabiner made for keys. It may look strong but may not be designed for body weight.
Step 5: Repeat on the other side
Tie the second rope to the other anchor point. Try to keep both hammock ends at a similar height.
The hammock should form a relaxed curve. If one end is much higher, the hammock may twist or place uneven force on the suspension system.
Step 6: Test the setup slowly
Press down on the hammock with your hands before sitting in it. Then sit near the center while keeping one foot close to the ground.
Check the knots, rope, anchors, and hammock fabric. If anything slips, creaks, bends, or looks strained, get out and correct the problem.
How to Tie a Bowline for a Hammock
A bowline creates a fixed loop that does not tighten around the hammock end. It is useful when you need a stable loop for a properly rated connection.
To tie a basic bowline:
-
Make a small loop in the rope, leaving a long working end.
-
Pass the working end up through the loop.
-
Bring the working end around the standing part of the rope.
-
Pass it back down through the original loop.
-
Pull the standing part and working end to tighten the knot.
-
Check that the loop stays open and the rope sections lie neatly together.
A bowline can loosen when it is not loaded or when the rope moves often. For that reason, secure the tail with a stopper knot or use a rope connection recommended by the hammock maker.
Practice the bowline close to the ground before using it above a hard or uneven surface. A knot that looks right is not always tied right, so learn it from a trusted rope-skills guide if you are new to knots.

How to Use a Round Turn and Two Half Hitches
The round turn and two half hitches is a useful way to attach rope around a fixed anchor. The round turn spreads the load around the anchor, while the half hitches help hold the rope in place.
Follow these steps:
-
Wrap the rope fully around the tree or post.
-
Cross the working end over the standing part.
-
Pass the working end under and through the opening.
-
Pull the first half hitch snug.
-
Tie a second half hitch beside the first.
-
Tighten the knot and leave a long tail.
Keep the two half hitches close together. A loose, twisted, or poorly dressed knot may not hold as expected.
This knot is not a substitute for a rated suspension system. If the rope is slippery, the anchor is smooth, or the load may move sharply, use a hammock strap system or another approved method.

How High Should You Hang a Hammock?
A hammock should usually sit about 18 inches above the ground when occupied. The empty hammock will often hang higher because your body adds weight and creates sag.
Start with both ends around 4 to 5 feet high. Then sit in the center and adjust the knots or suspension points.
Use these comfort and safety checks:
• Your back should feel supported without forcing your knees upward
• The hammock should not touch the ground when you sit down
• You should be able to enter and exit without jumping
• The fabric should not rub against sharp bark or metal edges
• The hammock should have enough sag for a relaxed diagonal position
Avoid lying perfectly straight along the center if the hammock feels unstable. A slight diagonal position often gives better support and reduces pressure on your back.
Common Mistakes When Tying a Hammock With Rope
Many hammock problems come from small setup errors. The most common mistake is choosing a location first and thinking about safety later.
Avoid these errors:
• Tying to dead or narrow trees
• Using rope with unknown strength
• Hanging the hammock too tightly
• Leaving a very short rope tail
• Using damaged carabiners or hardware
• Tying to a branch instead of the trunk
• Skipping the low, gentle test before full use
• Placing the hammock over rocks, water, roads, or steep slopes
• Leaving a child or pet unattended in the hammock
• Keeping the hammock outside during storms or strong wind
One lesson from hands-on hammock setup is that comfort can hide danger. A hammock may feel secure for the first few minutes while a knot slowly slips or a weak anchor begins to bend. Inspect the system each time you use it.
How to Protect Trees When Using Rope
Rope can damage tree bark, especially when it moves under weight. Narrow rope creates pressure over a small area, much like a wire cutting into soft wood.
Use wide tree straps whenever possible. They spread the load and reduce rubbing. Many public land managers recommend straps that are several inches wide, but always follow local rules and the hammock maker’s instructions.
If you must use rope, choose a wide, soft material and avoid dragging it across the bark. Never hammer nails, screw hooks, or other hardware into a living tree.
Move the hammock often if you are camping in one place for several days. Check the bark after use. If you see fresh scrapes, crushed bark, or deep marks, stop and change the suspension method.
Rope Strength and Hammock Weight Limits
Rope strength is measured by breaking strength, working load limit, or both. These terms are not interchangeable.
Breaking strength is the force that may cause a rope to fail under controlled testing. The working load limit is a lower recommended load that accounts for safer use. Knots, bends, wear, heat, and shock loads can reduce rope strength.
Follow the lowest rating in the system, including:
• The hammock
• The rope
• The straps
• The carabiners
• The anchor hardware
• The tree or support structure
Never assume that a thick rope is automatically safe. Some thick ropes are designed for decoration, towing, or general utility rather than supporting people.
If the product label does not clearly state its intended use and load rating, do not use it for a hammock. Manufacturer instructions should take priority over general knot advice.
How to Tie a Hammock With Rope in Bad Weather
Wind, rain, and snow can change a safe setup. Wet bark may become slippery, and strong wind can make the hammock swing into the tree.
Take the hammock down during thunderstorms, high winds, or severe weather. Do not use it near lightning, floodwater, falling branches, or unstable ground.
Rain can also weaken some ropes over time. Dry the hammock and rope fully before storing them. Keep them in a cool, dry place away from direct sunlight, chemicals, and rodents.
A hammock is for rest, not shelter from dangerous weather. If conditions change, leaving the setup is the safest choice.
How to Check a Hammock Before Every Use
A quick inspection takes less than a minute and can prevent a serious fall. Check the entire system before you sit down.
Look at:
• Tree trunks and posts for cracks, movement, or fresh damage
• Rope for cuts, fraying, melted fibers, and stiff sections
• Knots for slipping, looseness, or crossed rope
• Carabiners for bent gates, rust, or incomplete locking
• Hammock fabric for tears, loose stitching, and stretched areas
• The ground for rocks, roots, holes, and sharp objects
Use a low-load test first. Push down on the hammock with your hands, then sit slowly with one foot ready to support you.
Replace any questionable part. Rope and fabric can fail without much warning once damage begins.
Benefits and Limits of Using Rope
Learning how to tie a hammock with rope gives you flexibility. Rope is affordable, widely available, and useful when you need to adjust the distance between the hammock and anchor.
• Easy adjustment for different tree distances
• Useful knowledge for camping and outdoor travel
• No need for permanent hardware
• Simple repairs when a suspension line wears out
However, rope also has limits. It can damage bark, slip on smooth surfaces, absorb water, and lose strength through wear or poor knot choice.
For many users, purpose-made hammock straps are easier and safer. They are designed for quick setup and often provide clear connection points. Rope remains useful, but only when you understand its rating and know how to inspect the entire system.
Frequently Asked Questions About How to Tie a Hammock With Rope
What is the safest knot for tying a hammock with rope?
A round turn and two half hitches can work well around a suitable tree or post when tied correctly. A bowline can also create a secure fixed loop, but purpose-made hammock straps are often simpler for beginners.
Can I tie a hammock to any tree?
No. Use only healthy, solid trees with adequate trunk diameter and no visible cracks, rot, or loose bark. Never use dead trees, narrow trunks, branches, or damaged posts.
How high should a hammock be off the ground?
Set the ends about 4 to 5 feet high as a starting point. When occupied, the lowest part should sit roughly 18 inches above the ground and remain clear of rocks, roots, and other hazards.
Is rope better than hammock straps?
Rope can be useful, but straps are usually easier to adjust and kinder to tree bark. Choose rope only when it has a known load rating and you can tie and inspect the connection properly.
How much weight can a rope hammock hold?
The safe capacity is limited by the weakest part of the system. Check the hammock, rope, hardware, and anchor ratings, and remember that movement can create more force than your still body weight.
Can I leave a rope hammock outside overnight?
It is better to take it down during storms, strong wind, or long periods of rain. Store the rope and hammock dry, shaded, and away from chemicals and sharp objects.
Why does my hammock keep slipping?
The rope may be too smooth, the knot may be tied incorrectly, or the anchor may not provide enough friction. Get out of the hammock, inspect the setup, and use a rated suspension system if the problem continues.
Conclusion
Knowing how to tie a hammock with rope starts with strong anchors, suitable rope, correct knots, and a careful test. Keep the hammock low enough to enter safely, leave a gentle curve, protect tree bark, and inspect every part before use.
When in doubt, choose purpose-made hammock straps or a tested stand instead of guessing. Set up slowly, check your work, and enjoy the simple comfort of a hammock with confidence. Share your best hammock setup tips or explore more outdoor safety guides before your next trip.

Zayden Halbrook is a travel enthusiast and gear researcher passionate about making every journey smoother and more enjoyable. With a keen eye for practical travel essentials and real-world tips, he helps readers choose the right gear and travel smarter. When he’s not testing travel kits or exploring new destinations, Zayden shares simple, reliable advice to make every trip stress-free.