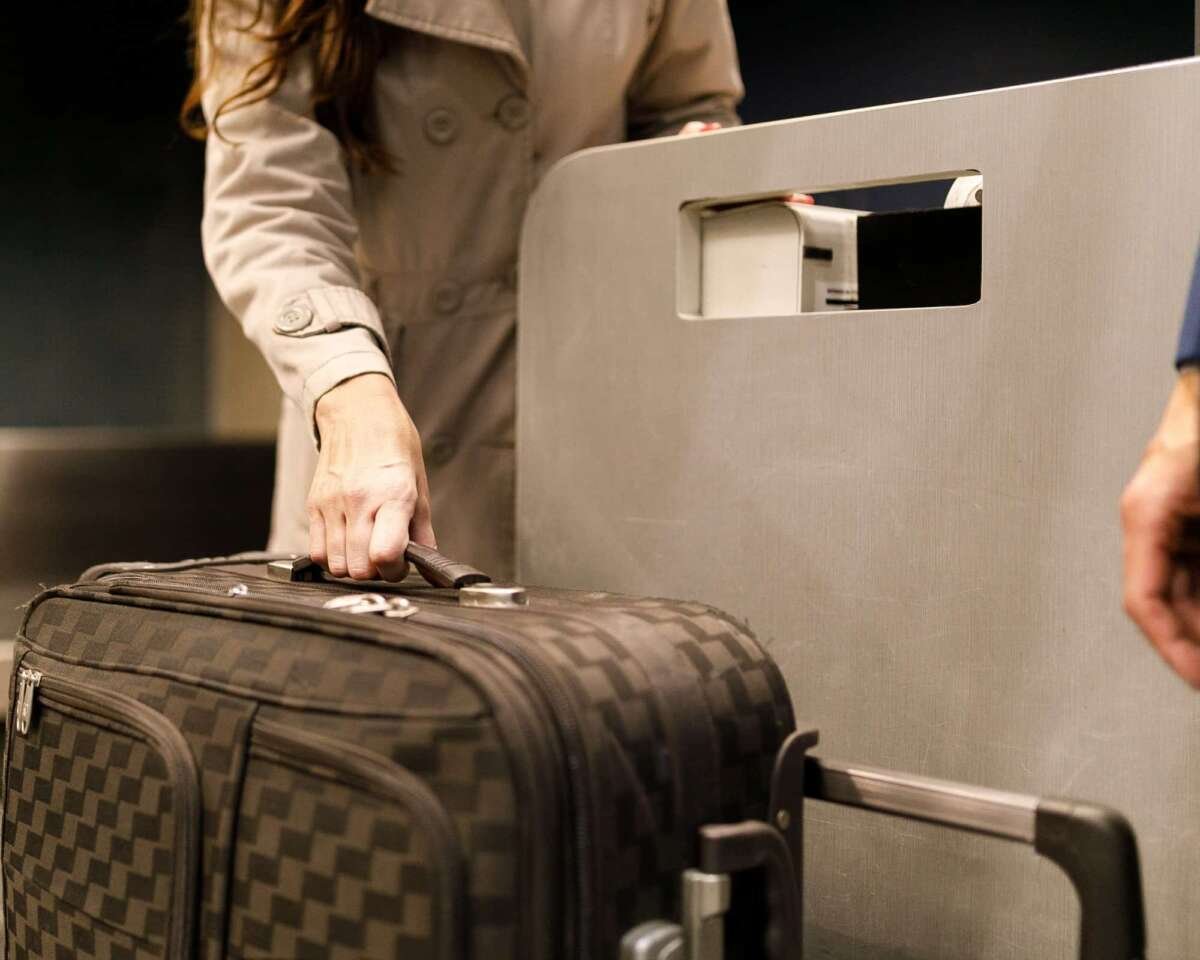
Checking luggage at a U.S. airport means handing your larger bag to the airline so it can travel in the plane’s cargo hold. You usually do this at the airline counter, a self-service bag drop, or a curbside check-in area.
Before you leave for the airport, check your airline’s rules for bag size, weight, fees, and restricted items. Then pack your bag, label it, check in for your flight, and give the bag to the airline before the check-in deadline.
This guide explains how to check in luggage in the United States, what to pack, where to go, and what to do if something goes wrong.

Before You Leave Home
Prepare your luggage before you reach the airport. This helps you avoid extra fees, delays, and problems at the check-in desk.
Check your airline’s baggage rules
Bag rules vary by airline, ticket type, route, and frequent-flyer status. Visit your airline’s website or app to confirm:
- The number of checked bags included
- The fee for each checked bag
- The maximum bag weight
- The maximum outside dimensions
- Oversize and overweight charges
- The deadline for checking a bag
- Rules for sports gear, musical instruments, pets, and special items
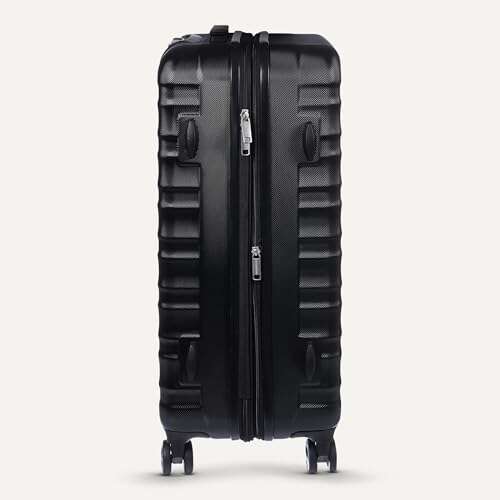
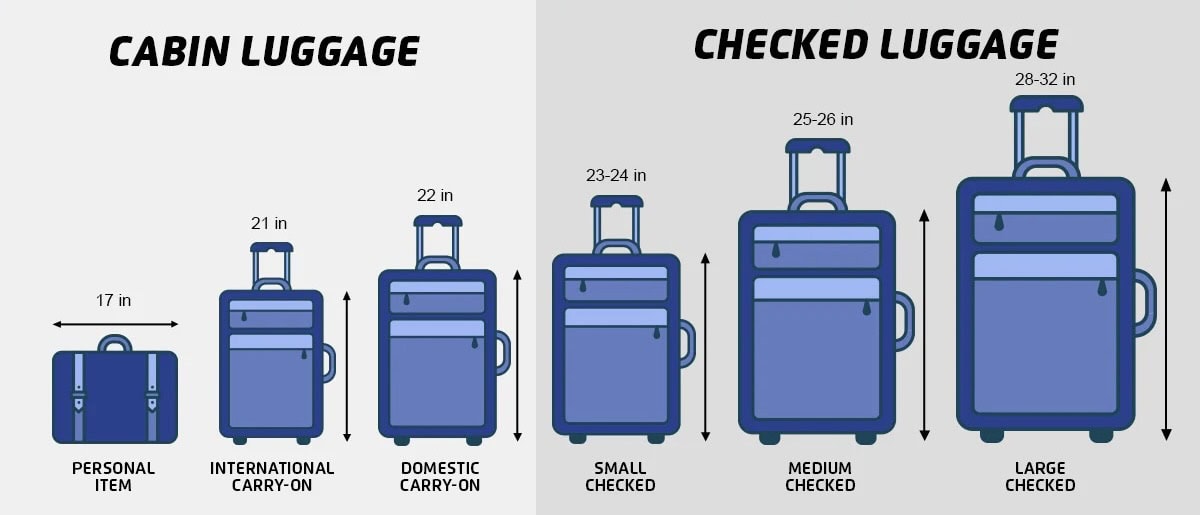
A common checked-bag size limit is 62 linear inches. To calculate linear inches, add the bag’s length, width, and height.
For example:
30 inches + 20 inches + 12 inches = 62 linear inches
Many airlines use 50 pounds as the standard weight limit for a checked bag. This is not a universal rule. Some tickets allow a higher limit, while some airlines charge more for bags over 50 pounds.
Do not rely on the size shown on the suitcase box. Measure the packed bag, including wheels and handles, if your airline includes them in its size limit.
Weigh your bag at home
A home luggage scale can help you avoid a surprise fee. If your bag is close to the limit, leave some room for differences between your scale and the airport scale.
If the bag is too heavy, you can:
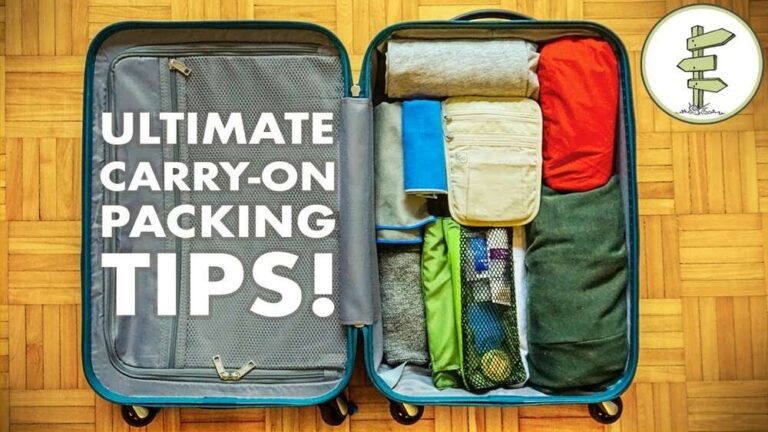
- Remove heavy items and place them in your carry-on, if allowed
- Split the contents between two bags
- Wear heavier clothing
- Pay the airline’s overweight fee
- Replace the bag with a lighter one
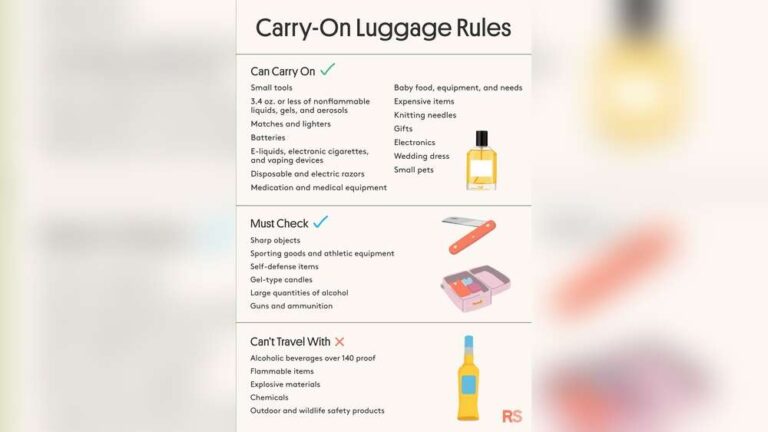
Do not move restricted items into your carry-on without checking the rules first. Some items are allowed only in checked luggage, while others are allowed only in carry-on luggage.
Remove items that should not go in checked luggage
The Transportation Security Administration, or TSA, controls security screening for most commercial flights in the United States. The TSA’s official “What Can I Bring?” tool lists many common items.
Keep these items in your carry-on when permitted:
- Spare lithium batteries
- Power banks and portable chargers
- E-cigarettes and vaping devices
- Essential medicine
- Travel documents
- Valuables
- Devices you may need during the flight
The Federal Aviation Administration requires spare lithium batteries and power banks to be protected from damage and carried in the cabin, not placed in checked luggage. Airline rules may be stricter.
Do not pack weapons, explosives, flammable materials, or other prohibited items. Firearms have separate federal and airline rules. If you need to travel with a firearm, review the TSA firearm guidance and your airline’s instructions before arriving at the airport.
Keep important items with you
Never place these items in checked luggage unless there is no safe alternative and the airline permits it:
- Passport or government-issued ID
- Wallet and cash
- Prescription medicine
- Keys
- Jewelry
- Business documents
- Fragile electronics
- One change of clothes
- Items needed for a medical condition
Checked bags can be delayed, damaged, or sent to the wrong airport. Pack your carry-on as if you may need it for one night.

Step-by-Step: How to Check In Luggage at the Airport
The basic process is the same at most U.S. airports, although the layout may differ.
1. Arrive with enough time
Give yourself time to find the terminal, check in, pay bag fees, and pass through TSA security.
Your airline sets the official check-in deadline. It may close bag acceptance well before the scheduled departure time. The deadline can also vary by airport and international destination.
As a practical starting point:
- Arrive about two hours before a domestic flight
- Arrive about three hours before an international flight
These are general planning estimates, not guarantees. Add more time during holidays, bad weather, large events, airport construction, or when you need special assistance.
2. Find your airline’s check-in area
Look at the airport’s flight information screens for your airline and flight number. The screen should show the terminal and check-in counter area.
You may find one of these options:
- An airline service counter
- A self-service check-in kiosk
- A staffed bag-drop counter
- A curbside check-in area outside the terminal
If you are unsure, ask an airport employee or follow signs for your airline.
3. Check in for your flight
You can often check in online or in the airline’s app before arriving. Online check-in may give you a mobile boarding pass and let you confirm your seat.
You can also check in at an airport kiosk or airline counter. Have these ready:
- Government-issued photo ID for domestic travel
- Passport for international travel
- Confirmation number or reservation details
- Travel documents required for your destination
- Frequent-flyer information, if applicable
For international flights, online check-in may not replace a visit to the counter. Airline staff may need to review your passport, visa, or other documents.
4. Print or attach your baggage tag
The airline will create a baggage tag for each checked bag. The tag usually includes:
- Your name
- A tracking number
- Your flight information
- Your destination airport
At some airports, a kiosk prints the tag. You then attach it to the bag as shown in the instructions. At other airports, an agent does this for you.
Keep the small baggage claim receipt. It may be printed with your boarding pass or given separately. The receipt helps the airline track your bag if it is delayed.
5. Place the bag on the scale
Set the bag on the airline’s scale when asked. The scale shows the bag’s weight.
If the bag is within the limit, the airline accepts it. If it is too heavy or too large, the agent may ask you to:
- Pay an extra fee
- Remove items
- Repack the bag
- Check the bag as oversize or overweight
- Use another bag
Keep valuables and documents with you while you repack. Do not leave your passport, wallet, or medication in an open suitcase.
6. Hand over the bag
At a staffed counter, the agent places the bag into the airline’s baggage system. At a self-service bag drop, follow the screen prompts and wait for the system to accept the bag.
Do not walk away until:
- The system confirms that the bag was accepted
- The agent gives you a baggage receipt
- Your bag has moved onto the conveyor belt, when visible
- You know where to go next
Some airports use facial matching or other identity checks at bag drop. The exact process depends on the airport and airline.
7. Go through TSA security
After checking your bag, follow signs for TSA screening. You still need your boarding pass and acceptable identification.
TSA may inspect your carry-on, pockets, and other items. A checked bag may also be opened for inspection. If TSA opens it, the agency may place a notice inside the bag.
You cannot retrieve a checked bag after it enters the baggage system. Double-check your carry-on before handing over your suitcase.
8. Confirm your bag reached the correct destination
Look at the baggage tag and receipt before leaving the check-in area. Confirm that the airport code matches your final destination.
For example, a connecting trip may show the final airport rather than the airport where you change planes. Ask the airline agent if you are not sure whether you must collect and recheck your bag during a connection.
Where Can You Check In a Bag?
You can usually check luggage at the airline counter, a self-service bag drop, or curbside check-in.
Airline counter
Use the staffed counter if:
- You have an international document check
- Your bag is overweight or oversize
- You need special assistance
- You are traveling with a pet
- You have a complicated connection
- The kiosk does not work
- You need to report a problem
The agent can explain fees and routing. Ask whether your bag will go to your final destination or must be collected during a connection.
Self-service kiosk and bag drop
A kiosk may let you check in, print a boarding pass, print a bag tag, and pay the bag fee. You then take the tagged bag to a nearby bag-drop station.
This option is often quick, but it may not work for every traveler. You may need an agent if your bag is oversized, your documents need review, or your booking has a special request.
Curbside check-in
Some U.S. airports and airlines offer curbside bag check outside the terminal. Availability varies by airport, airline, operating hours, and flight.
Curbside agents may charge a tip or service fee. Confirm that the service is open before depending on it, especially for early-morning or late-night flights.

How Much Does It Cost to Check a Bag?
The cost depends on the airline, route, ticket, bag count, and loyalty benefits. The first checked bag may be free, or it may cost a fee. Additional, overweight, and oversize bags usually cost more.
Airlines may charge different prices when you:
- Pay online before arriving
- Pay at the airport
- Add a bag after booking
- Travel internationally
- Buy a basic or restricted fare
- Check more than one bag
- Exceed the weight or size limit
The most reliable price is the one shown in your reservation or on the airline’s baggage page. Prices can change, so check close to your trip.
Simple baggage cost example
Imagine an airline charges:
- $35 for the first checked bag
- $45 for the second checked bag
- An additional fee for a bag over the weight limit
If you check two standard bags, your base baggage cost would be: