Train with steady cardio, leg strength, balance, and loaded walks that slowly match your planned backpacking trip.
Learning how to train for backpacking is less about becoming a marathon runner and more about preparing your body for long days, uneven ground, hills, and a loaded pack. A smart plan builds fitness in stages, protects your joints, and gives you time to test shoes, food, water, and gear before the trail.
What Fitness Does Backpacking Require?
Backpacking combines several types of effort at once. You may walk for six hours, climb a steep pass, cross rocks, and carry 30 pounds while your legs are already tired. Your training should copy those demands as closely as possible.
The main fitness areas are:
• Aerobic endurance for long hours of walking
• Leg and hip strength for climbs and descents
• Core strength for carrying a pack with good posture
• Balance and stability for roots, rocks, and loose ground
• Foot and ankle strength for uneven trails
• Recovery ability for hiking on several days in a row
A strong heart and lungs help, but they are only part of the picture. Many new backpackers can walk far on flat roads yet struggle when the trail rises or the pack presses on their shoulders.
Training is like building a bridge. Cardio forms the base, strength supports the structure, and loaded hikes test whether everything works together.

How Long Does It Take to Train for Backpacking?
Most beginners need six to 12 weeks to prepare for a moderate backpacking trip. A short trip with a light pack may require less time, while a high altitude route, steep trail, or long expedition may require several months.
Your starting point matters. Someone who already walks, runs, cycles, or strength trains can progress faster than someone who spends most days sitting. The safest plan begins at your current level rather than at the level you wish you had.
Use these general timelines:
• Two to four weeks for a one night trip on easy terrain
• Six to eight weeks for a two to three night trip with moderate hills
• Eight to 12 weeks for a longer trip with a heavier pack
• Three to six months for steep, remote, high altitude, or technical routes
Do not rush because the trip date is close. A sudden jump in walking distance or pack weight can lead to blisters, sore knees, strained calves, or tendon pain. Training stress should rise gradually, and rest should be part of the plan.
A useful rule is to increase only one major factor at a time. Add distance first, then hills, then pack weight. This gives your body a clear challenge without stacking too much stress at once.
Build an Aerobic Base
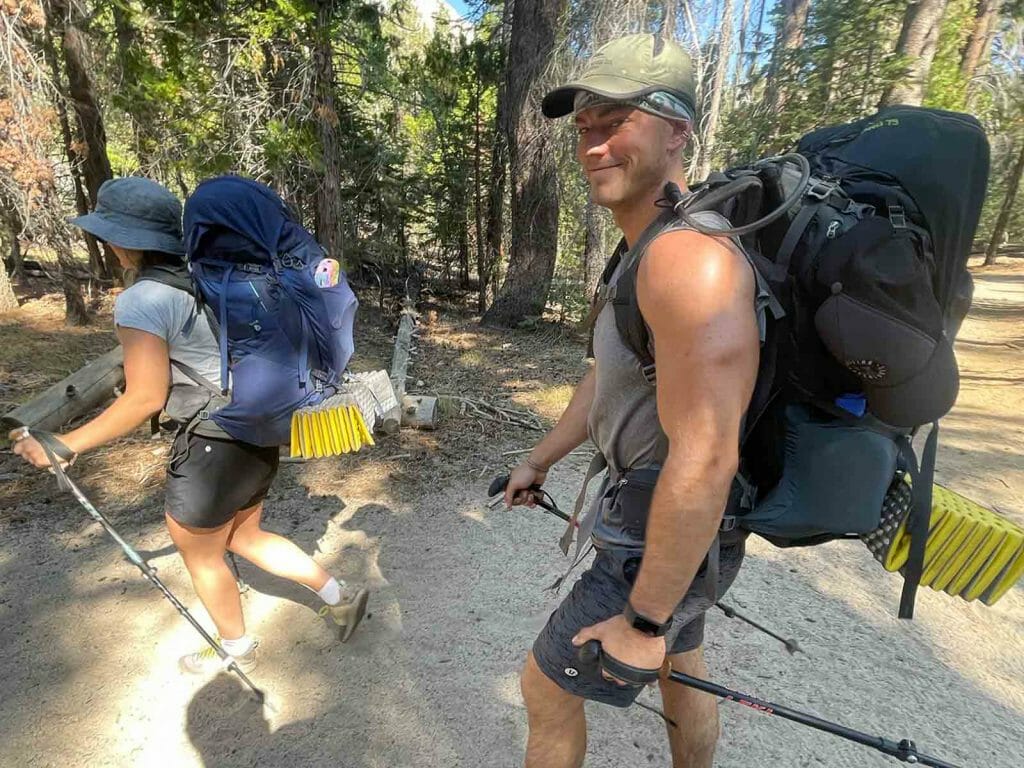
Aerobic training teaches your body to use oxygen well during steady effort. It also improves your ability to recover between climbs and hiking days. Walking is the most useful form of cardio because it matches the movement pattern of backpacking.
Start with three or four sessions each week. Keep most sessions easy enough that you can speak in full sentences. This is often called conversational pace, and it helps build endurance without exhausting you.
Good options include:
• Brisk outdoor walking
• Treadmill walking with an incline
• Easy jogging if your joints tolerate it
• Cycling
• Swimming
• Stair machine sessions
Begin with 30 to 45 minutes. Add five to 10 minutes every week or two, depending on how your body feels. One longer walk each week should become the center of your plan.
For example:
• Monday: 35 minute easy walk
• Tuesday: Rest or gentle mobility
• Wednesday: 40 minute walk with small hills
• Thursday: Strength training
• Friday: Rest
• Saturday: 60 to 90 minute outdoor walk
• Sunday: Easy cycling or a short recovery walk
Do not make every session hard. In backpacking, steady effort wins. You want to finish a training walk feeling that you could have continued for another 10 or 15 minutes.
When I prepare for a long trail, I pay close attention to how I feel the morning after a walk. Mild tiredness is normal. Sharp pain, swelling, or a change in the way I walk is a signal to reduce the load and recover.

Train Your Legs for Climbs and Descents
Uphill walking challenges your glutes, calves, and lungs. Downhill walking places a great deal of stress on the quadriceps and knees. Many hikers train for climbing but forget that descending can cause more soreness.
Strength train two times each week. Leave at least one day between hard leg sessions when possible. Use slow, controlled movements rather than rushing through each exercise.
Useful exercises include:
• Bodyweight squats for the thighs and hips
• Step ups for climbing strength
• Reverse lunges for single leg control
• Split squats for balance and leg power
• Calf raises for climbs and ankle support
• Glute bridges for hip strength
• Romanian deadlifts for the hamstrings and hips
• Side leg lifts for hip stability
• Step downs for downhill control
Try two or three sets of eight to 12 repetitions. For step ups, use a platform that lets your knee stay near hip height or lower. A lower step with good form is better than a high step that twists your knee.
As you get stronger, hold light dumbbells or wear your training pack. Move slowly on the lowering phase. This teaches your muscles to control your body during long descents.
You can also use stairs or a hill once a week. Walk uphill at a steady pace, then recover on the way down. Later, repeat the climb several times. Stop before your form breaks down.